
Creating an immersive experience with a 360-degree image in visionOS
Learn how to create immersive experiences with 360-degree images.


One of the most exciting aspects of spatial computing is the ability to create immersive experiences that transport users to new worlds. This can be done with different multimedia assets. In this short tutorial, we will explore how to create an immersive experience that showcases a picture in 360°.
Step 1 - Creating a new project
The first step involves creating a new visionOS project.
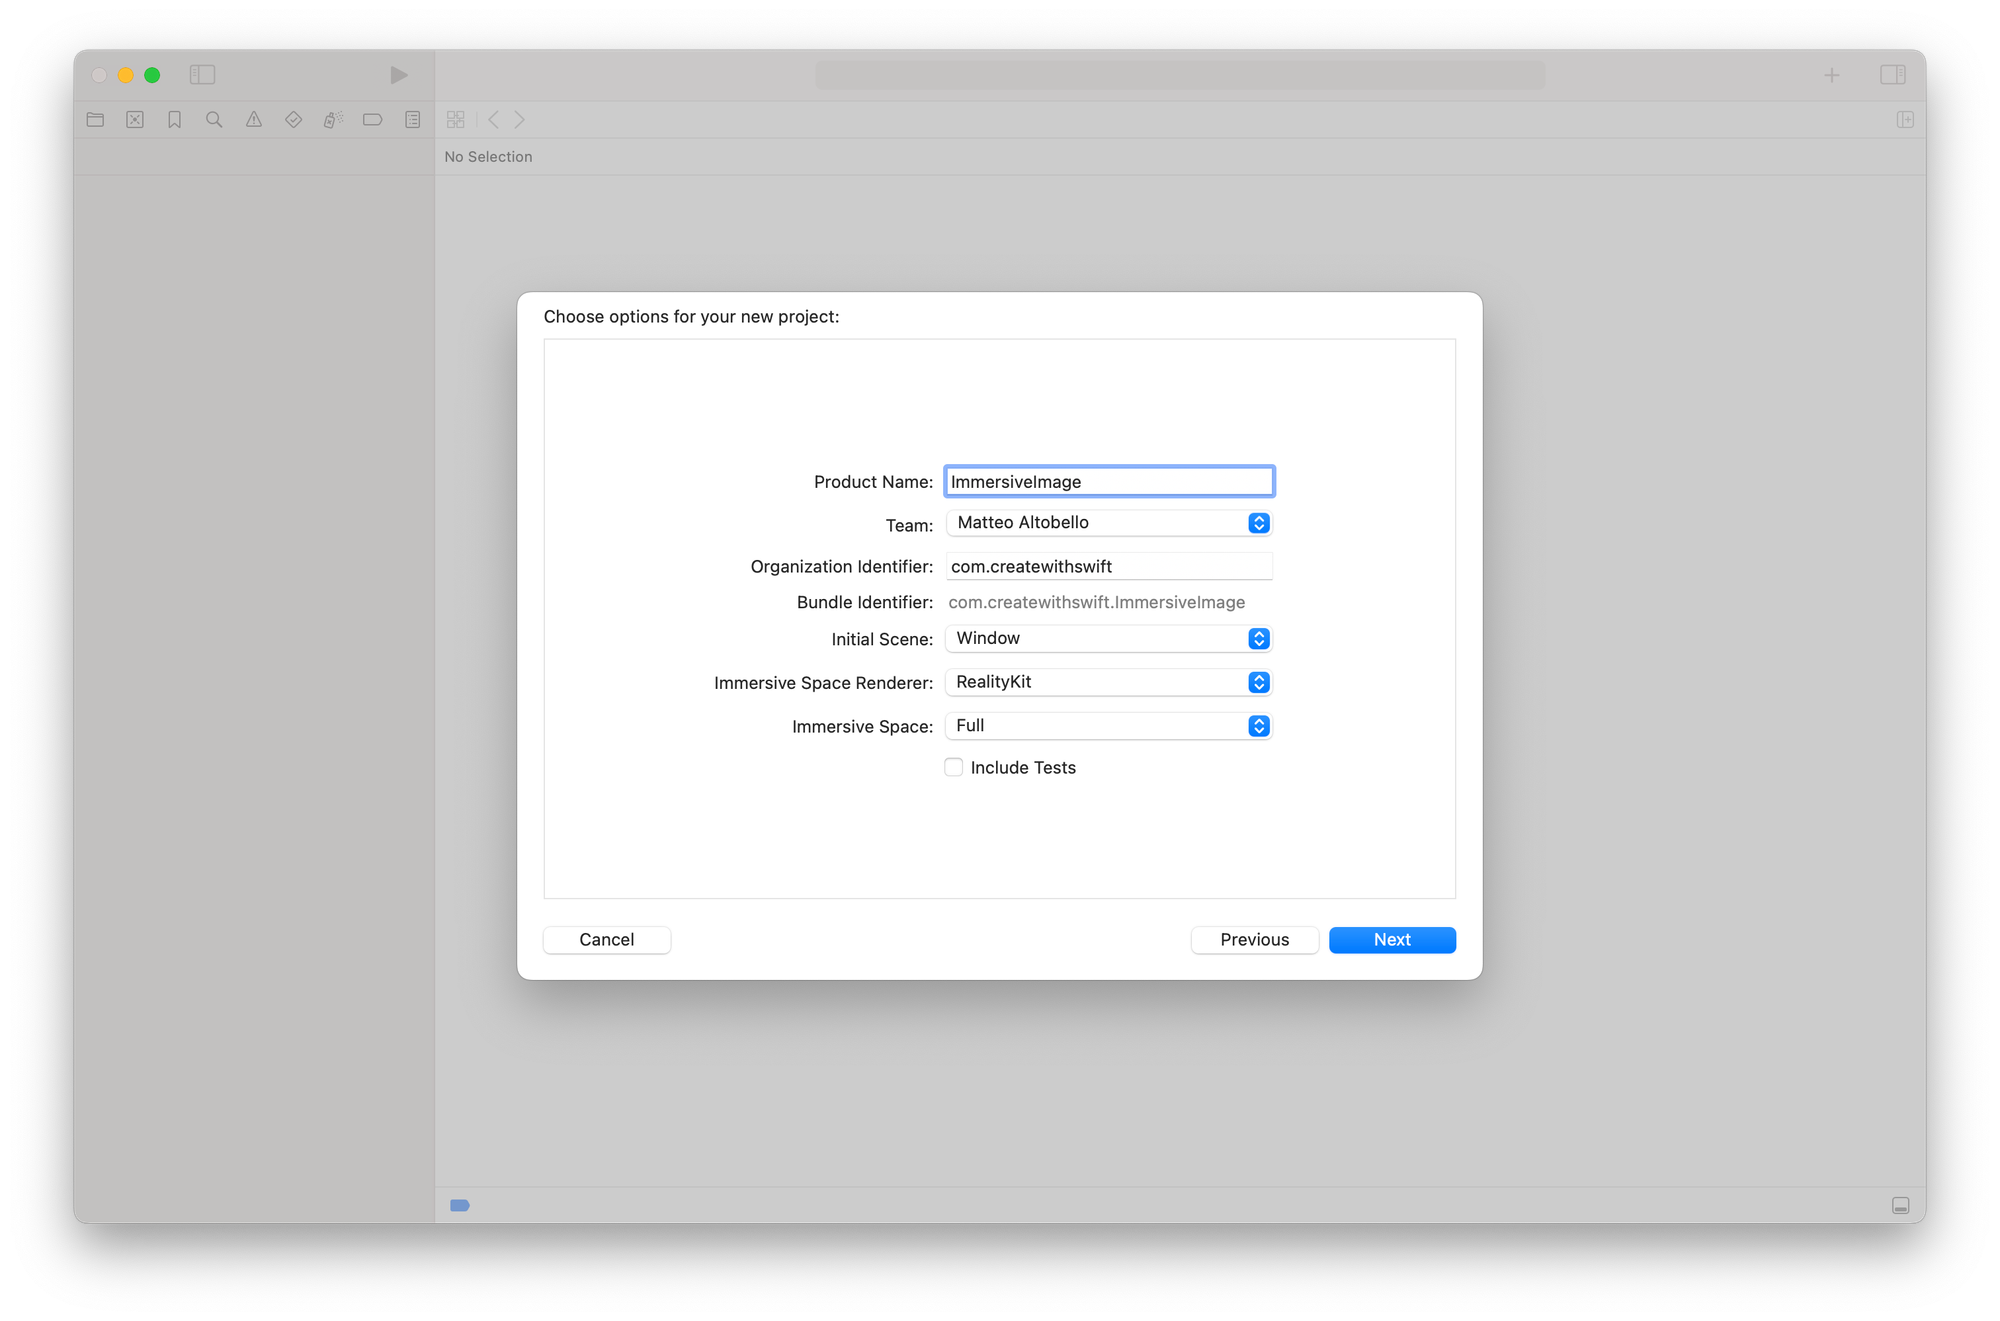
In the setup process, specify the type of Immersive Space that you want to create. For this tutorial, opt for the following project settings:
- Initial Scene:
Window - Immersive Space Rendered:
RealityKit - Immersive Space:
Full
These settings will ensure the user will be completely immersed in the virtual reality when the application is running.
Step 2 - Importing the 360° asset
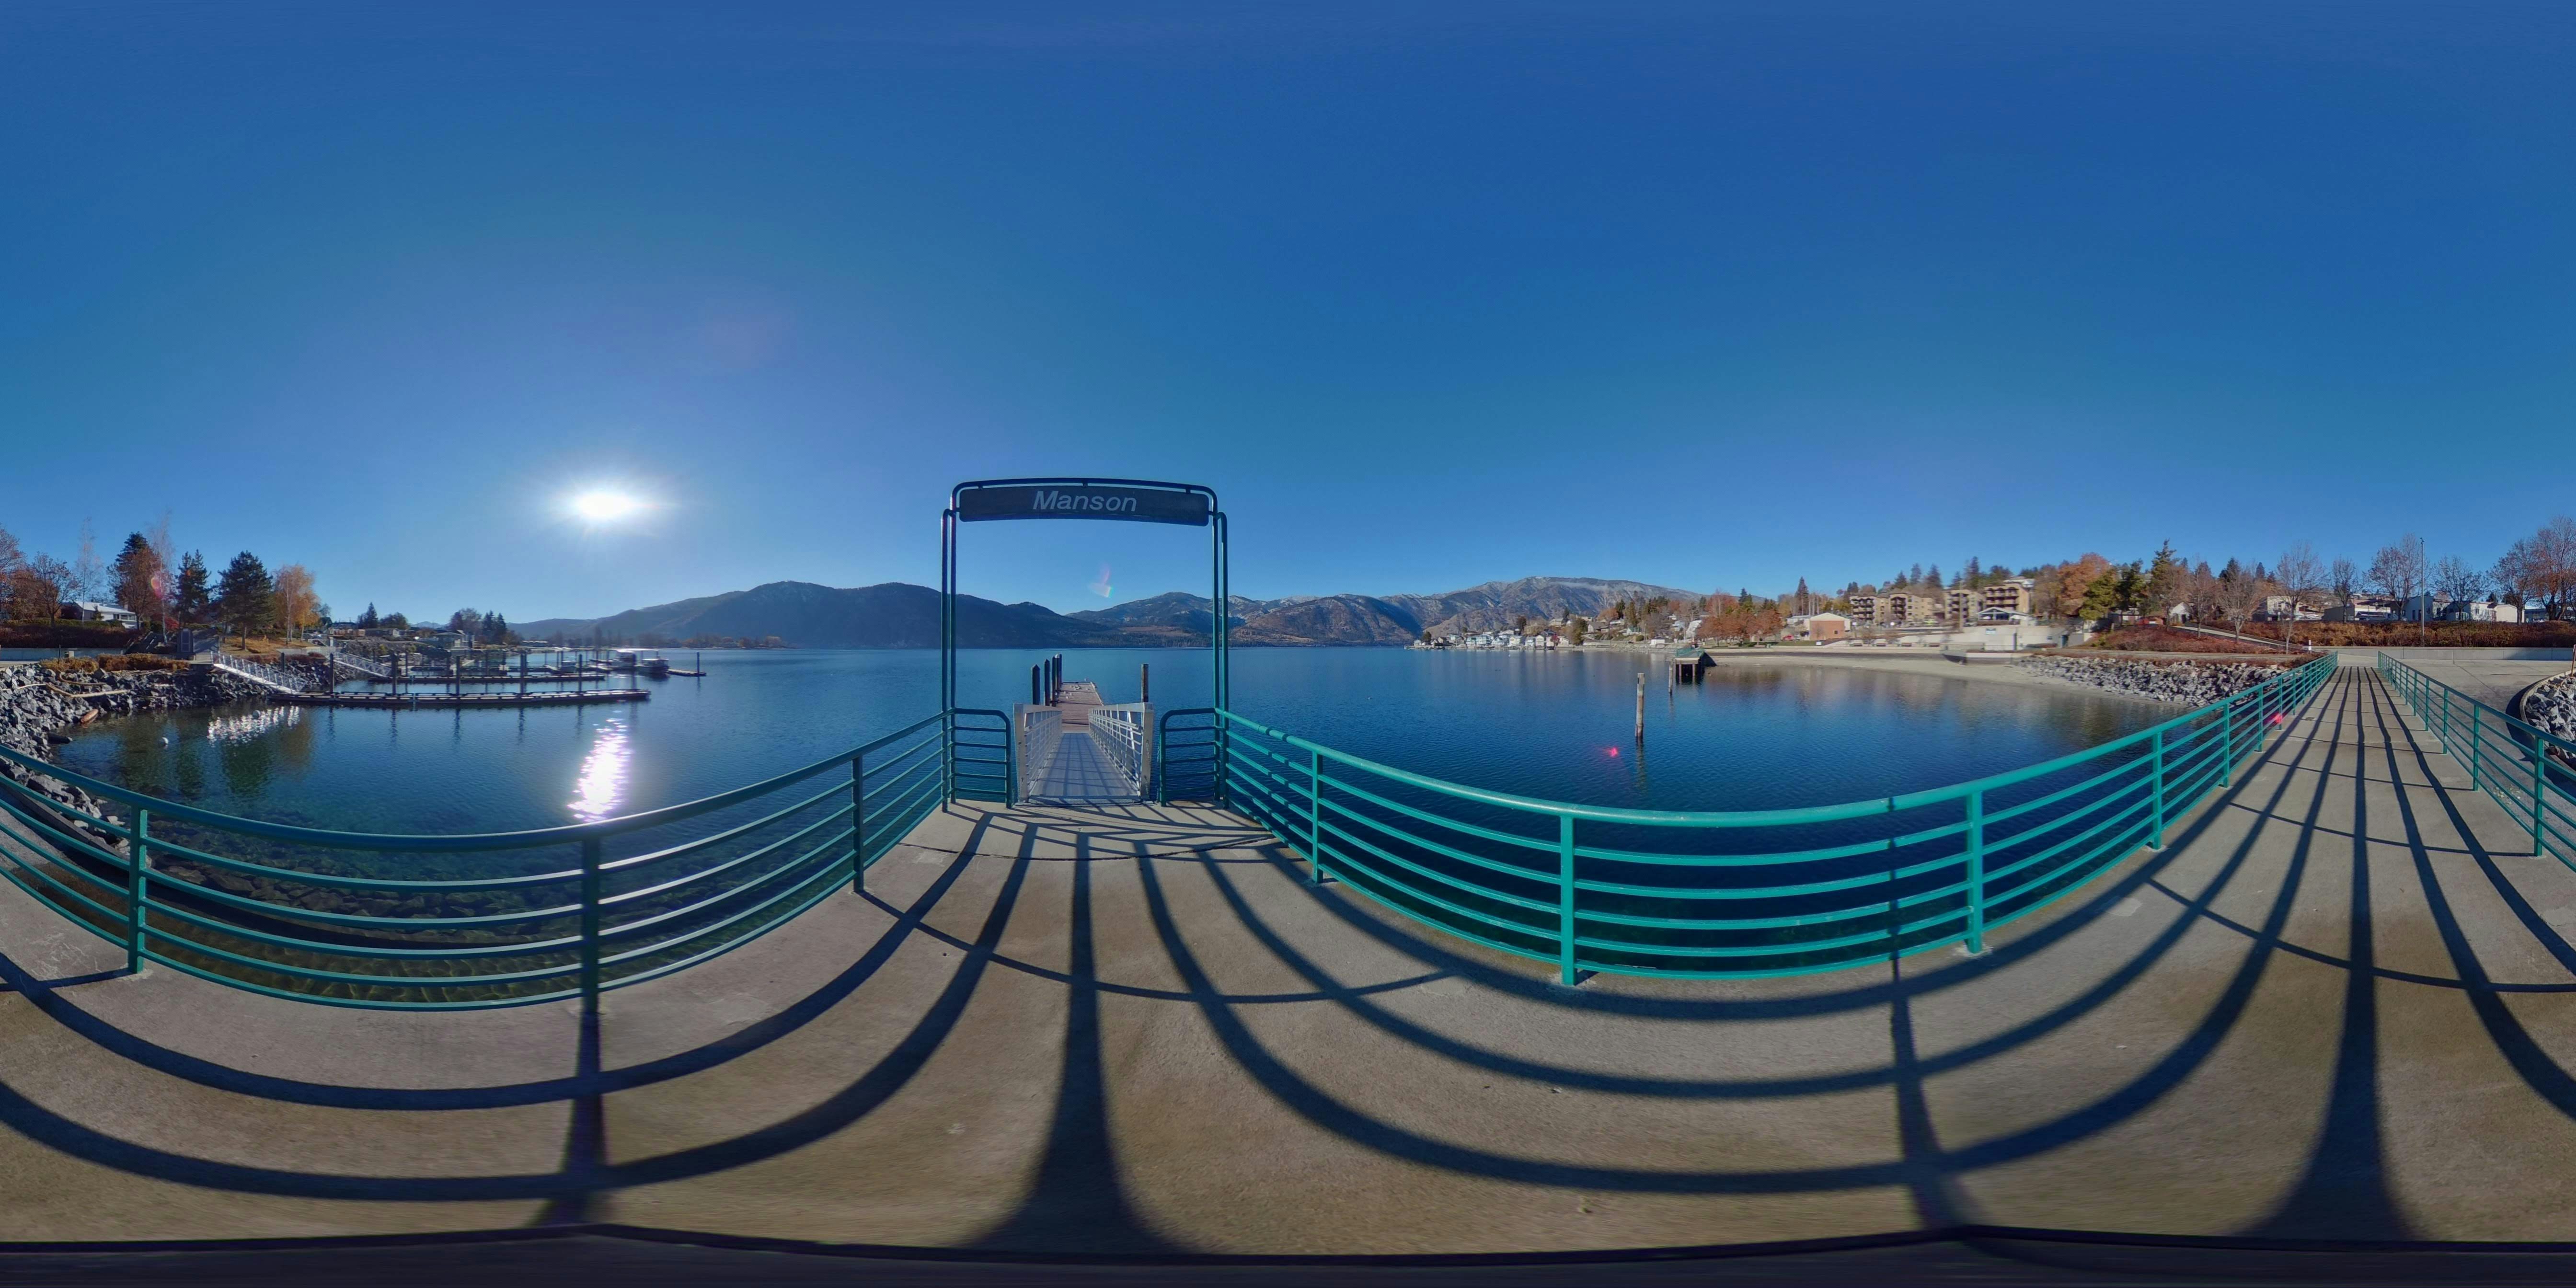
To show an image in 360° you need an asset compatible with it. If you don't have a 360° picture you can download the following one to complete the tutorial:
To add the image to your project, drag and drop the image file to the Assets folder of your Xcode project.
Step 3 - Create the virtual environment
Now that the project is set, let’s start by creating an immersive view to present our 360° image.
Go to the ImmersiveView.swift file and create a new method to create the entity of the immersive picture to be used in the RealityView view:
import SwiftUI
import RealityKit
import RealityKitContent

struct ImmersiveView: View {

    var body: some View {
        RealityView { content in
            ...
        }
    }

    // 1.
    func createImmersivePicture(imageName : String) -> Entity {
		// 2.
        let modelEntity = Entity()
        // 3.
        let texture = try? TextureResource.load(named: imageName)
        // 4.
        var material = UnlitMaterial()
        // 5.
        material.color = .init(texture: .init(texture!))
        // 6.
        modelEntity.components.set(ModelComponent(mesh: .generateSphere(radius: 1E3), materials: [material]))
        // 7.
        modelEntity.scale = .init(x: -1, y: 1, z: 1)
        modelEntity.transform.translation += SIMD3<Float>(0.0, 1.0, 0.0)
        // 8.
        return modelEntity
    }

}

#Preview {
    ImmersiveView()
        .previewLayout(.sizeThatFits)
}
- Define a method named
createImmersivePicture(imageName:)that takes theimageNamestring as a parameter to create the virtual environment - Create a property named
modelEntityof typeEntityto represent objects in a 3D scene. - Load a texture resource from the asset using the provided
imageNameusing theload(named:in:)type method from theTextureResourceclass defined inRealityKit - Create an instance of
UnlitMaterial, a material for 3D objects that doesn’t respond to light in the scene - Set the
colorproperty of the material as the texture created with the specifiedimageName - Create a
ModelComponentobject with a spherical mesh and specify itsmaterialas the material created beforehand, and set it as a component of themodelEntity. This effectively sets the appearance of themodelEntityobject to be a textured sphere with the loaded image. - Set the scale of the
modelEntity. In this case, it flips the entity horizontally to align with objects within the scene by setting thexscale to-1and moves the entity upward by 1 unit along the y-axis in the 3D scene. - Return the
modelEntityobject
In this function, we created a new 3D object whose core part is a sphere. But what's cool is that we've used an image from our asset to cover the sphere. Once we start the Immersive experience you will feel like you're inside this sphere, surrounded by the picture all around you in every direction.
Step 4 - Add the 3D scene in RealityKit
The last step involves adding the 3D object into a RealityView. Replace all the template code inside the RealityView with the following:
import SwiftUI
import RealityKit
import RealityKitContent

struct ImmersiveView: View {
    var body: some View {
        RealityView { content in
    		// 1.
            content.add(createImmersivePicture(imageName : "creating-immersive-experience-360-degree-image-visionos-tutorial-immersive-image"))
        }
    }

    func createImmersivePicture(imageName : String) -> Entity {
    	...
	}
}
- Add to the
RealityViewcontent the generatedmodelEntityusing thecreateImmersivePicture(imageName:)function.
With this done, when the ImmersiveView is created the content of the RealityView will render the 360° image on a sphere around the user.
Conclusion
Now when you run your project on the simulator, when the ImmersiveView is activated you will be able to see the 360° image all around.
Using the power of RealityKit we were able to craft this immersive experience using just a few lines of code. This example showcases the potential of a 360-degree custom environment, capable of fully immersing users and transporting them to an entirely new place.