Using multi-step animations in SwiftUI
Explore how to define and use a multi-step animation in your SwiftUI app.
Animations can serve as visual indicators that inform users about activities within your app. They are especially useful when the user interface state changes, such as when loading new content or revealing new actions, improving the overall look of your app.
We will utilize the PhaseAnimator container to define a multi-step animation for our view. This is especially beneficial when we require an animation that loops continuously and responds to events.
How to implement phase animator in SwiftUI
In SwiftUI we have two options to create multi-step animation for our View:
- Using the
PhaseAnimatorwhich is a container that animates its content by automatically cycling through a collection of phases that we provide. - Using the
phaseAnimator(_:content:animation:)modifier to apply an animation to a view over a sequence of phases that change continuously.
The difference is that with the PhaseAnimator container, we can animate multiple Views together, while using the .phaseAnimator modifier we can access the modified view in each step.
Define steps for the animation
To create a custom animation, we will define a type that represents the different steps of our animation using enumeration. We will then use the animationValue computed property for each step to return a value that can be used later in different animation phases in our examples.
enum AnimationPhase: CaseIterable {
    case initial
    case middle
    case end

    var animationValue: Double {
        switch self {
        case .initial: 1
        case .middle: 0.5
        case .end: 1.5
        }
    }
}
Creating a simple multi-step animation
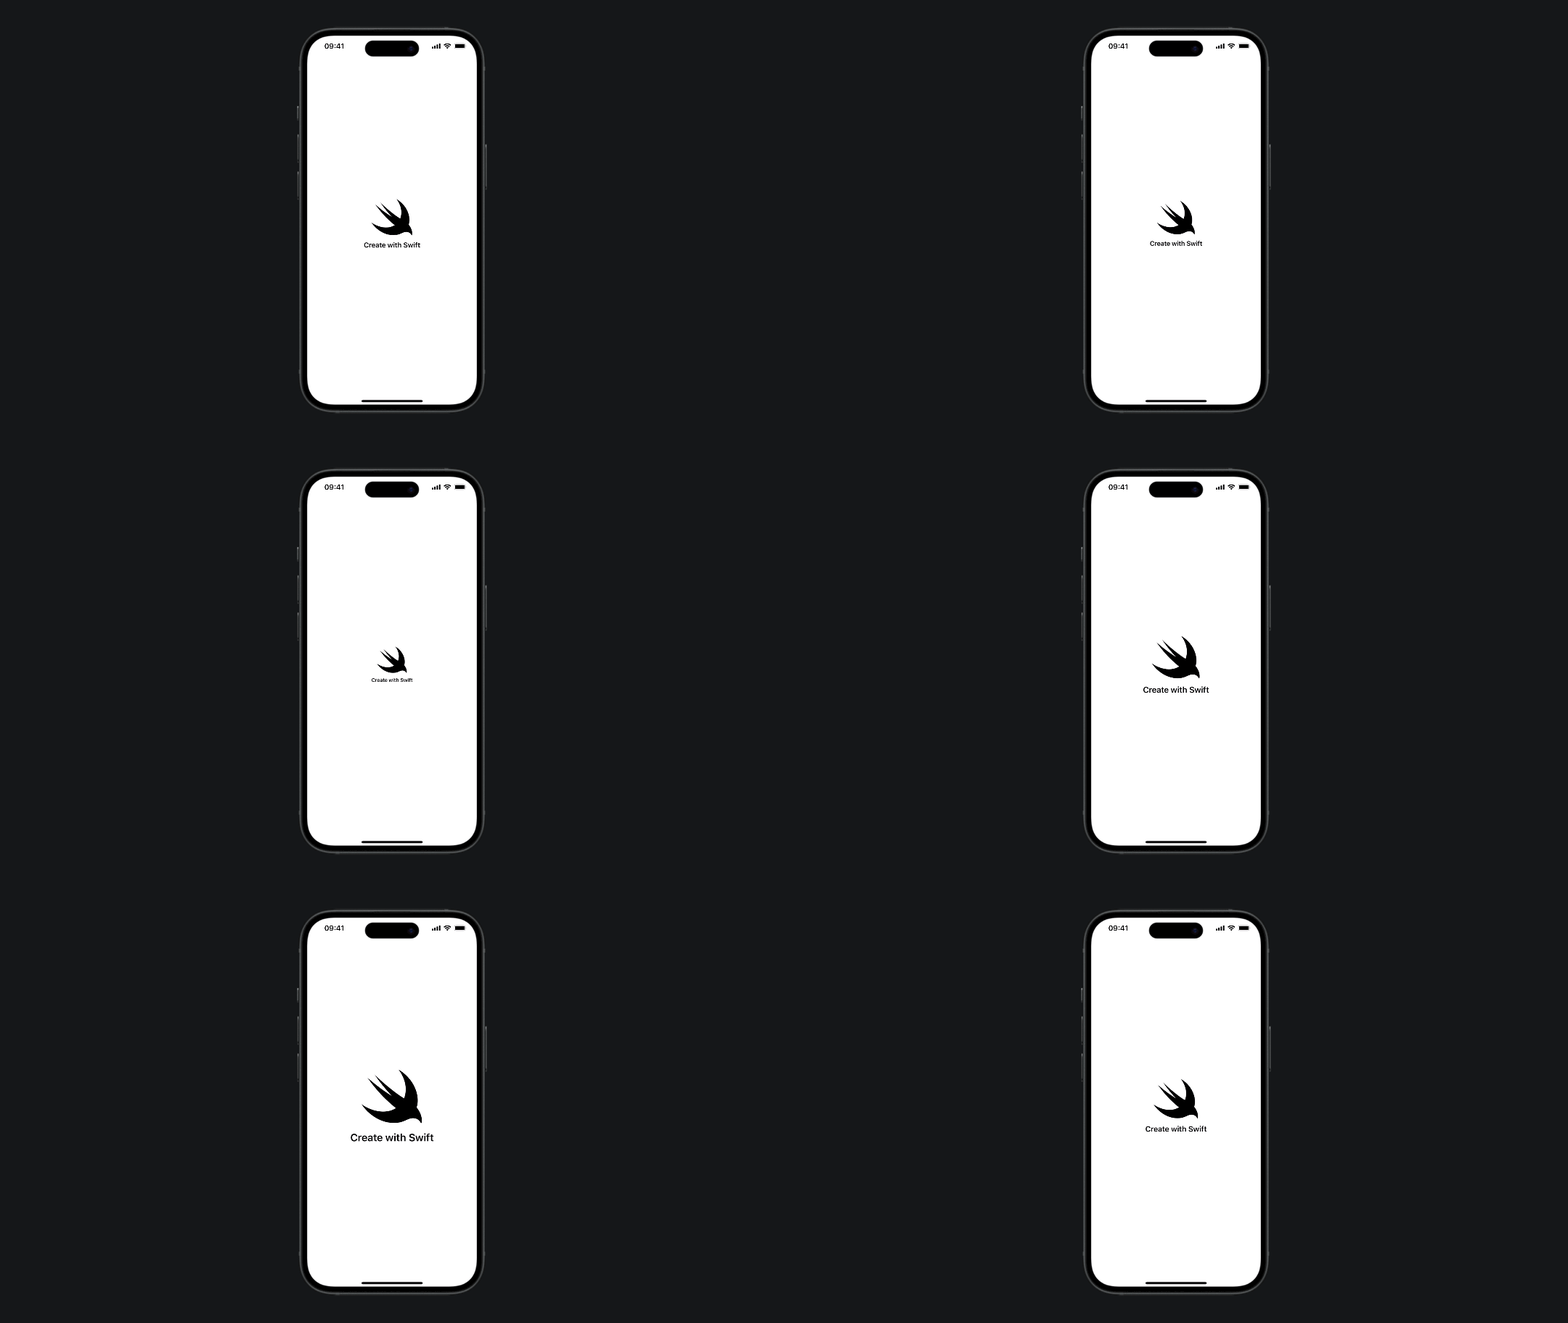
With the PhaseAnimator container view, we can easily create a multi-step animation by providing a collection of steps to loop through.
The PhaseAnimator works as a view builder, animating the views within it based on the current phase value.
import SwiftUI

struct ContentView: View {

    var body: some View {

        PhaseAnimator(AnimationPhase.allCases) { phase in
            VStack {
                Image(systemName: "swift")
                    .resizable()
                    .scaledToFit()
                    .frame(width: 100, height: 100)

                Text("Create with Swift")
                    .bold()
            }
            .padding()
            .scaleEffect(CGSize(
                width: phase.animationValue,
                height: phase.animationValue
            ))
        }

    }

}
The animation will iterate through each phase, resulting in a view that changes dimensions based on the current step, thanks to the scaleEffect(_:anchor:) modifier.

Start an animation with a trigger
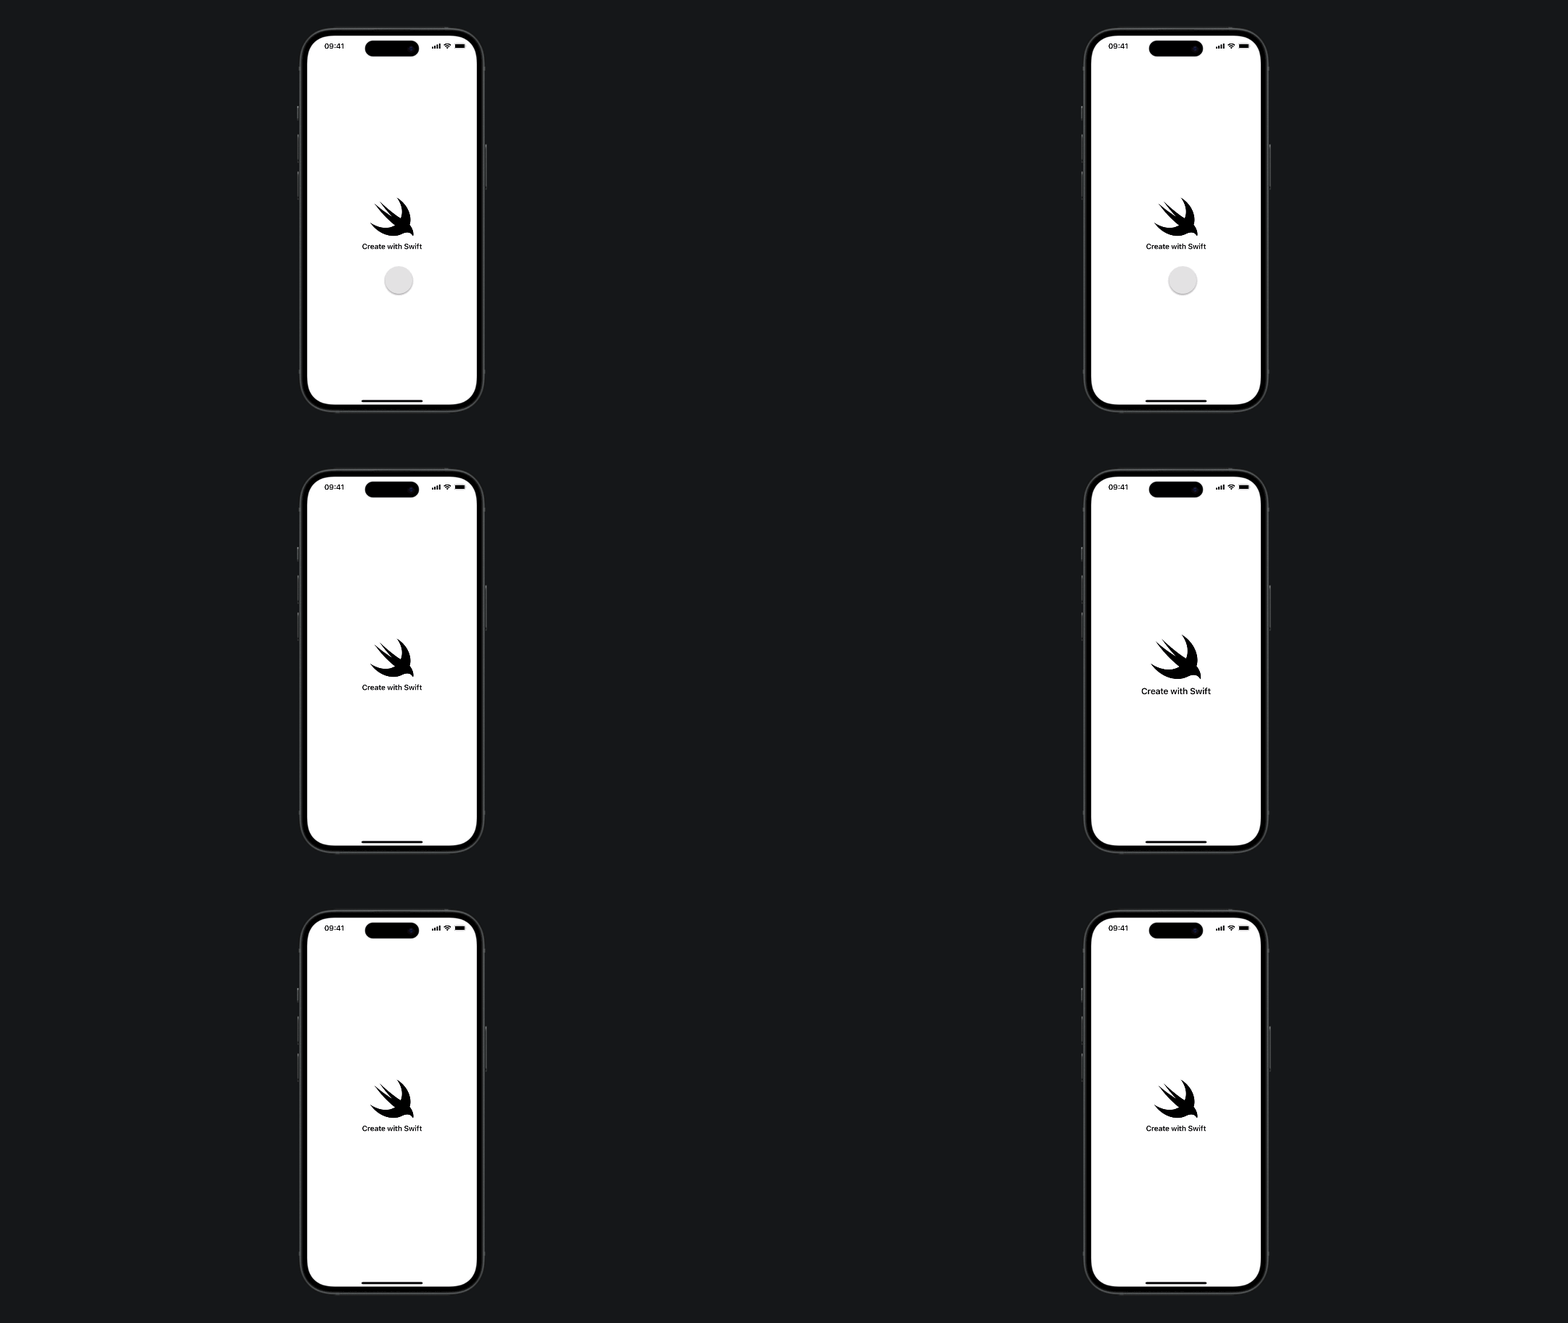
By including a trigger value in the initializer, we can control when the animation should be performed. This means that every time the value changes, the animation will be triggered.
import SwiftUI

struct SwiftUIView: View {

    @State var trigger: Bool = false

    var body: some View {

        PhaseAnimator(AnimationPhase.allCases, trigger: trigger) { phase in
            VStack {

                Image(systemName: "swift")
                    .resizable()
                    .scaledToFit()
                    .frame(width: 100, height: 100)

                    .onTapGesture {
                        trigger.toggle()
                    }

                Text("Create with Swift")
                    .bold()
            }

            .padding()
            .scaleEffect(CGSize(
                width: phase.animationValue,
                height: phase.animationValue
            ))
        }

    }

}

Adding animation while transitioning among steps
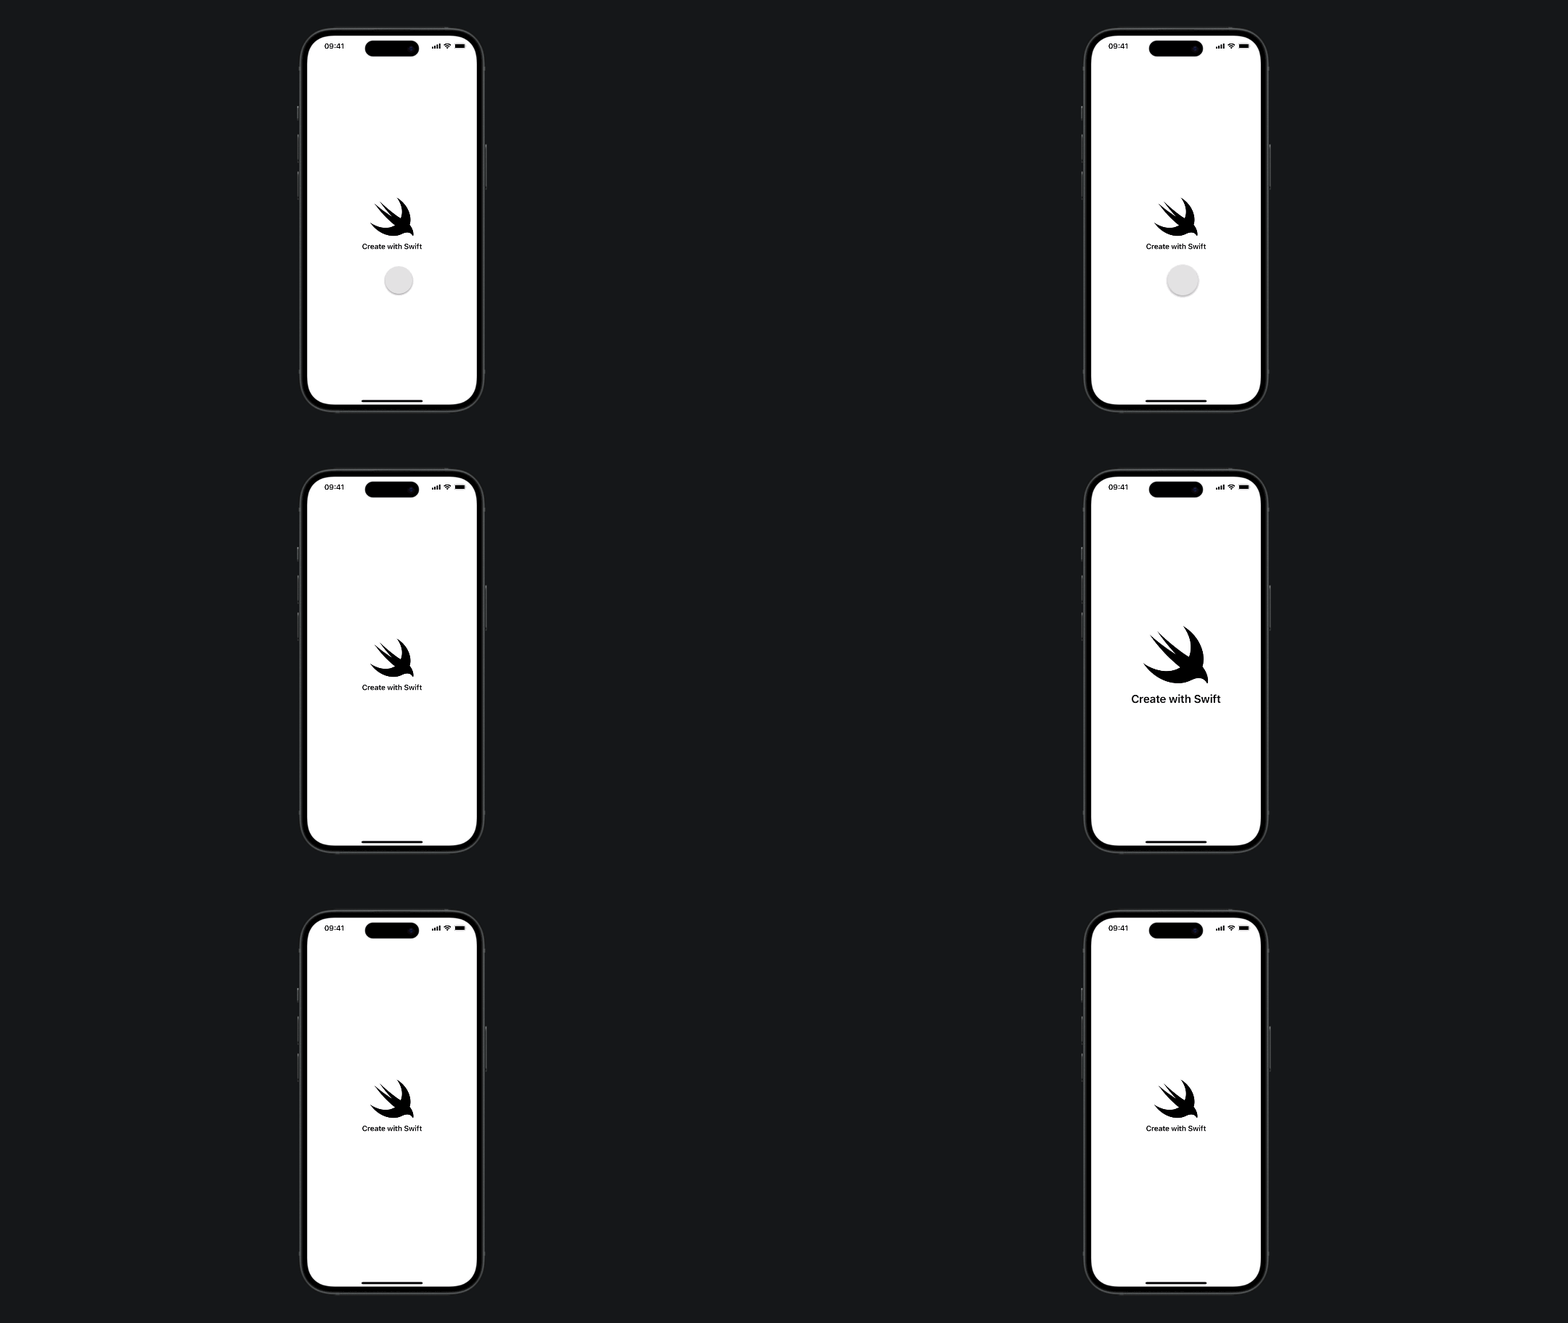
When the PhaseAnimator moves from one step to another we can also animate the the transition behavior for each phase by passing an animation closure.
import SwiftUI

struct ContentView: View {
    @State var trigger: Bool = false

    var body: some View {

        PhaseAnimator(AnimationPhase.allCases, trigger: trigger) { phase in

            VStack {
                Image(systemName: "swift")
                    .resizable()
                    .scaledToFit()
                    .frame(width: 100, height: 100)

                    .onTapGesture {
                        trigger.toggle()
                    }

                Text("Create with Swift")
                    .bold()
            }
            .padding()

            .scaleEffect(CGSize(
                width: phase.animationValue,
                height: phase.animationValue
            ))

        } animation: { phase in
            switch phase {
                case .initial : .easeIn
                case .middle : .bouncy(extraBounce: 0.8)
                case .end: .easeOut
            }
        }

    }
}

Creating a multi-step animation allows us to bring life to our application user interface. The PhaseAnimator provides the controls to create animations similar to those found in applications like Keynote.
By using the .phaseAnimator view modifier, we can achieve beautiful effects, enhancing user engagement and visual appeal. Remember to not overuse animations though, too much of them might reduce the usability of your app instead of enhancing it.


