Adding spatial audio to an Entity with RealityKit
Learn how to add spatial audio to RealityKit entities in a visionOS app.


Apple Vision Pro is a powerful device, capable of creating powerful immersive experiences for users. Sound is one of the most important components when creating an atmosphere of immersion, especially with spatial audio.
Spatial audio is a sound that adjusts based on the user’s position and orientation, resulting in a more realistic and immersive audio experience. Let’s explore how we can include spatial audio in our immersive experiences in visionOS by linking an audio track to a digital entity with RealityKit.
Before we start
To begin this tutorial, it's important to have a basic understanding of SwiftUI and feel comfortable writing code in Swift. Additionally, to recreate this project, you will need to download the following assets:
Add them to your project after creating it. Ensure to have the option 'copy item if needed' selected when the import window pops up.
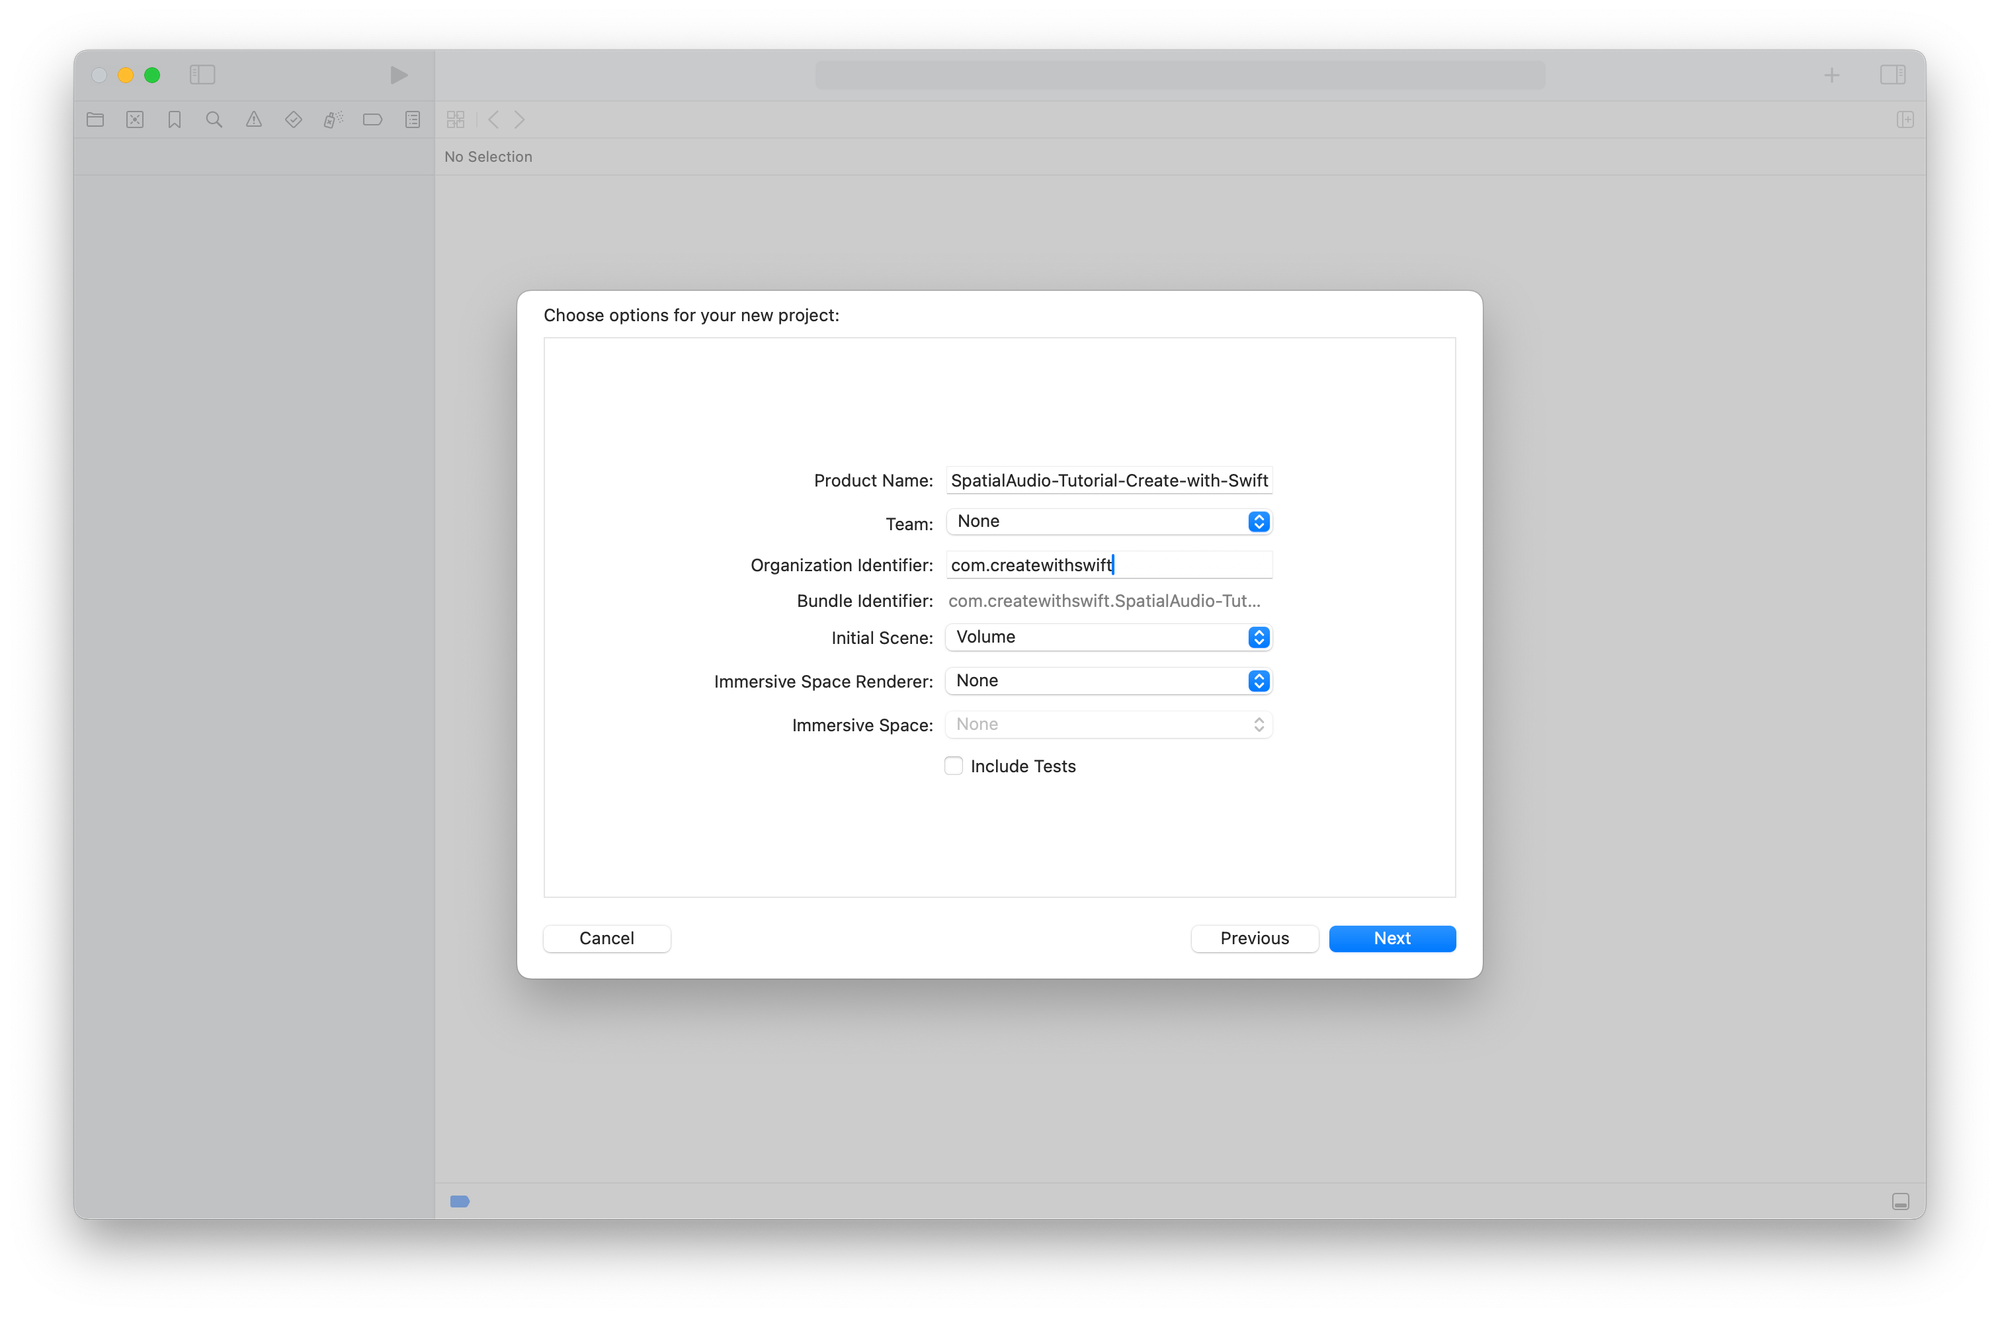
Step 1 - Creating a new project
Create a new visionOS project on Xcode.
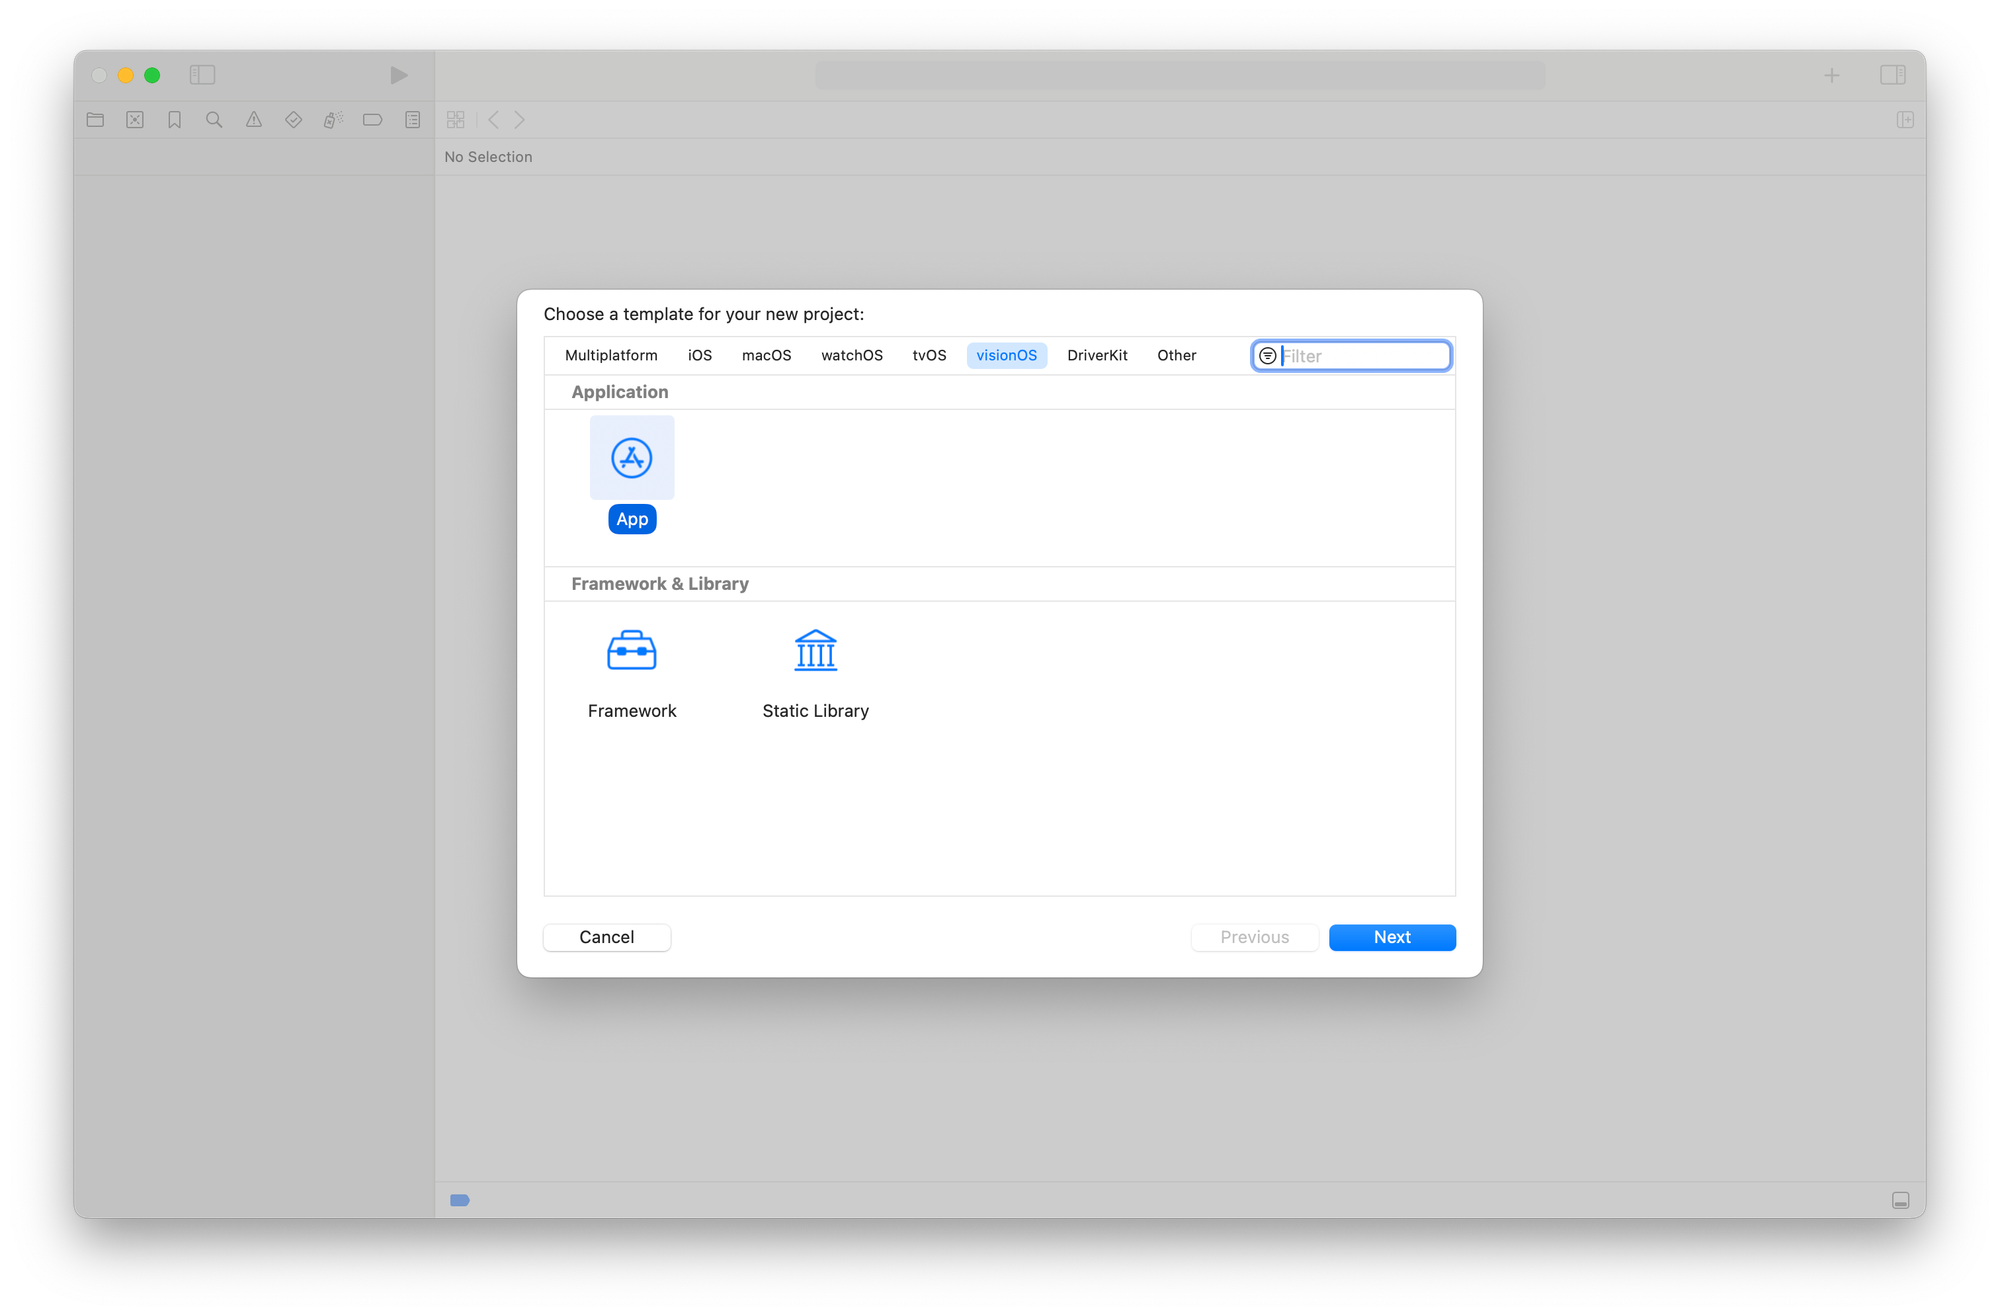
In the setup process specify the following configuration:
- Initial Scene:
Volume - Immersive Space Render:
None - Immersive Space:
None
Step 2 - Create a spatial audio resource
To create an experience with spatial audio we need to create a new entity and attach an audio player to it. This setup allows the audio to change dynamically based on our position relative to the entity, enhancing our immersive experience.
This can be accomplished by defining a simple method that returns an entity object and using it to set up the spatial audio component.
import SwiftUI
import RealityKit

struct ContentView: View {
    var body: some View {
        RealityView { content in
            ...
        }
    }

    func createSpatialAudio() -> Entity {
        // 1.
        let audioSource = Entity()

        // 2.
        audioSource.spatialAudio = SpatialAudioComponent(gain: -5)

        do {
            // 3.
            let resource = try AudioFileResource.load(named: "rain", configuration: .init(shouldLoop: true))

            // 4.
            audioSource.playAudio(resource)
        } catch {
            print("Error loading audio file: \\(error.localizedDescription)")
        }

        // 5.
        return audioSource
    }
}
- Create a new instance of an
EntitycalledaudioSource - Sets the
spatialAudioproperty of theaudioSourceentity with aSpatialAudioComponent, adjusting the overall level of all sounds with thegainparameter. - Load the audio track from the resources.
- Play the audio track with the entity using the
playAudio(_:)method - Return the
Entityobject
Besides the gain we can further customize the Spatial Audio component specifying other properties as the reverbLevel , directLevel and the distanceAttenuation level to set how the sound fades as the listener moves further away from the sound source.
Step 3 - Add directivity to Spatial Audio
To increase the sound immersion we can also specify how the sound radiations are reproduced in the environment. By using the directivity property we are able to go and manage the amplitude of the sound waves and directing them into a specific portion of space.
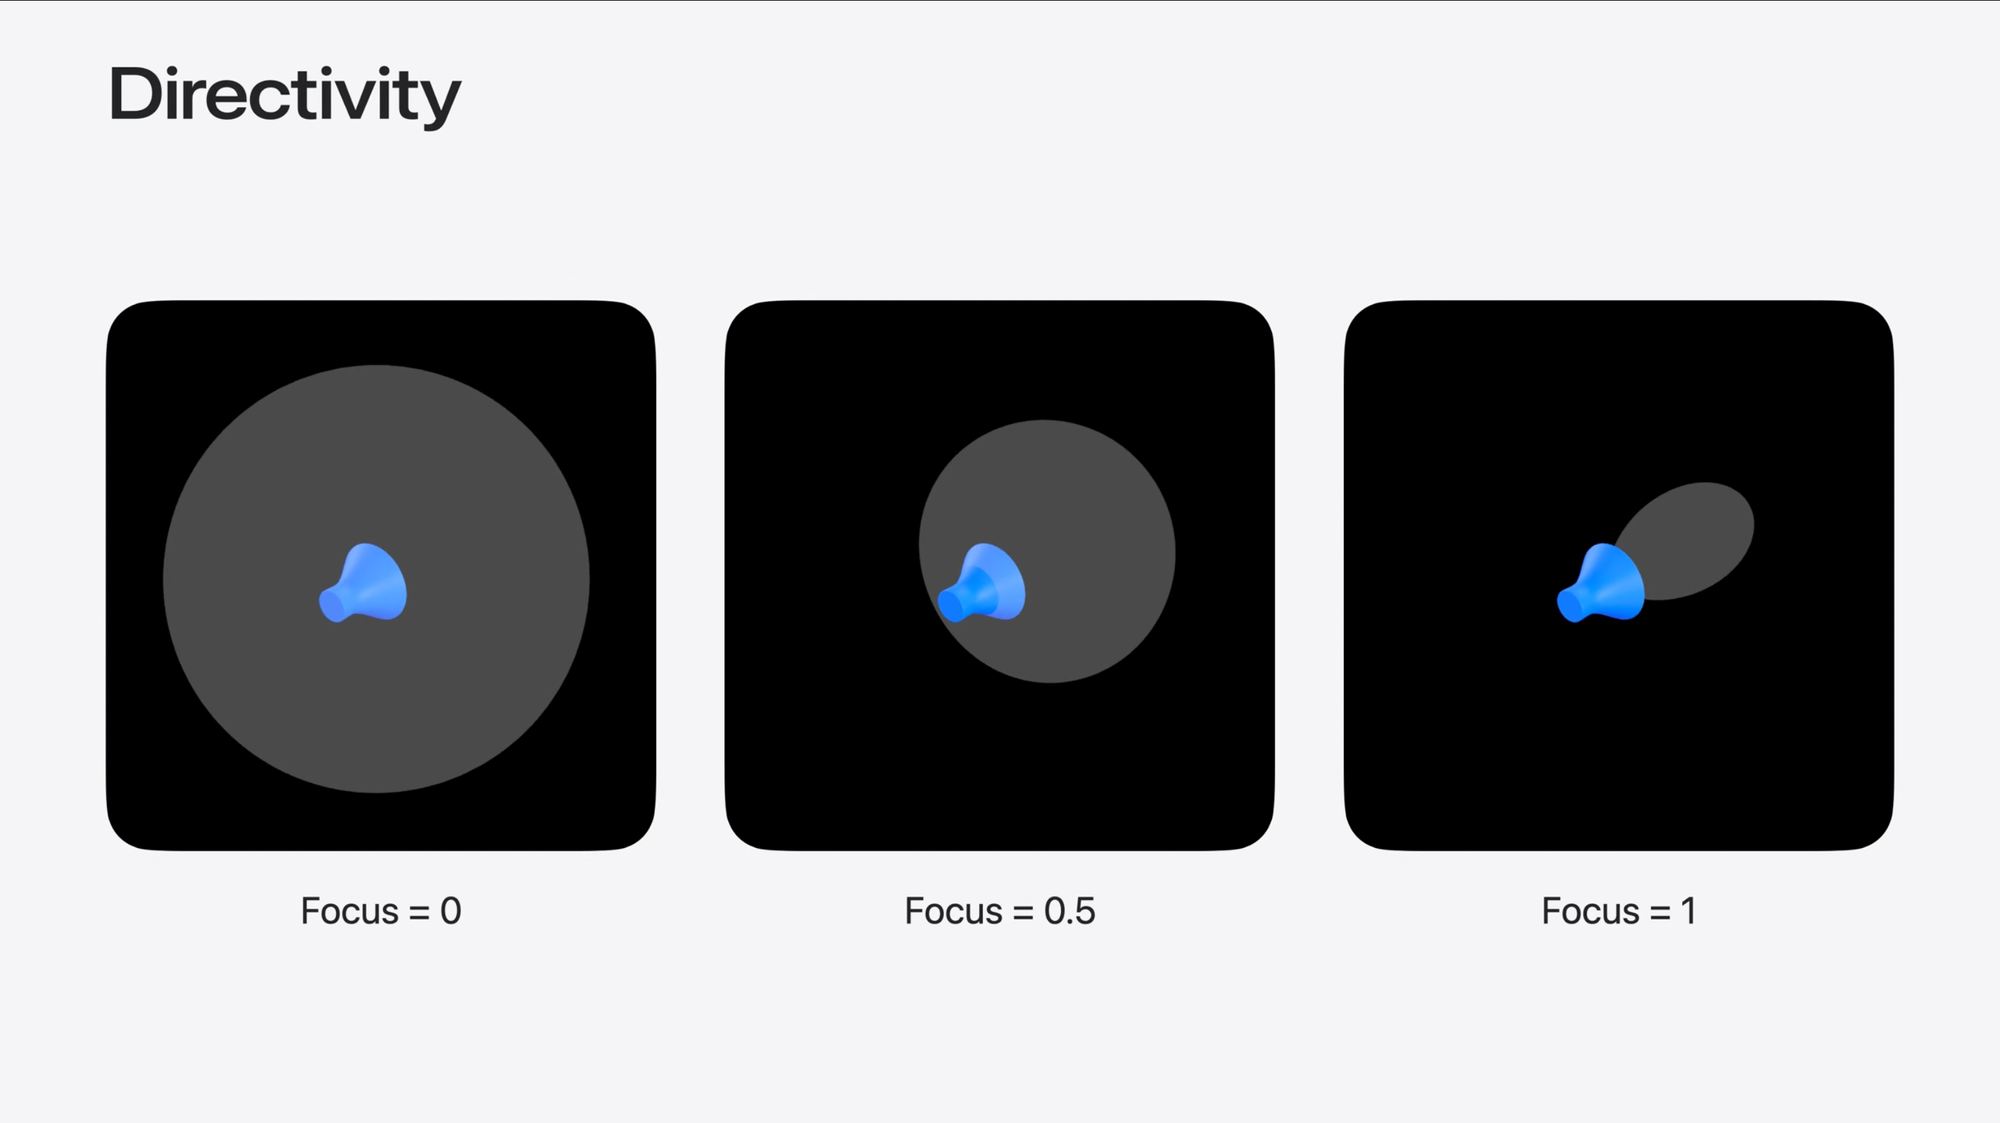
To implement directivity in our sample project we just need to specify this property inside the createSpatialAudio() method:
import SwiftUI
import RealityKit

struct ContentView: View {
    var body: some View {
        RealityView { content in
            ...
        }
    }

    func createSpatialAudio() -> Entity {
        let audioSource = Entity()
        audioSource.spatialAudio = SpatialAudioComponent(gain: -5)

        // Setting directivity property
        audioSource.spatialAudio?.directivity = .beam(focus: 1)

        do {
            let resource = try AudioFileResource.load(named: "rain", configuration: .init(shouldLoop: true))
            audioSource.playAudio(resource)
        } catch {
            print("Error loading audio file: \\(error.localizedDescription)")
        }

        return audioSource
    }
}
Step 4 - Attach the audio track to an entity
In this step, we will display the digital entity that we downloaded using the RealityView container. We will then add the audio emitter as a child entity using the createSpatialAudio() method. Modify the ContentView file as follows.
import SwiftUI
import RealityKit

struct ContentView: View {
    var body: some View {
        RealityView { content in
            // 1.
            if let glassCube = try? await ModelEntity(named: "GlassCube") {
                // 2.
                content.add(glassCube)
                // 3.
                glassCube.addChild(createSpatialAudio())
            }
        } placeholder: {
            ProgressView()
        }
    }

    func createSpatialAudio() -> Entity {
		    ...
    }
}
- Load the GlassCube.usdz entity from the project resources
- Add the
glassCubemodel as the content of theRealityView - To the
glassCubeentity, add the spatial audio entity as its child by calling thecreateSpatialAudio()method
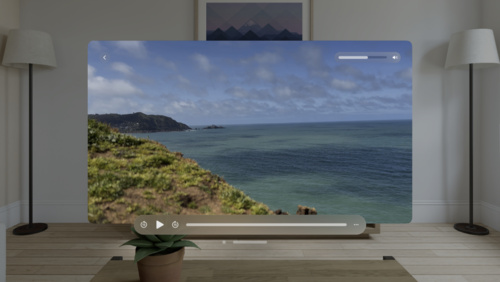
Final Result
SOUND ON: Application running on the visionOS simulator in Xcode.
When you run the app in the simulator, the audio will start playing automatically. To experience Spatial Audio properly wear a pair of headphones that support it and try moving the Glass Cube volume around the room.
If you want to go more in-depth on Spatial Audio for an immersive experience there are WWDC videos covering it. From WWDC 2023 the “Create a great spatial playback experience” session talks about video playback and 3D content:
The session “Enhance your spatial computing app with RealityKit audio” from WWDC 2024 covers spatial audio in 3D immersive experiences. It is worth the watch.