Building a 3D experience in visionOS: Immersive Spaces
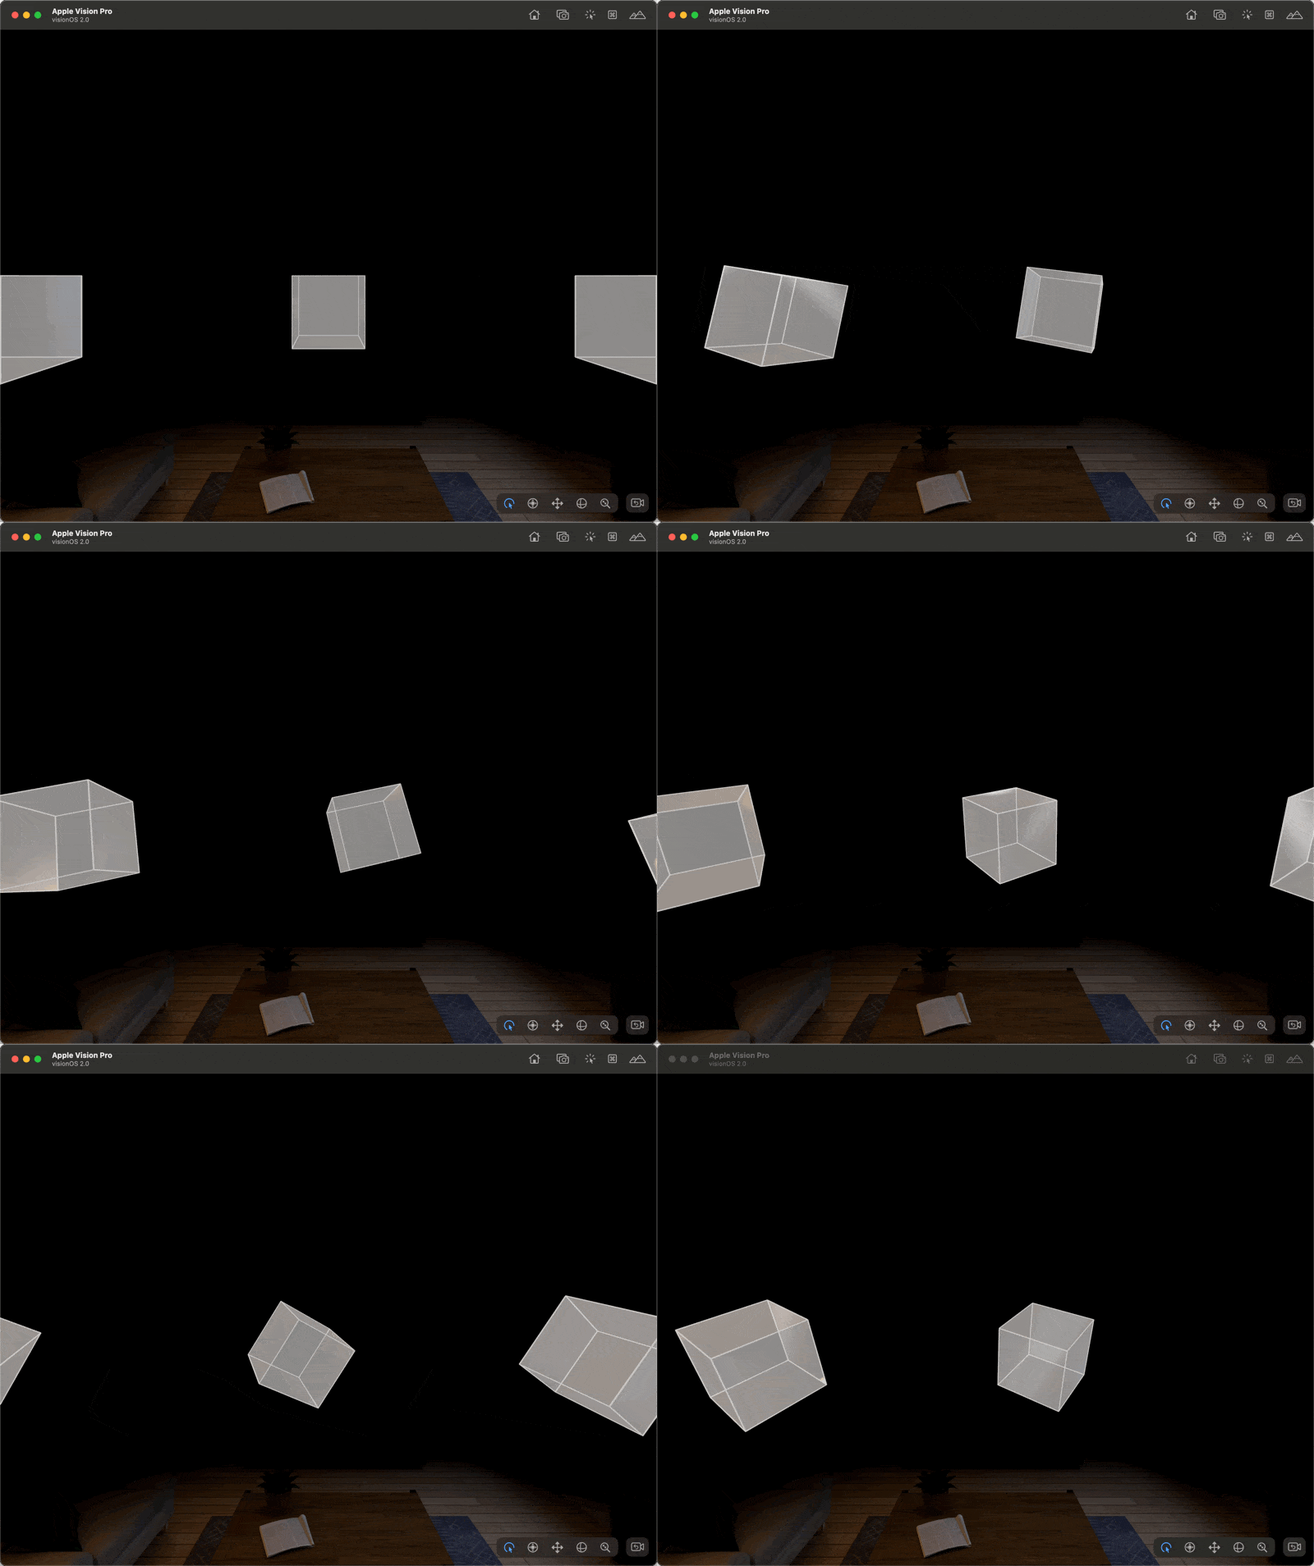
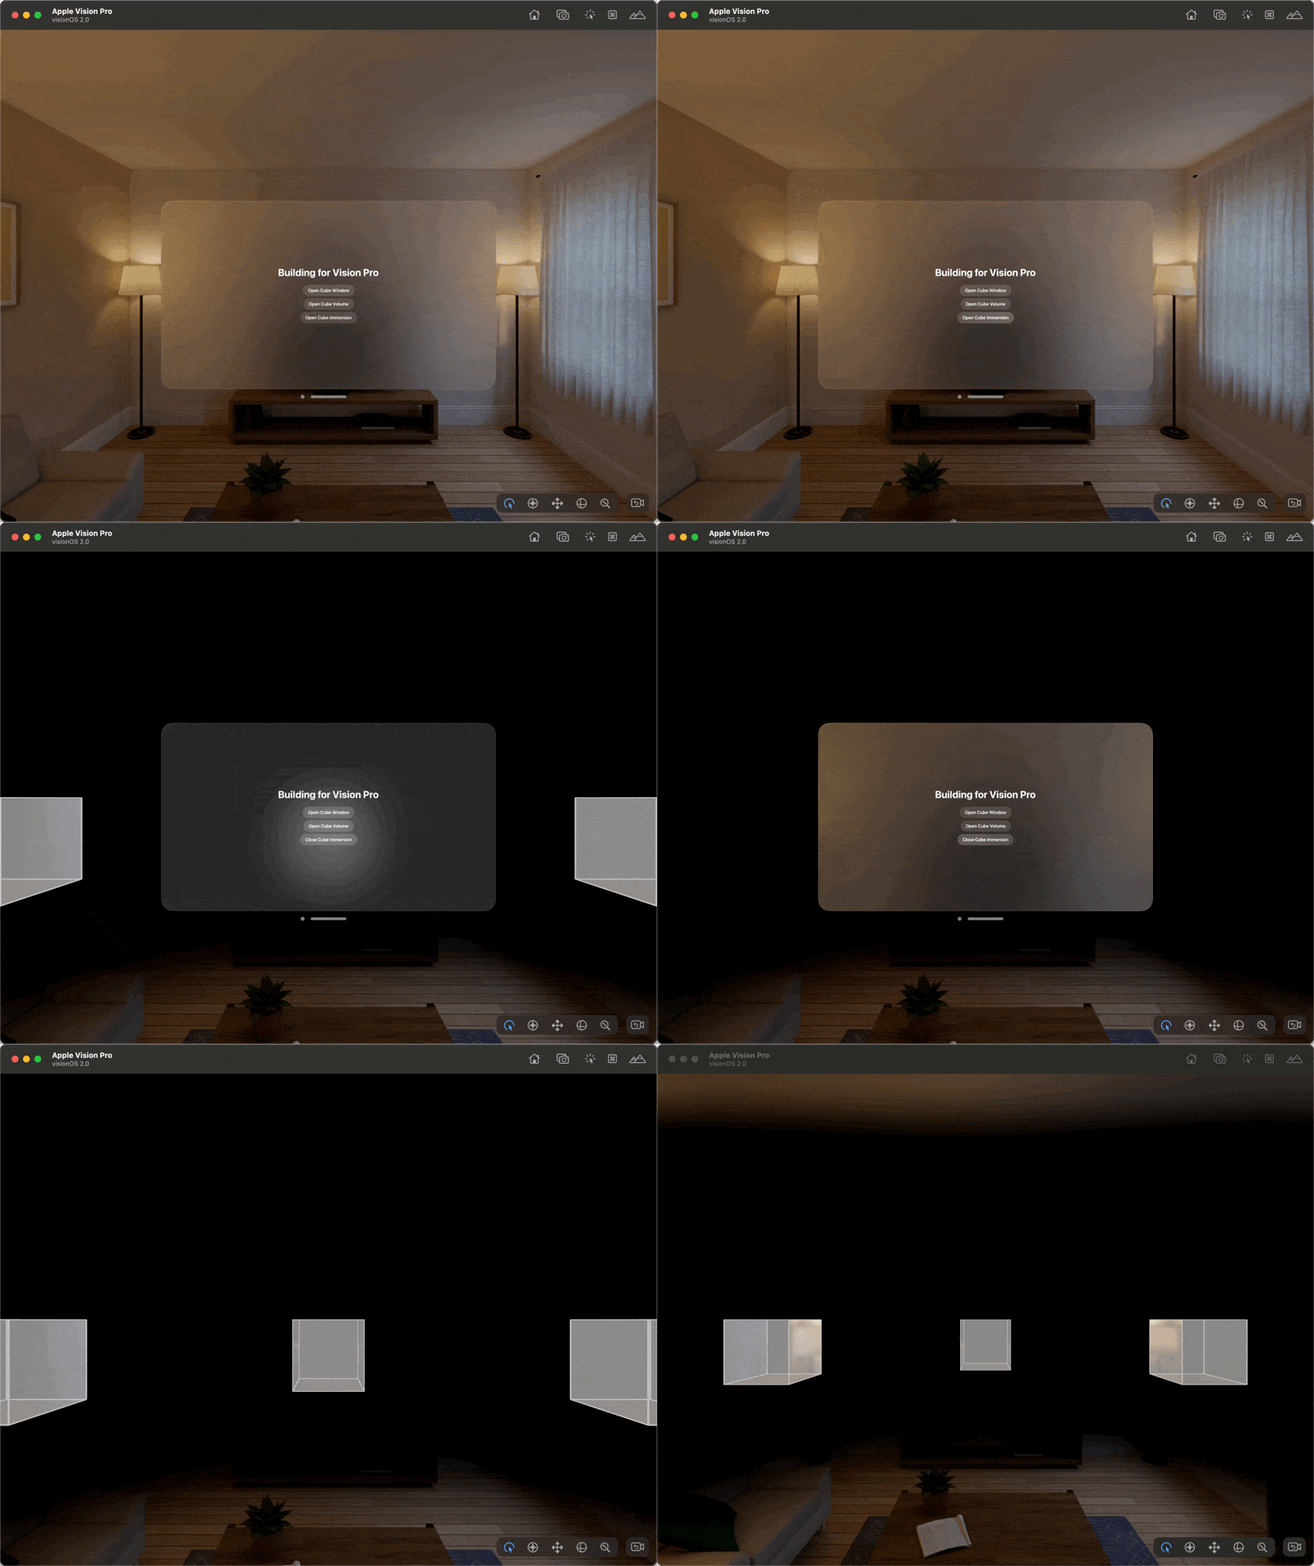
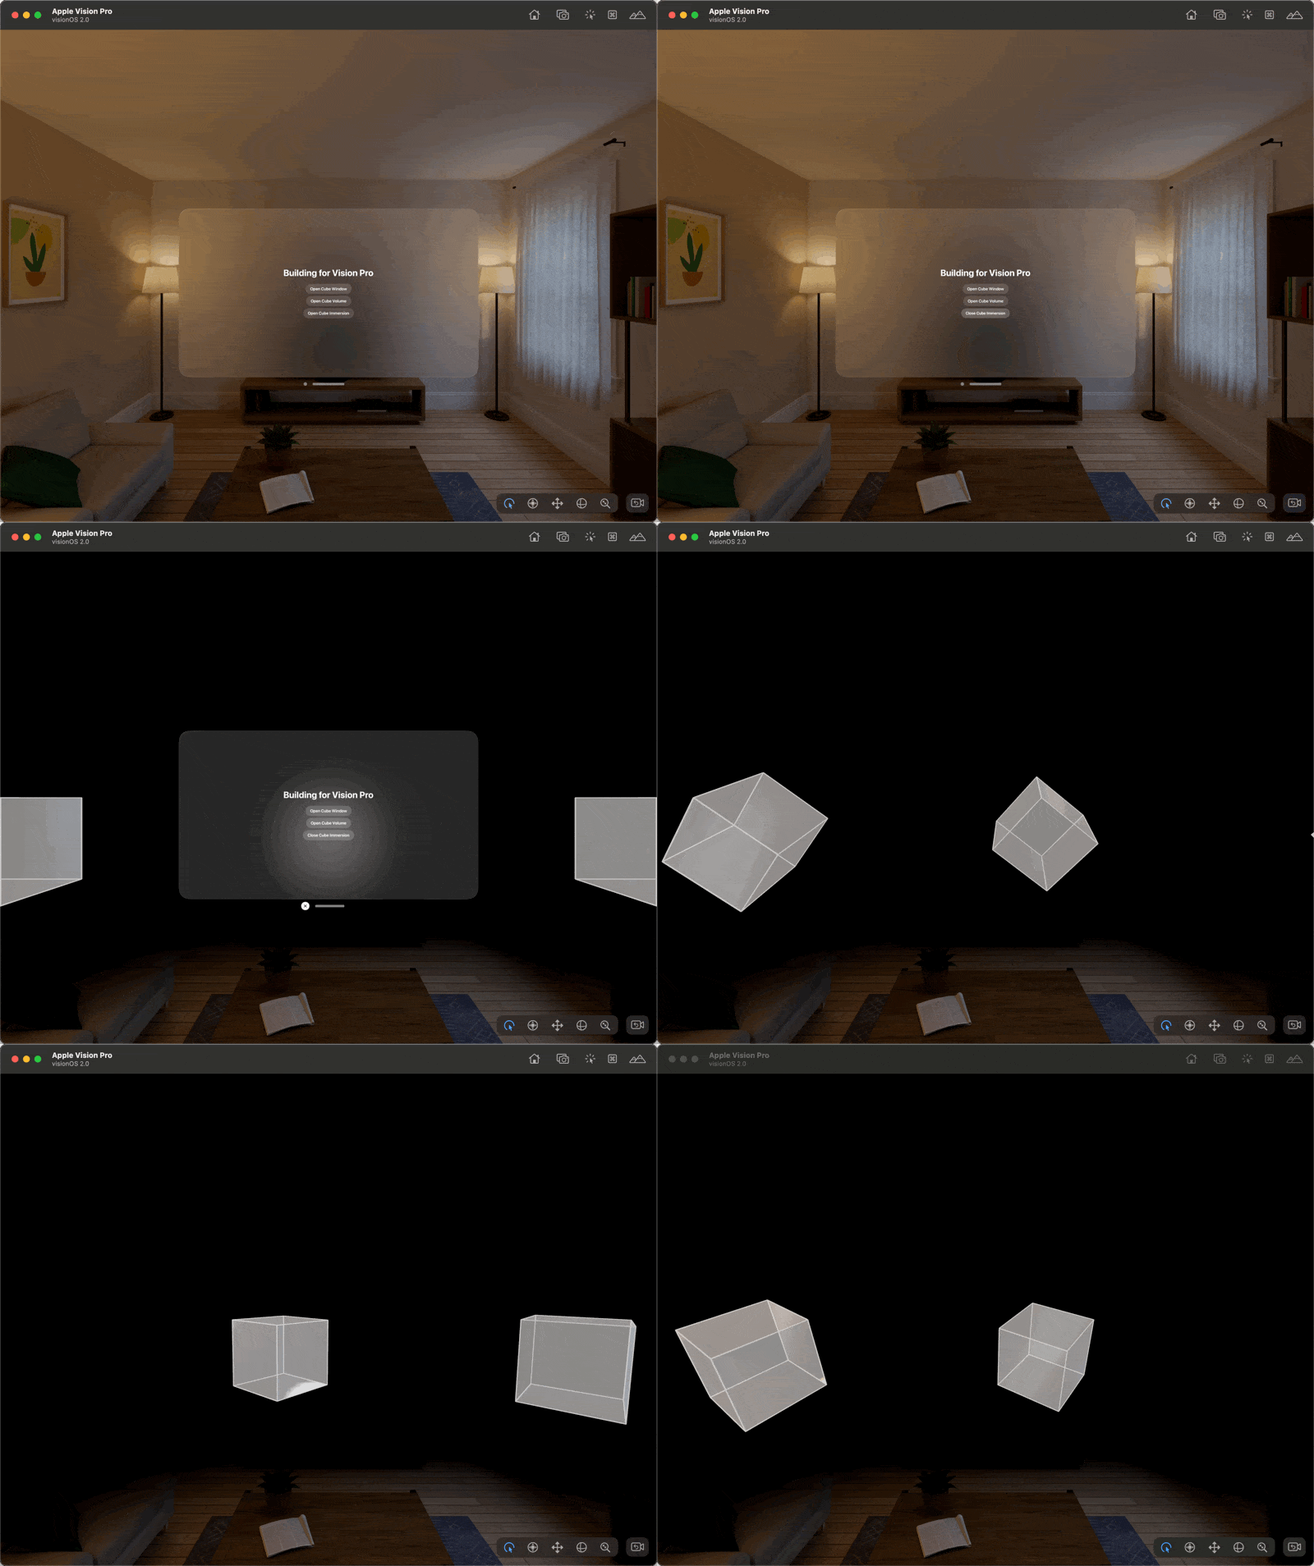
Discover how to create fully immersive 3D experiences in visionOS for Apple Vision Pro by building an immersive space that surrounds users with interactive 3D models.
Welcome to the final tutorial of our Building a 3D experience in visionOS series!
Our previous articles explored Windows and Volumes, introducing you to the fundamentals of spatial computing on Apple Vision Pro. Now, we're taking a leap into the most immersive aspect of visionOS, Spaces.

Spaces allow developers to create fully immersive 3D environments that users can interact with, showcasing the true power of spatial computing.
What You'll Learn
In this tutorial, we'll walk you through the process of creating an immersive space that surrounds the user with interactive 3D cubes. Specifically, you'll learn how to:
- Define and configure an Immersive Space
- Create a fully immersive 3D environment using RealityKit
- Implement user interactions in 3D space
- Manage the lifecycle of an Immersive Space
Let's dive in and create your first immersive experience for visionOS!
Prerequisites
- Completion of the previous tutorials on Windows and Volumes
- Xcode 15.4 or later
- Basic knowledge of SwiftUI and RealityKit
Step 1: Define a new Immersive Space
- Open
Building_for_Vision_ProApp.swift - Add a new
ImmersiveSpaceusing this initialiserImmersiveSpace(id: String, content: () -> View)- Use
CubeImmersiveas an id (This will be useful in future steps). - Use
CubeImmersiveView()as the view to display in the volume content. We'll create in the next step
- Use
ImmersiveSpace(id: "CubeImmersive") {
    CubeImmersiveView()
}- Add a state variable to track the selected immersion style and provide the default one:
@State private var selectedImmersionStyle: ImmersionStyle = .progressive
- Configure the appearance and behavior of an
ImmersiveSpaceby adding theimmersionStyle(selection:in:)scene modifier.
ImmersiveSpace(id: "CubeImmersive") {
    CubeImmersiveView()
}
.immersionStyle(selection: $selectedImmersionStyle,
                in: .mixed, .progressive, .full)
Step 2: Create the CubeImmersiveView
- Create a new SwiftUI view named
CubeImmersiveView:- Press
Cmd + Nor navigate to File > New > File - Select "SwiftUI View" from the template options
- Name it
CubeImmersiveView.swift
- Press
- Set up the RealityView for the immersive space:
import SwiftUI
import RealityKit

struct CubeImmersiveView: View {
    @State private var rotation: Double = 0

    var body: some View {
        RealityView { content in
            let anchor = AnchorEntity()
            if let cube = try? await ModelEntity(named: "Cube") {
                let numberOfCubes = 8
                for index in 0..<numberOfCubes {
                    let angle = Float(index) * (2 * .pi / Float(numberOfCubes))
                    let xPosition = cos(angle)
                    let zPosition = sin(angle)
                    let cubeEntity = cube.clone(recursive: false)
                    cubeEntity.position = [xPosition, 1.5, zPosition]
                    anchor.addChild(cubeEntity)
                }
            }
            content.add(anchor)
        }
    }
}
Step 3: Implement Immersive Space Management in LaunchView
- Open
LaunchView.swift - Add the
openImmersiveSpaceanddismissImmersiveSpaceenvironment actions for managing immersive spaces:
@Environment(\.openImmersiveSpace) private var openImmersiveSpace
@Environment(\.dismissImmersiveSpace) private var dismissImmersiveSpace- Add a state variable to track the immersive space status:
@State private var isImmersiveSpaceOpen: Bool = false- Add a button to toggle the immersive space
Button(isImmersiveSpaceOpen ? "Close Cube Immersion" : "Open Cube Immersion") {
    Task {
        if isImmersiveSpaceOpen {
            await dismissImmersiveSpace()
            isImmersiveSpaceOpen = false
        } else {
            let result = await openImmersiveSpace(id: "CubeImmersive")
            switch result {
            case .opened:
                isImmersiveSpaceOpen = true
            case .userCancelled, .error:
                isImmersiveSpaceOpen = false
            @unknown default:
                isImmersiveSpaceOpen = false
            }
        }
    }
}
openImmersiveSpace(id:) requires an ID. This ID is used to identify which immersive space to open. It corresponds to the identifier you've defined elsewhere in your app for the specific immersive space content.dismissImmersiveSpace() doesn't require an ID parameter. An app can display only one space at a time, and it’s an error for you to try to open a space while another space is visible. When you call dismissImmersiveSpace(), it automatically closes the active immersive space, regardless of its ID.
Step 4: Add Interaction to the Immersive Space
- In
CubeImmersiveView.swiftdefine a state variable that will determine the angle of cube rotation along all the axes@State private var rotation:Double = 0 - Add a
DragGestureto theRealityViewin order to rotate all cubes
.gesture(
    DragGesture(minimumDistance: 0)
        .onChanged { value in
            rotation += value.translation.width/100
        }
        .targetedToAnyEntity()
)- Add the InputTarget component and the ColliosionShapes
cubeEntity.generateCollisionShapes(recursive: false)
cubeEntity.components.set(InputTargetComponent())
to entities before adding then to the RealityView content
RealityView { content in
    let anchor = AnchorEntity()
    if let cube = try? await ModelEntity(named: "Cube") {
        let numberOfCubes = 8
        for index in 0..<numberOfCubes {
            let angle = Float(index) * (2 * .pi / Float(numberOfCubes))
            let xPosition = cos(angle)
            let zPosition = sin(angle)
            let cubeEntity = cube.clone(recursive: false)
            cubeEntity.position = [xPosition, 1.5, zPosition]
            cubeEntity.generateCollisionShapes(recursive: false)
            cubeEntity.components.set(InputTargetComponent())
            anchor.addChild(cubeEntity)
        }
    }
    content.add(anchor)
}- Edit the RealityView to update all the entities according to the rotation state variable by adding the
updateclosure
RealityView { content in
    // previous cubes creation code
} update: { content in
    if let anchor = content.entities.first {
        anchor.transform.rotation = simd_quatf(angle: Float(rotation) * .pi / 180, axis: [0, 1, 0])
        for entity in anchor.children {
            entity.transform.rotation = simd_quatf(
                Rotation3D(angle: Angle2D(degrees: rotation), axis: .xyz)
            )
        }
    }
}
.gesture(
    // previous cube interaction code
)

Conclusion
Congratulations! You've now created a fully immersive experience in visionOS. You've learned how to:
- Define and configure an Immersive Space
- Create a 3D environment that surrounds the user
- Implement interactions in 3D space
- Manage the lifecycle of an Immersive Space
This immersive interface allows users to step into a fully realized 3D environment, showcasing the most immersive capabilities of spatial computing on Apple Vision Pro.
You've now completed our tutorial series on Windows, Volumes, and Immersive Spaces in visionOS. You have the foundational knowledge to start creating amazing spatial computing experiences for Apple Vision Pro!


