
Building a 3D experience in visionOS: Windows
Learn how to build a 3D experience in visionOS using Windows by creating an app that displays an interactive 3D model in a window on Apple Vision Pro.


Welcome to our comprehensive tutorial series on developing for visionOS! In this series, we'll explore three fundamental concepts of spatial computing on Apple Vision Pro: Windows, Volumes, and Immersive Spaces. Each tutorial will guide you through creating interactive experiences that showcase the unique capabilities of visionOS.
This first article focuses on Windows, the most familiar paradigm for users transitioning from traditional interfaces to the spatial computing environment. We'll walk you through creating a windowed 3D experience, demonstrating key concepts and interactions unique to visionOS.
What You'll Learn
In this tutorial, you'll create an app that displays a 3D cube in a window. You'll learn how to:
- Set up a visionOS project in Xcode
- Create and manage windows in a spatial environment
- Implement 3D content using SwiftUI and RealityKit
- Add user interactions to manipulate 3D objects
- Utilize ornaments to display information in 3D space
Let's dive in and start building your first interactive 3D window for visionOS!
Prerequisites
- Xcode 15.4 or later
- Basic knowledge of SwiftUI
- Familiarity with iOS development
Step 1: Create a new Xcode project
- Open Xcode and select "Create a New Project...".
- Choose the visionOS app template.
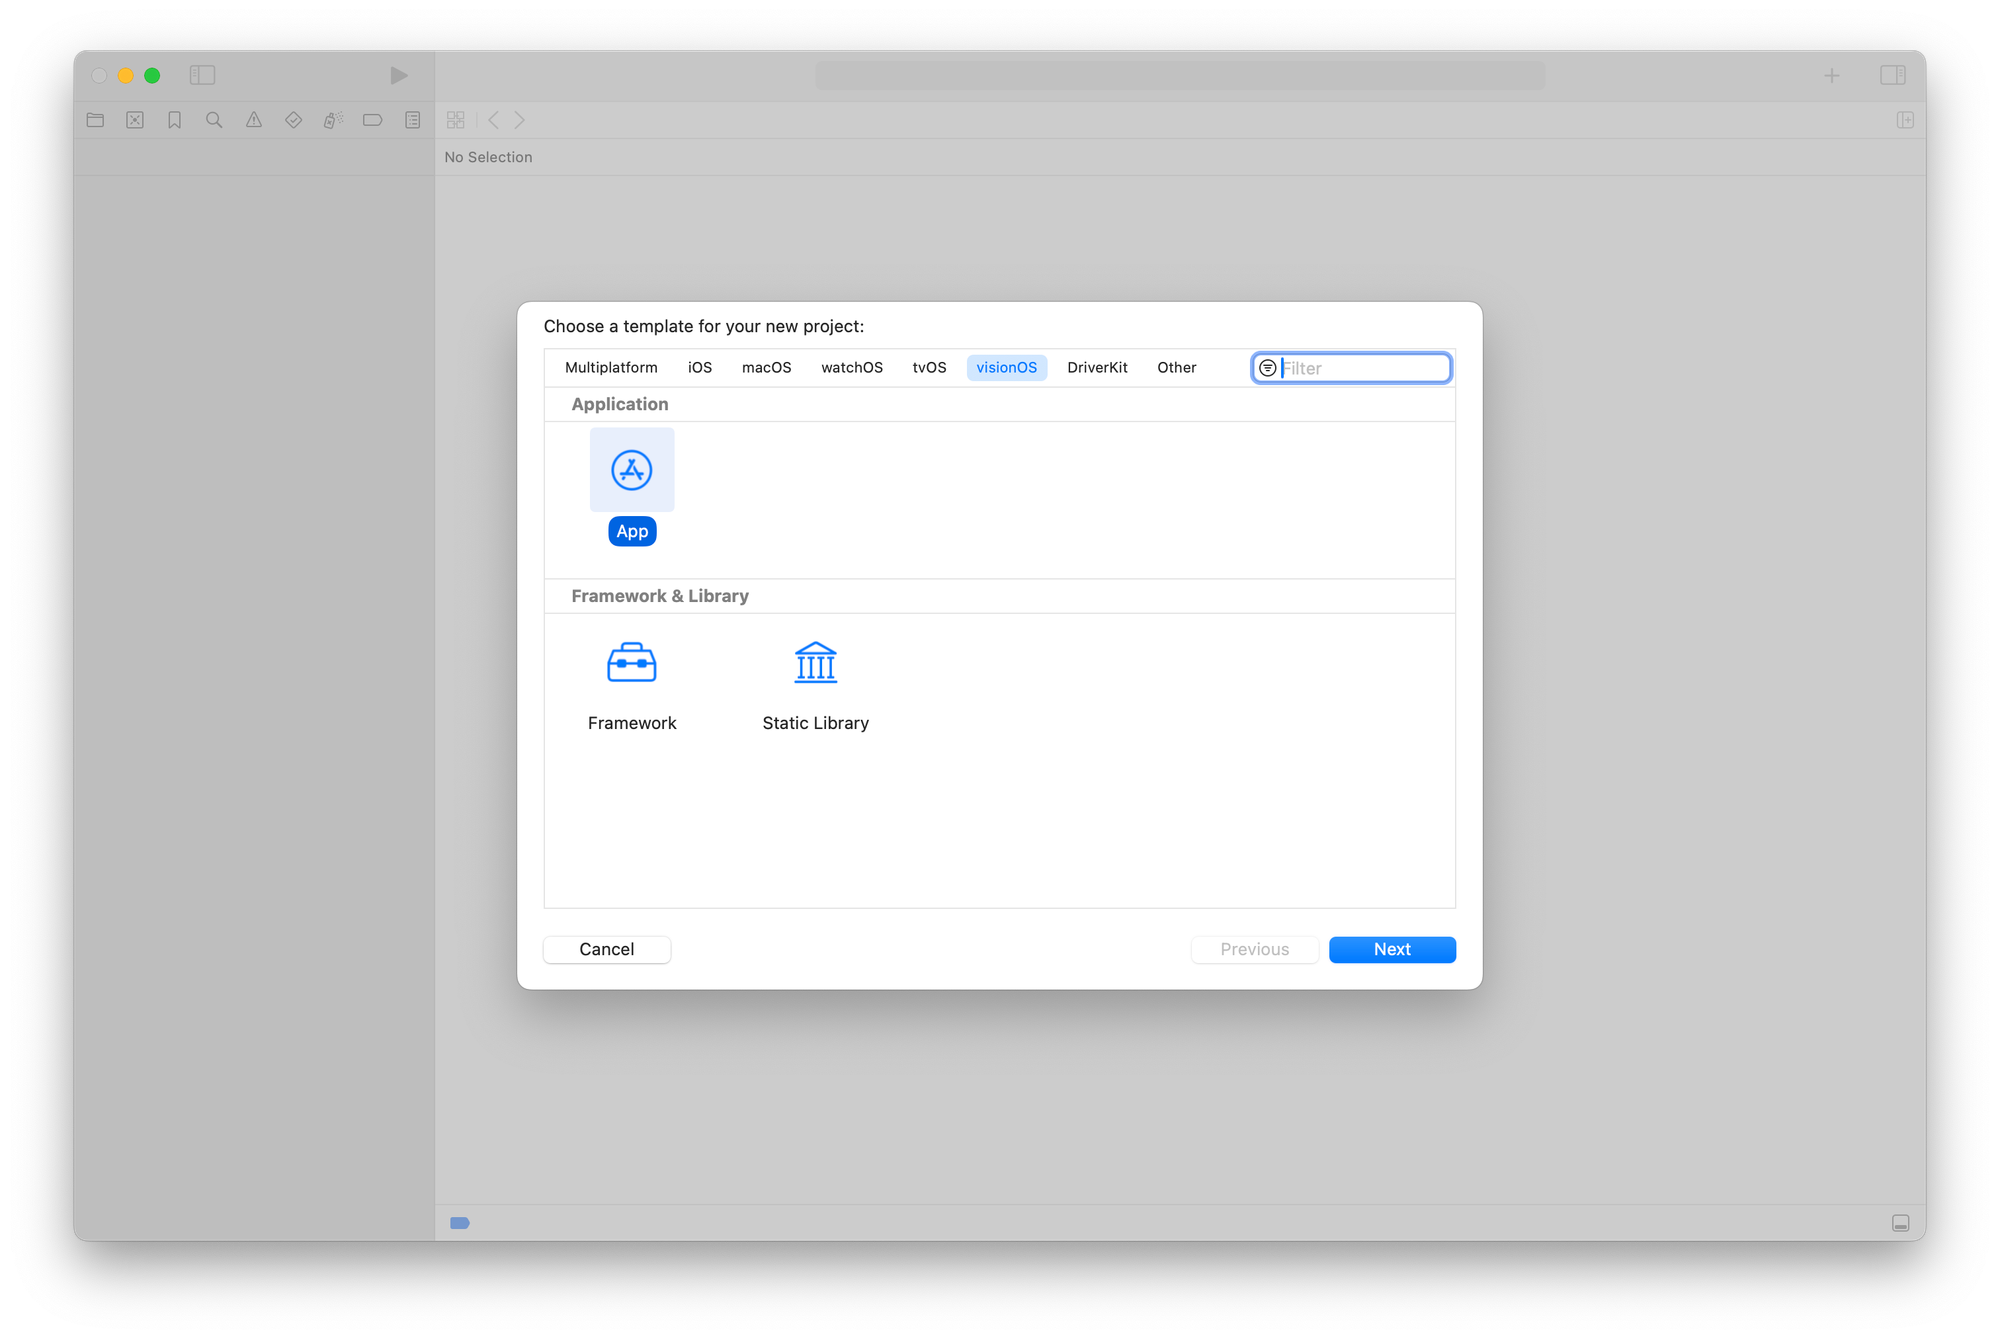
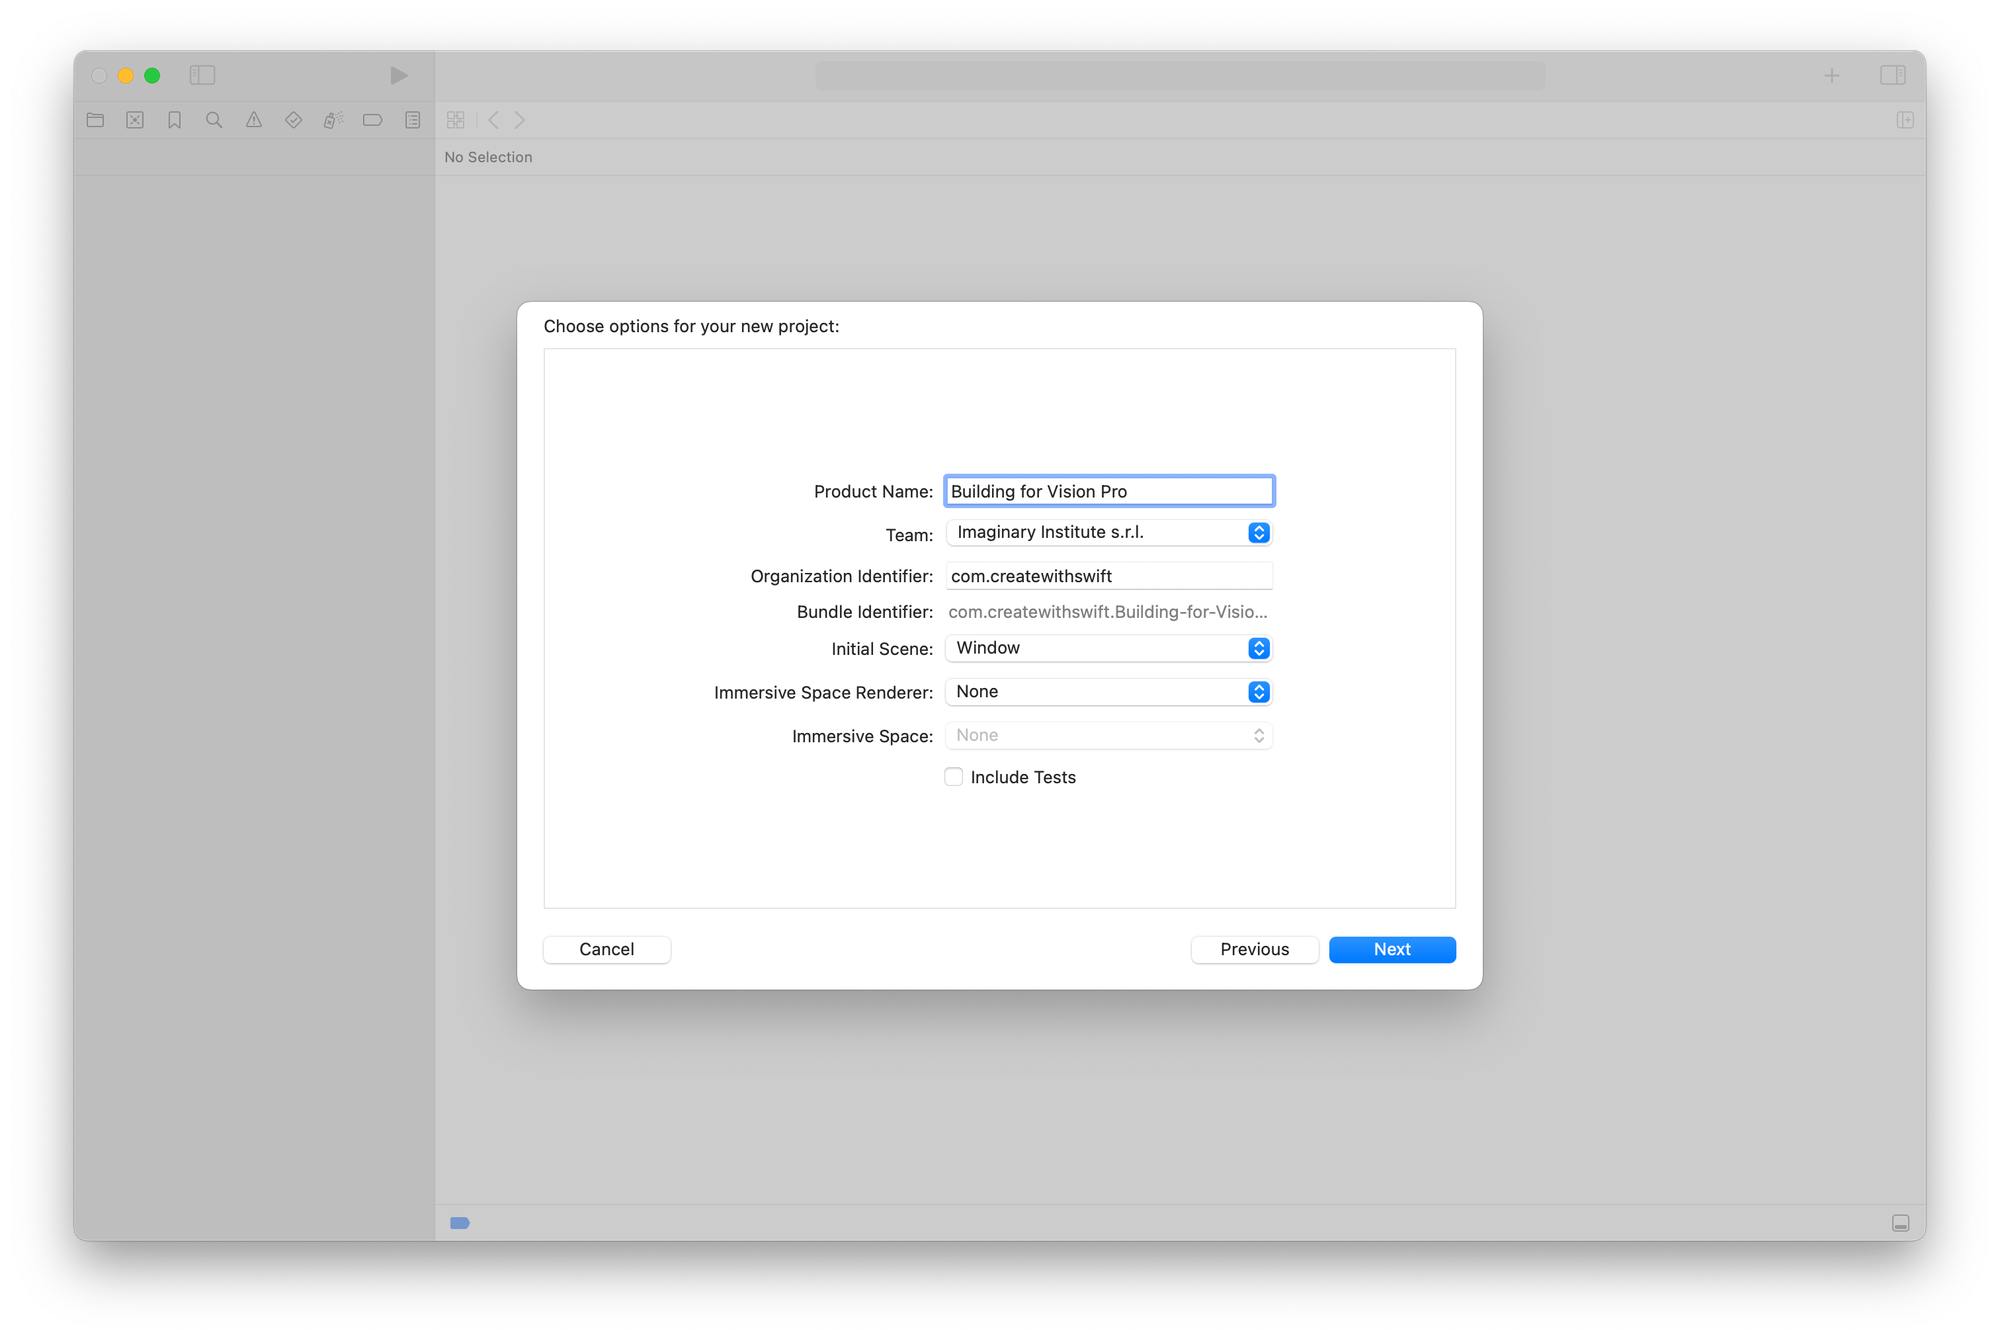
- Set the following options:
- Set Initial Scene to "Window"
- Set Immersive Space Renderer to "None"
- Name your project "Building for Vision Pro"
- Click "Create" to generate the project.
Step 2: Set up the project structure
- Remove the default
ContentView:- In the Project Navigator, locate
ContentView.swift - Right-click on the file and select "Delete"
- Choose "Move to Trash" when prompted
- In the Project Navigator, locate
- Create a new SwiftUI View named LaunchView:
- Press
Cmd + Nor navigate to File > New > File - Select "SwiftUI View" from the template options
- Name the new file
LaunchView.swift - Click "Create"
- Press
- Update the main app file:
- Open
Building_for_Vision_ProApp.swift
- Open
- Replace
ContentView()withLaunchView()
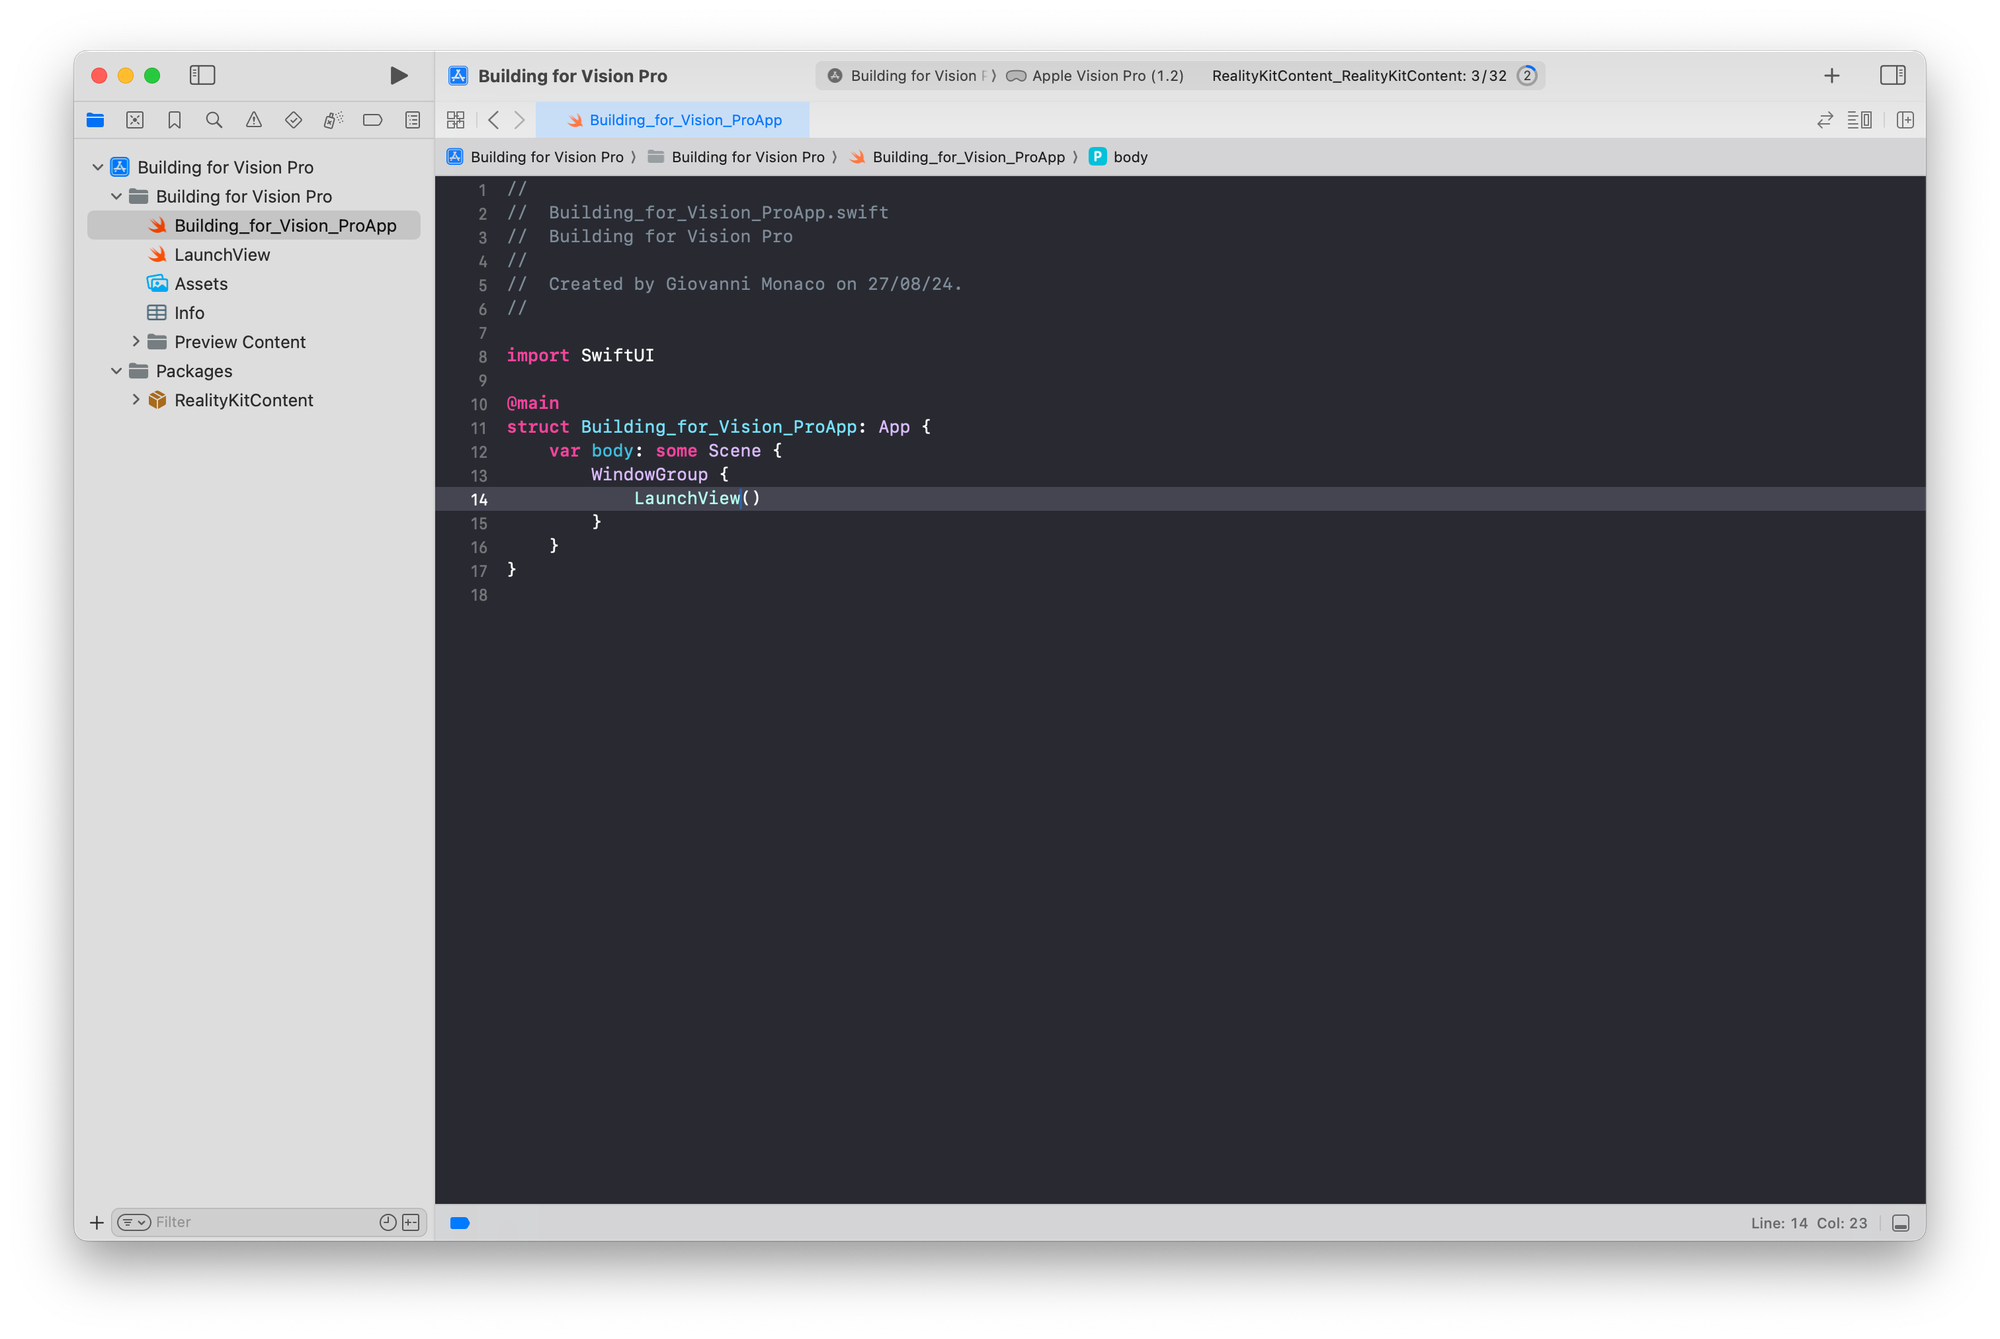
ContentView() with LaunchView()Step 3: Create the CubeModel3DView
- Create a new SwiftUI View named CubeModel3DView:
- Follow the same steps as before to create a new file
- Name it
CubeModel3DView.swift
- Set up the 3D view:
- Add
import RealityKitat the top of the file - Replace
Text("Hello World")withModel3D - Add padding to the back of the view:
- Add
Model3D(named: "Cube")
    .padding3D(.back, 80)
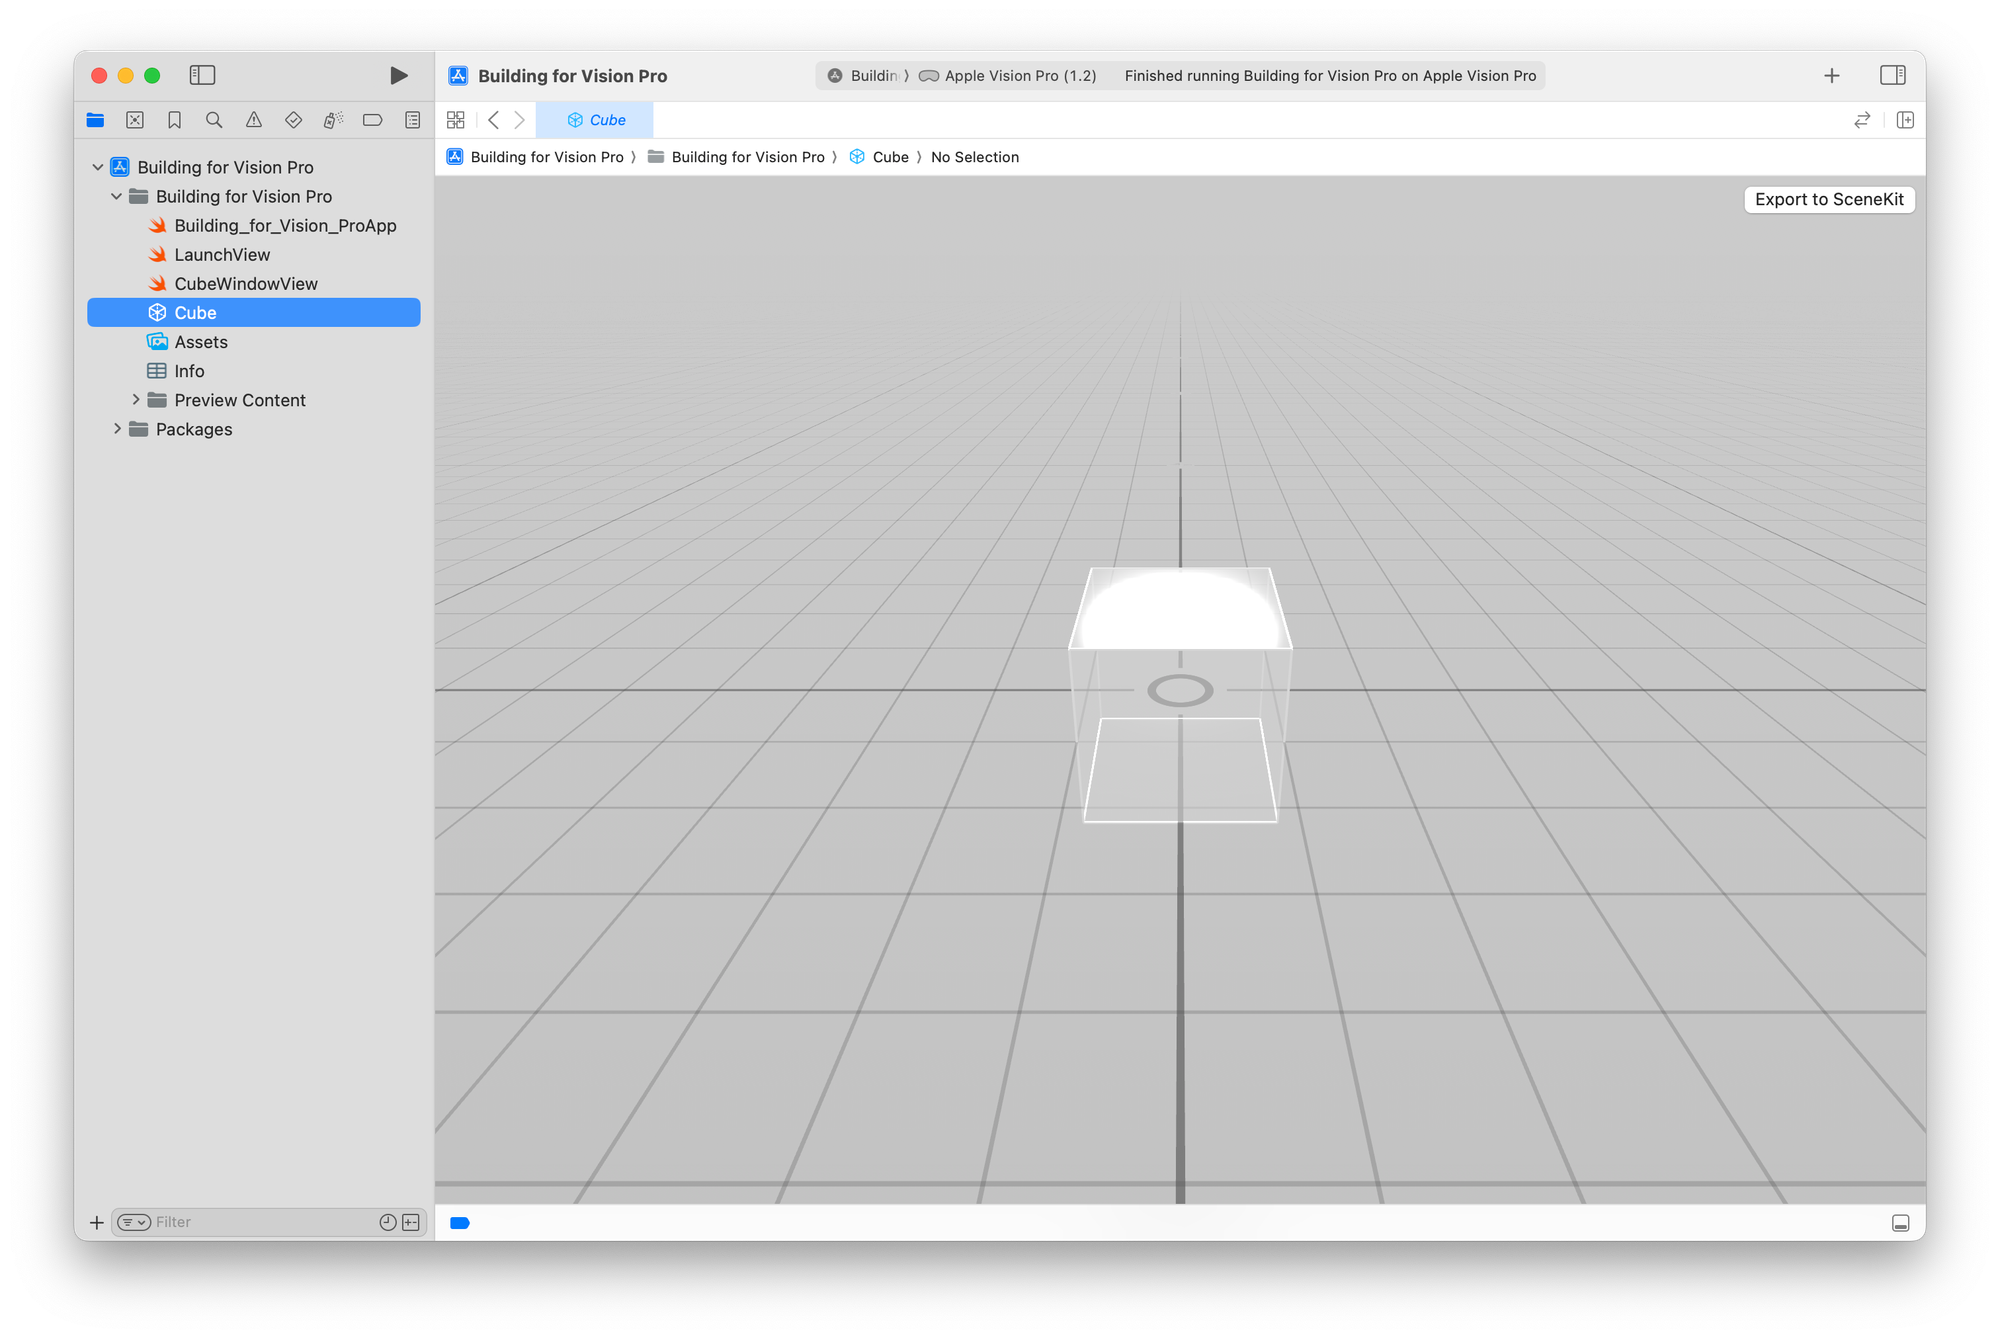
- Add the 3D model:
- Download the
Cube.usdzfile
- Download the
- In Xcode, right-click on your project in the Navigator
- Select "Add Files to "Building for Vision Pro""
- Choose the
Cube.usdzfile - Ensure "Copy items if needed" is checked
- Click "Add"
Cube.usdz fileStep 4: Configure the Window Group
- Open
Building_for_Vision_ProApp.swift - Add a new Window Group for the 3D cube:
WindowGroup(id: "CubeWindow") {
    CubeModel3DView()
}
.defaultSize(width: 500, height: 500)
.defaultSize scene modifier sets a default window width and height only when the it first appears. People can later resize the window using interface controls that the system provides. Also, during state restoration, the system restores windows to their most recent size rather than the default size.Step 5: Implement window management in LaunchView
- Open
LaunchView.swift - Add environment actions for opening and dismissing windows:
@Environment(\.openWindow) private var openWindow
@Environment(\.dismissWindow) private var dismissWindow- Add a state variable to track window status:
@State private var isWindowOpen: Bool = false
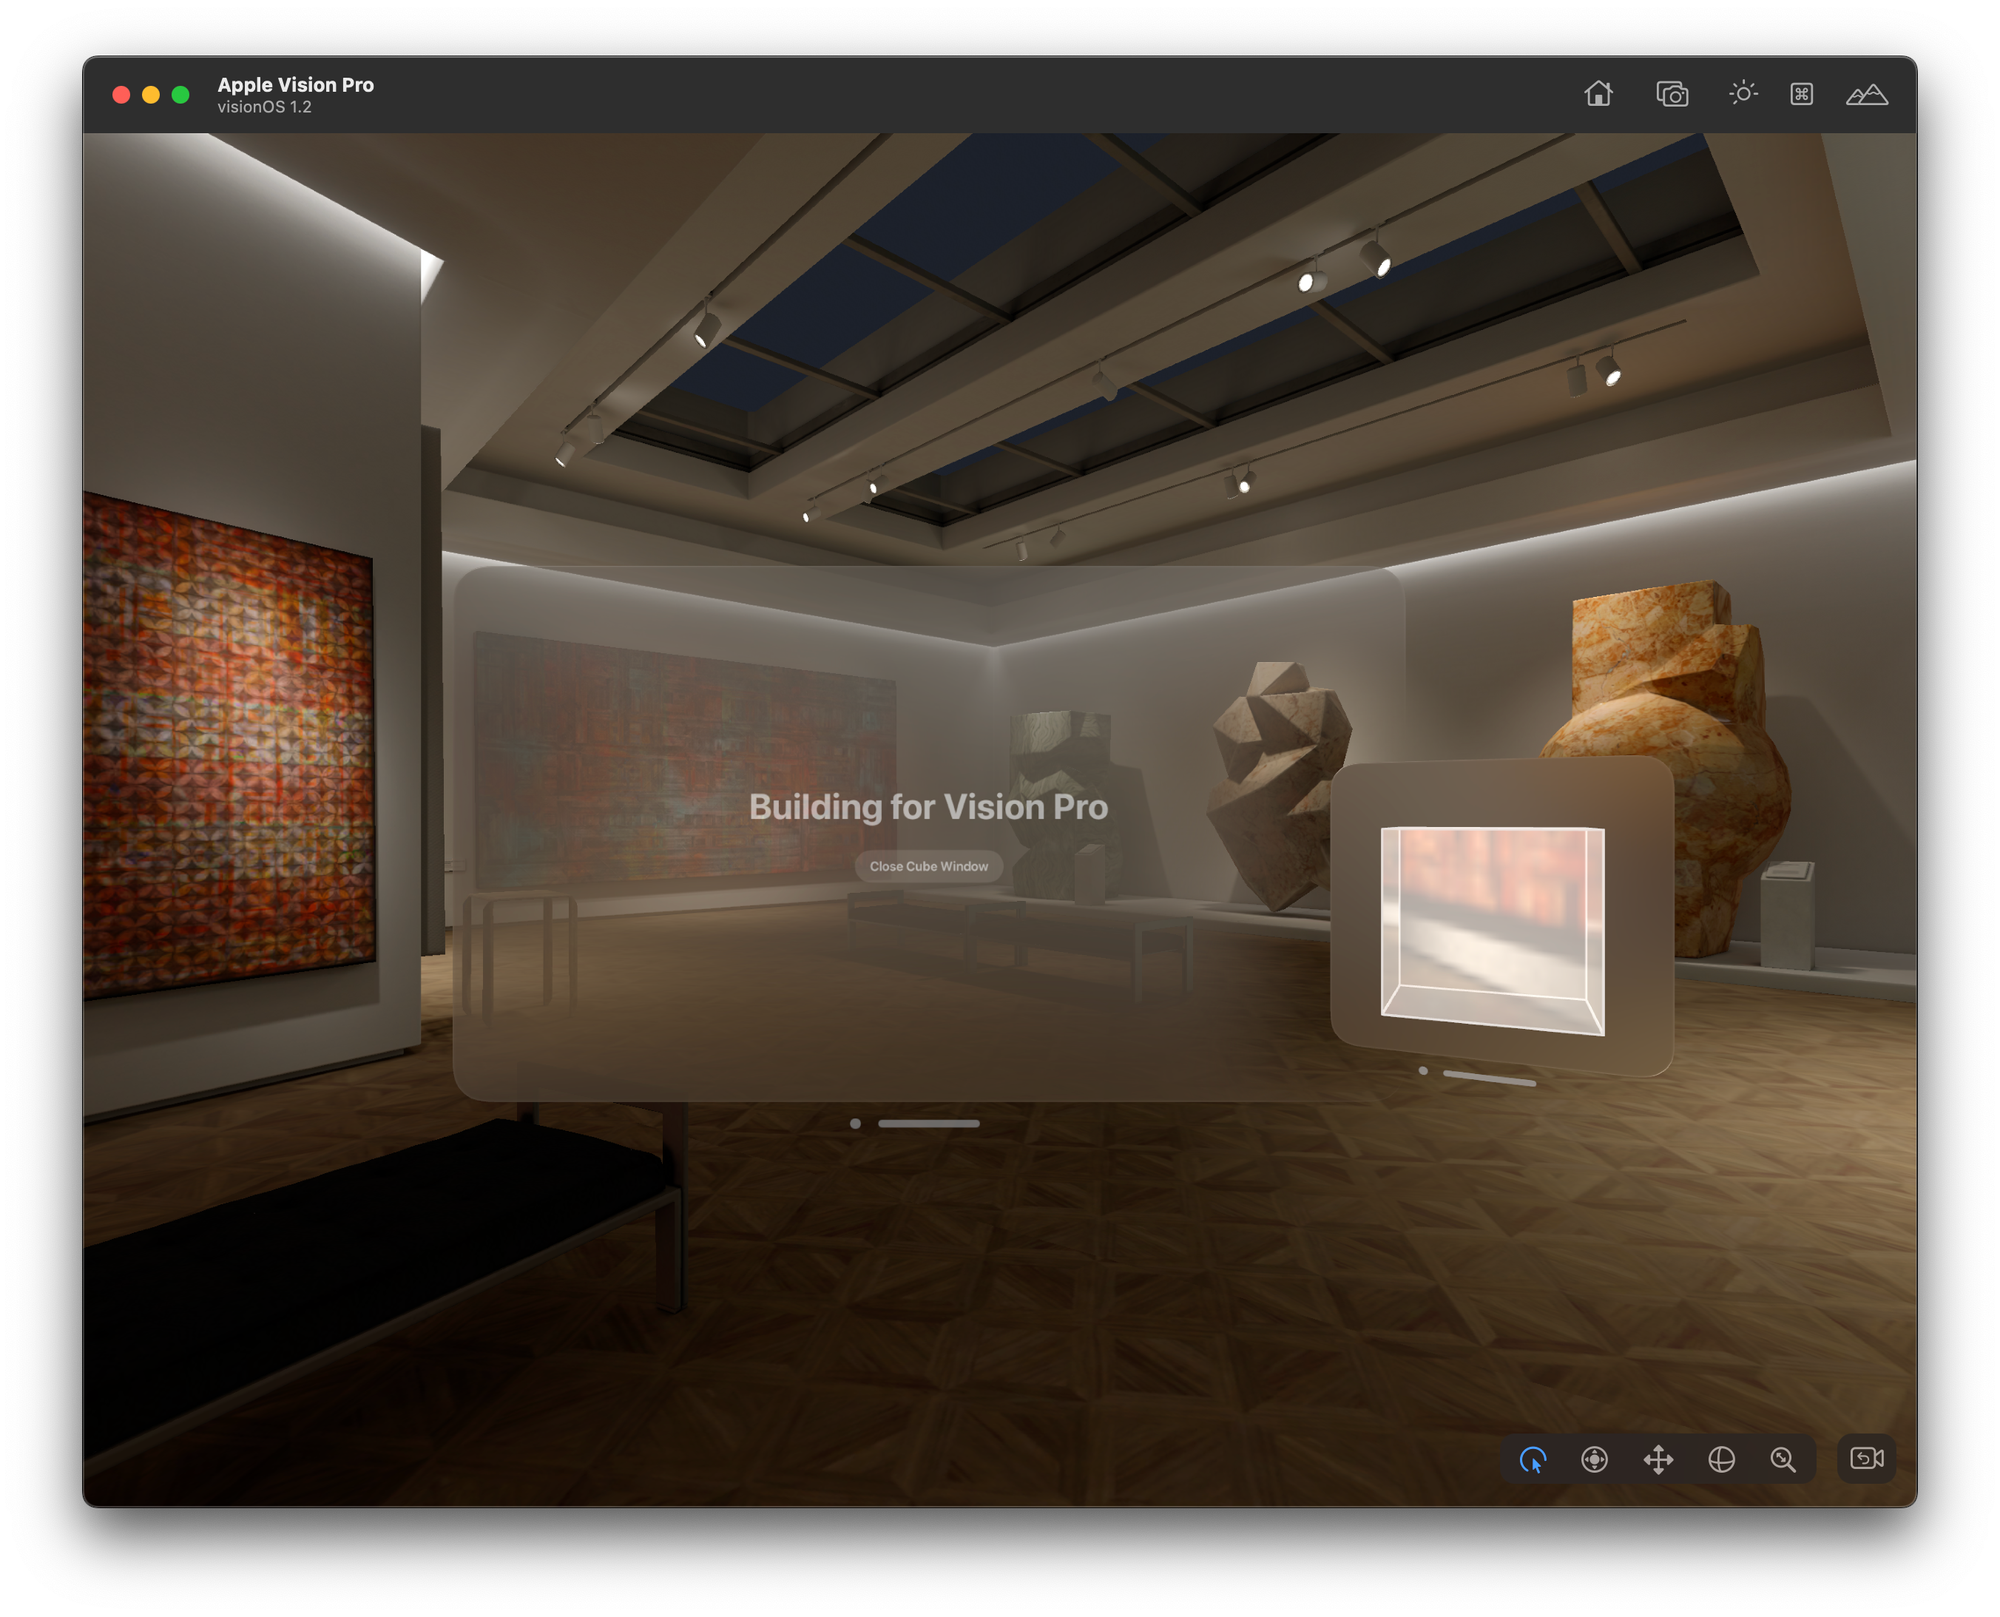
- Create a button to toggle the window:
Button(isWindowOpen ? "Close Cube Window" : "Open Cube Window") {
    if isWindowOpen {
        dismissWindow(id: "CubeWindow")
        isWindowOpen = false
    } else {
        openWindow(id: "CubeWindow")
        isWindowOpen = true
    }
}windowStyle: .automatic as a Preview attribute to ensures that the preview automatically adapts to the most appropriate window style based on the environment.#Preview(windowStyle: .automatic) {
LaunchView()
}
Step 6: Add rotation interaction to the 3D cube
- Open
CubeModel3DView.swift - Add a state variable for rotation:
@State private var rotationY: Double = 0.0- Apply a
rotation3DEffect:
Model3D(named: "Cube") { model in
    model
        .rotation3DEffect(
            .degrees(rotationY),
            axis: (x: 0, y: 1, z: 0)
        )
} placeholder: {
    ProgressView()
}- Add a
DragGestureto control rotation:
.gesture(
    DragGesture(minimumDistance: 0)
        .onChanged { value in
            rotationY += Double(value.translation.width / 100)
            rotationY = rotationY.truncatingRemainder(dividingBy: 360)
        }
)100 in the line rotationY += Double(value.translation.width / 100) is used to control the sensitivity of the rotation effect. If you directly applied the drag translation to the rotation angle without any scaling (i.e., without dividing by 100), each pixel of horizontal movement would correspond to a full degree (or more) of rotation. This would make the rotation happen very quickly with even the slightest drag, resulting in an overly sensitive and potentially jarring user experience.
Step 7: Add an ornament to display rotation information
- Still in
CubeModel3DView.swift, add an ornament to show the rotation angle:
.ornament(attachmentAnchor: .scene(.bottom)) {
    Text("Rotation: \(rotationY, specifier: "%.2f")º")
        .padding()
        .glassBackgroundEffect()
}
Conclusion
Congratulations! You've created a windowed 3D experience for visionOS.
You've learned how to:
- Set up a visionOS project
- Create and manage windows
- Implement 3D content using SwiftUI and RealityKit
- Add user interactions for 3D object manipulation
- Use ornaments to display information in 3D space
In the next tutorial of this series, we'll explore Volumes, taking our 3D interactions to the next level. Stay tuned!