Converting between image formats
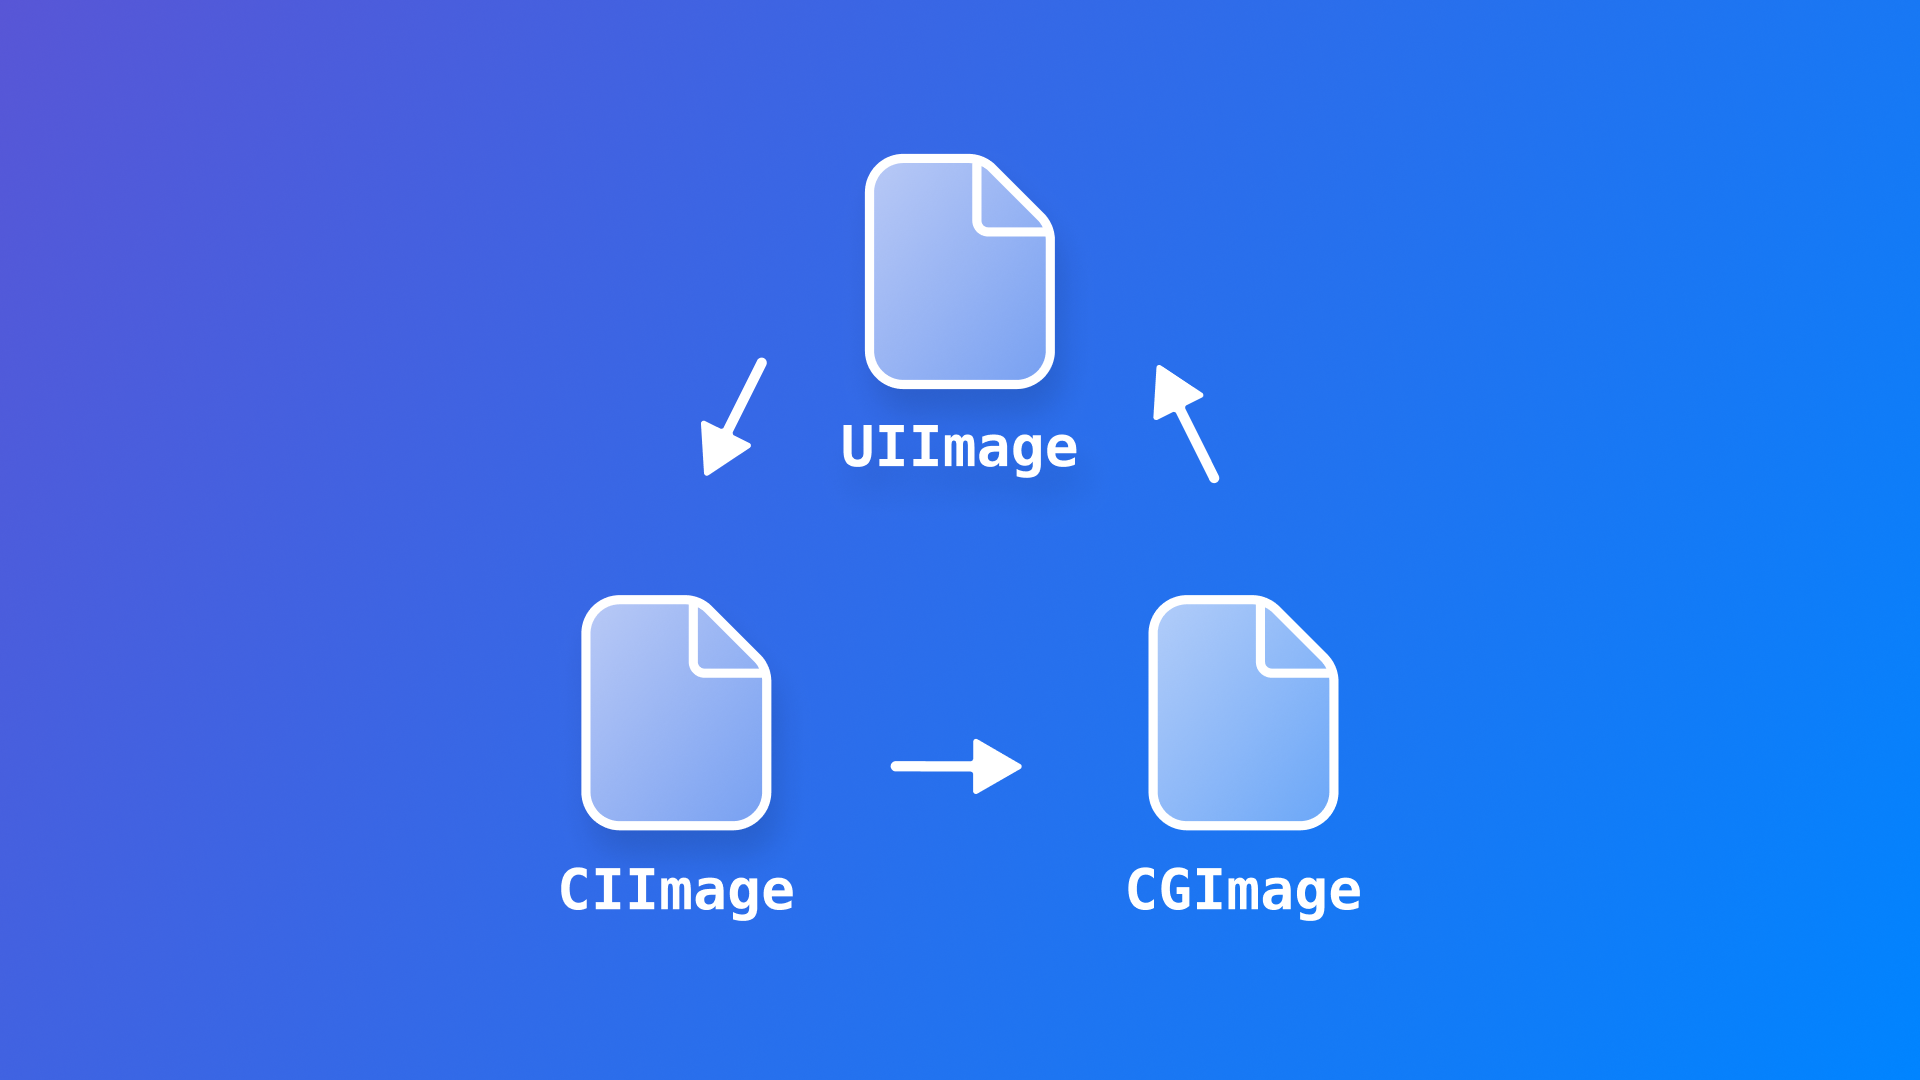
Discover how to convert between CIImage, CGImage, and UIImage and use them within an Image view.
When working with images in your app development projects, you may have to convert between different types to use the image for the intended purposes.
A common use case for example can be switching between using the UIImage class, commonly used in UIKit to assign images to a UIImageView and the Image view used to present pictures in a SwiftUI app.
There are many other cases, for example when working with CIImage for using Core Image filters, CGImage for bitmap images or image masks, or even NSImage to manipulate image data.
Let’s see how to get from one format to the other. This quick overview should cover all the basics.
Presenting a UIImage with the Image view
You can use one of the initializers of the Image view to present an UIImage in SwiftUI.
struct ContentView: View {
    let image = UIImage(named: "image-example")!

    var body: some View {
        Image(uiImage: image)
            .resizable()
            .aspectRatio(contentMode: .fit)
            .padding()
    }
}
From UIImage to CIImage
You can use one of the CIImage initializers to create it with an UIImage.
var uiImage = UIImage(named: "image")
var ciImage = CIImage(image: uiImage)
From CIImage to CGImage
You can convert a CIImage object to CGImage with a simple conversion function, like this:
func convertCIImageToCGImage(input: CIImage) -> CGImage! {
    let context = CIContext(options: nil)
    return context.createCGImage(input, from: input.extent)
}
CGImage is a bitmap image or image mask in the Core Graphics framework. It is a framework based on Quartz drawing engine and provides lightweight rendering.
The following example shows how you can use it in the context of a SwiftUI app:
struct ContentView: View {

    var ciImage: CIImage? {
        let image = UIImage(named: "image-example")!
        return CIImage(image: image)
    }

    func convertCIImageToCGImage(input: CIImage) -> CGImage! {
        let context = CIContext(options: nil)
        return context.createCGImage(input, from: input.extent)
    }

    var body: some View {

        Image(
            convertCIImageToCGImage(input: ciImage!),
            scale: 1.0,
            label: Text("Image sample")
        )
        .resizable()
        .aspectRatio(contentMode: .fit)
        .padding()

    }

}
From CGImage to CIImage
If you are working with a CGImage object and need to convert it into a CIImage object it is even simpler. You just need to initialize a new CIImage object with the CGImage value.
func convertCGImageToCIImage(input: CGImage) -> CIImage! {
		var ciImage = CIImage(cgImage: input)
		return ciImage
}
It is worth noting that a CIImage object has a property providing a CGImage representation of itself:
var cgImage: CGImage? {
    let image = UIImage(named: "image-example")!
    let ciImage = CIImage(image: image)

    return ciImage?.cgImage
}
From UIImage to CGImage
Converting an UIImage object to CGImage is a bit more tricky and can be done in two steps.
The simplest way to do it is first to convert the UIImage to a CIImage and then convert the CIImage to a CGImage.
A simple function could look like this:
func convertUIImageToCGImage(input: UIImage) -> CGImage! {
    guard var ciImage = CIImage(image: input) else {
        return nil
    }

    let context = CIContext(options: nil)
    return context.createCGImage(ciImage, from: ciImage.extent)
}
From CIImage or CGImage to UIImage
To conveniently convert either a CIImage or a CGImage to UIImage, you can use the provided initializers from UIImage.
var uiImageFromCGImage = UIImage(CGImage: cgImage)
var uiImageFromCIImage = UIImage(CIImage: ciImage)
Bonus Round: From NSImage in AppKit to UIImage in UIKit
AppKit works with NSImage as a representation of an image, yet you might find yourself converting between formats supported by UIKit, for example when building cross-platform apps that make use of AppKit and UIKit and not just SwiftUI.
You can use the following function to convert a UIImage object into an NSImage object:
static func convertUIImagetoNSImage(input: UIImage) -> NSImage {
    let ciImage = CIImage(image: input)
    let rep = NSCIImageRep(ciImage: ciImage)
    let nsImage = NSImage(size: rep.size)

    nsImage.addRepresentation (rep)

    return nsimage
}
And the following one to convert an NSImage object to an UIImage object:
func convertNSImageToUIImage(input: NSImage) -> UIImage? {
    guard let data = input.tiffRepresentation,
          let bitmap = NSBitmapImageRep(data: data) else {
        return nil
    }

    let ciImage = CIImage(bitmapImageRep: bitmap)
    let uiImage = UIImage(CIImage: ciImage)

    return uiImage
}
Take into consideration that you can also work with extensions. Extending NSImage you can add additional functionality from UIImage to it! If you want to explore that route, check this short snippet by John Sundell about making UIImage macOS compatible.


