Creating custom particle emitters with RealityKit
Learn how to create a custom particle emitter with RealityKit in a SwiftUI app for visionOS.


The article The Power of Particle Emitters in Digital Creation explained how particles can improve the user experience of applications in the era of spatial computing. Using RealityKit we can already include some built-in emitters provided by the framework in our applications. Additionally, we can create our custom particle emitter that fits our specific needs.
Let’s explore using default particle effects and create a customized one in a visionOS project. By the end of the tutorial, you will learn how to use default particle emitters and create a custom one.
Step 1 - Creating a new project
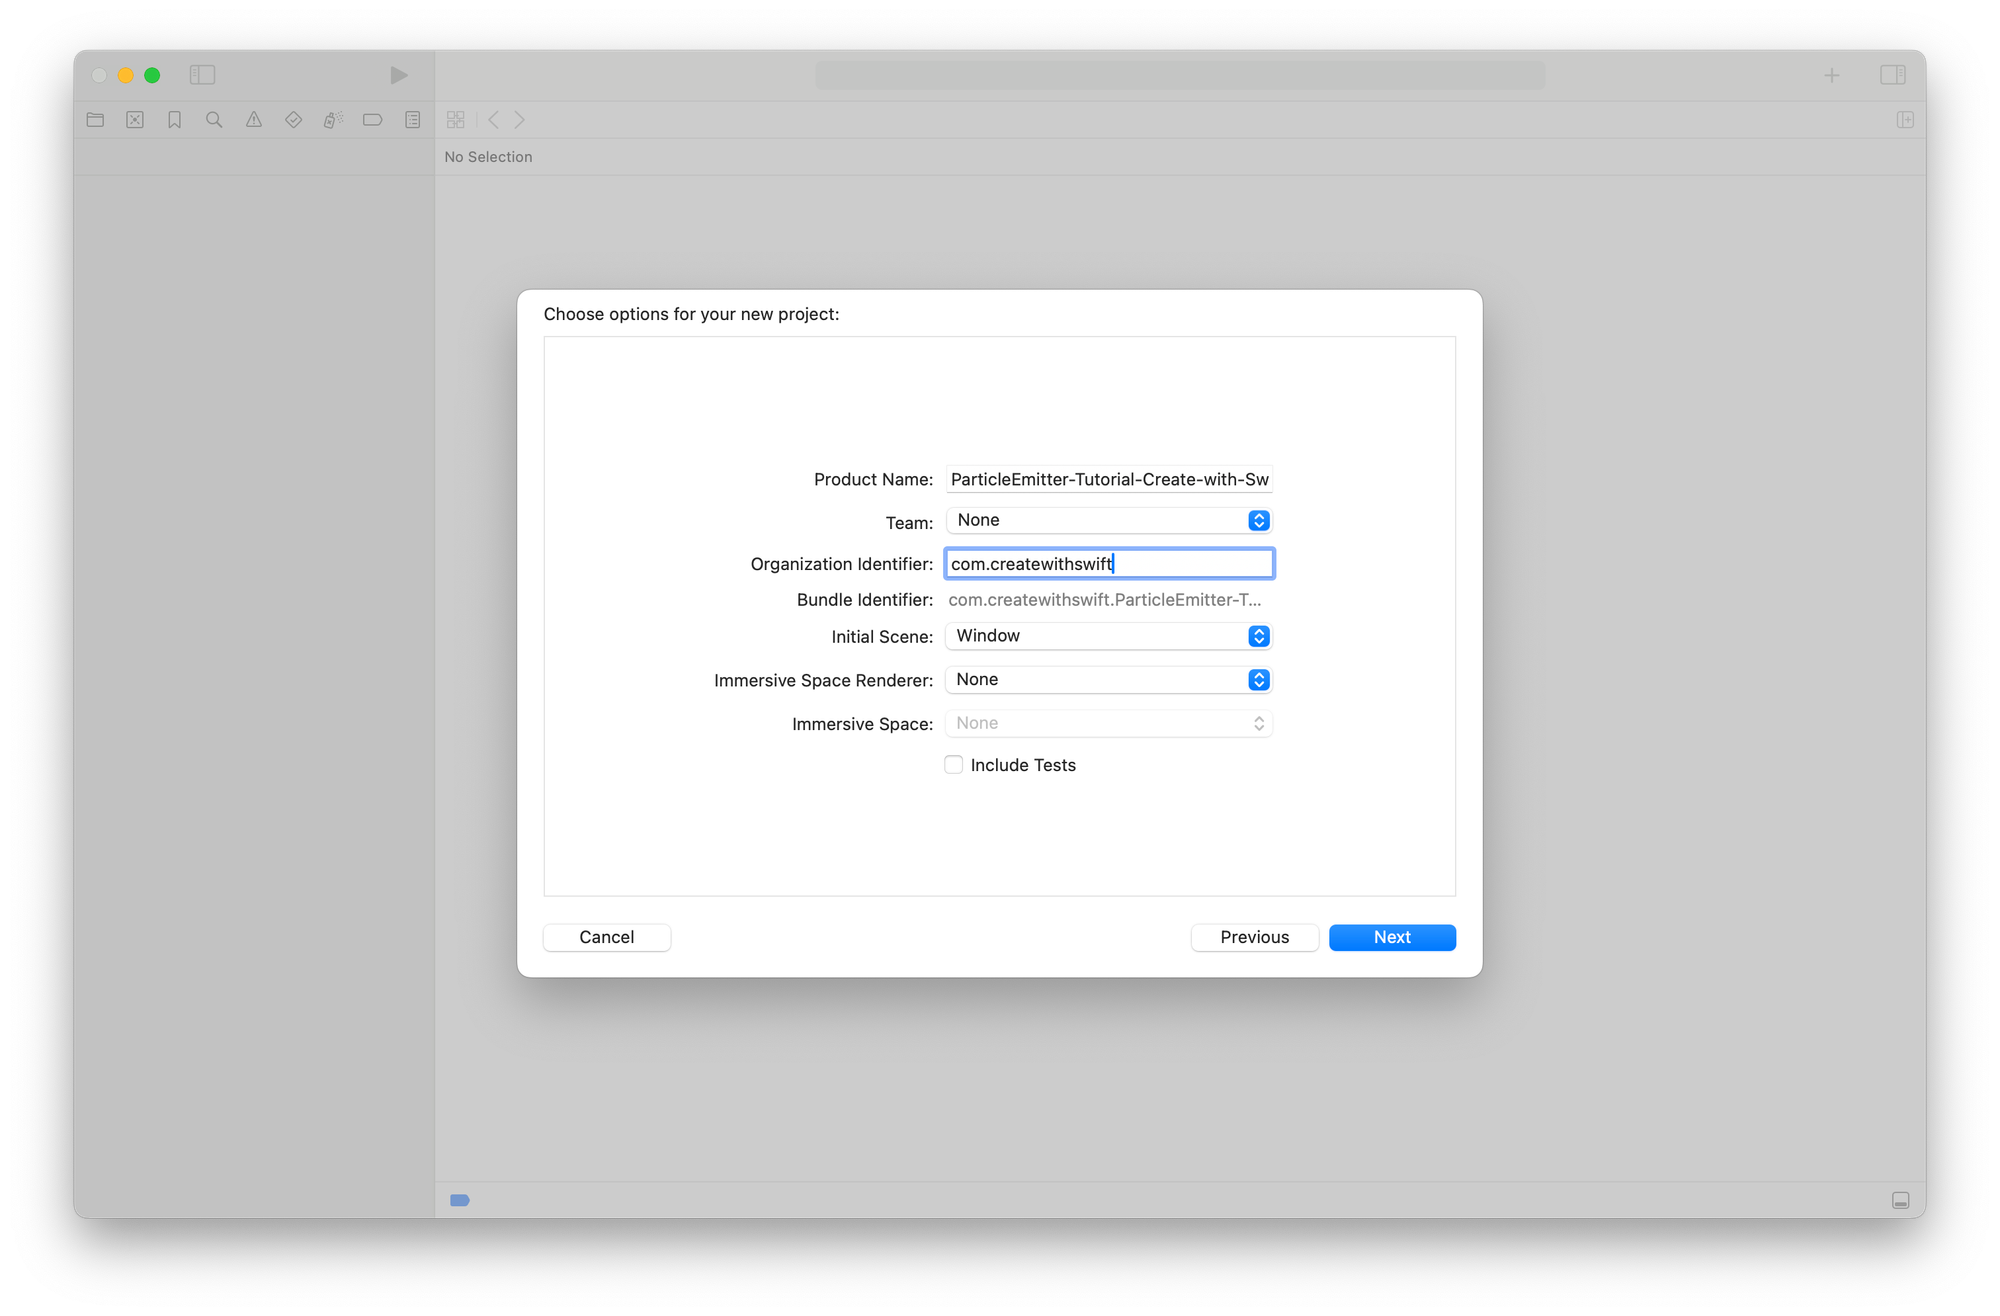
The first step involves creating a new visionOS project:
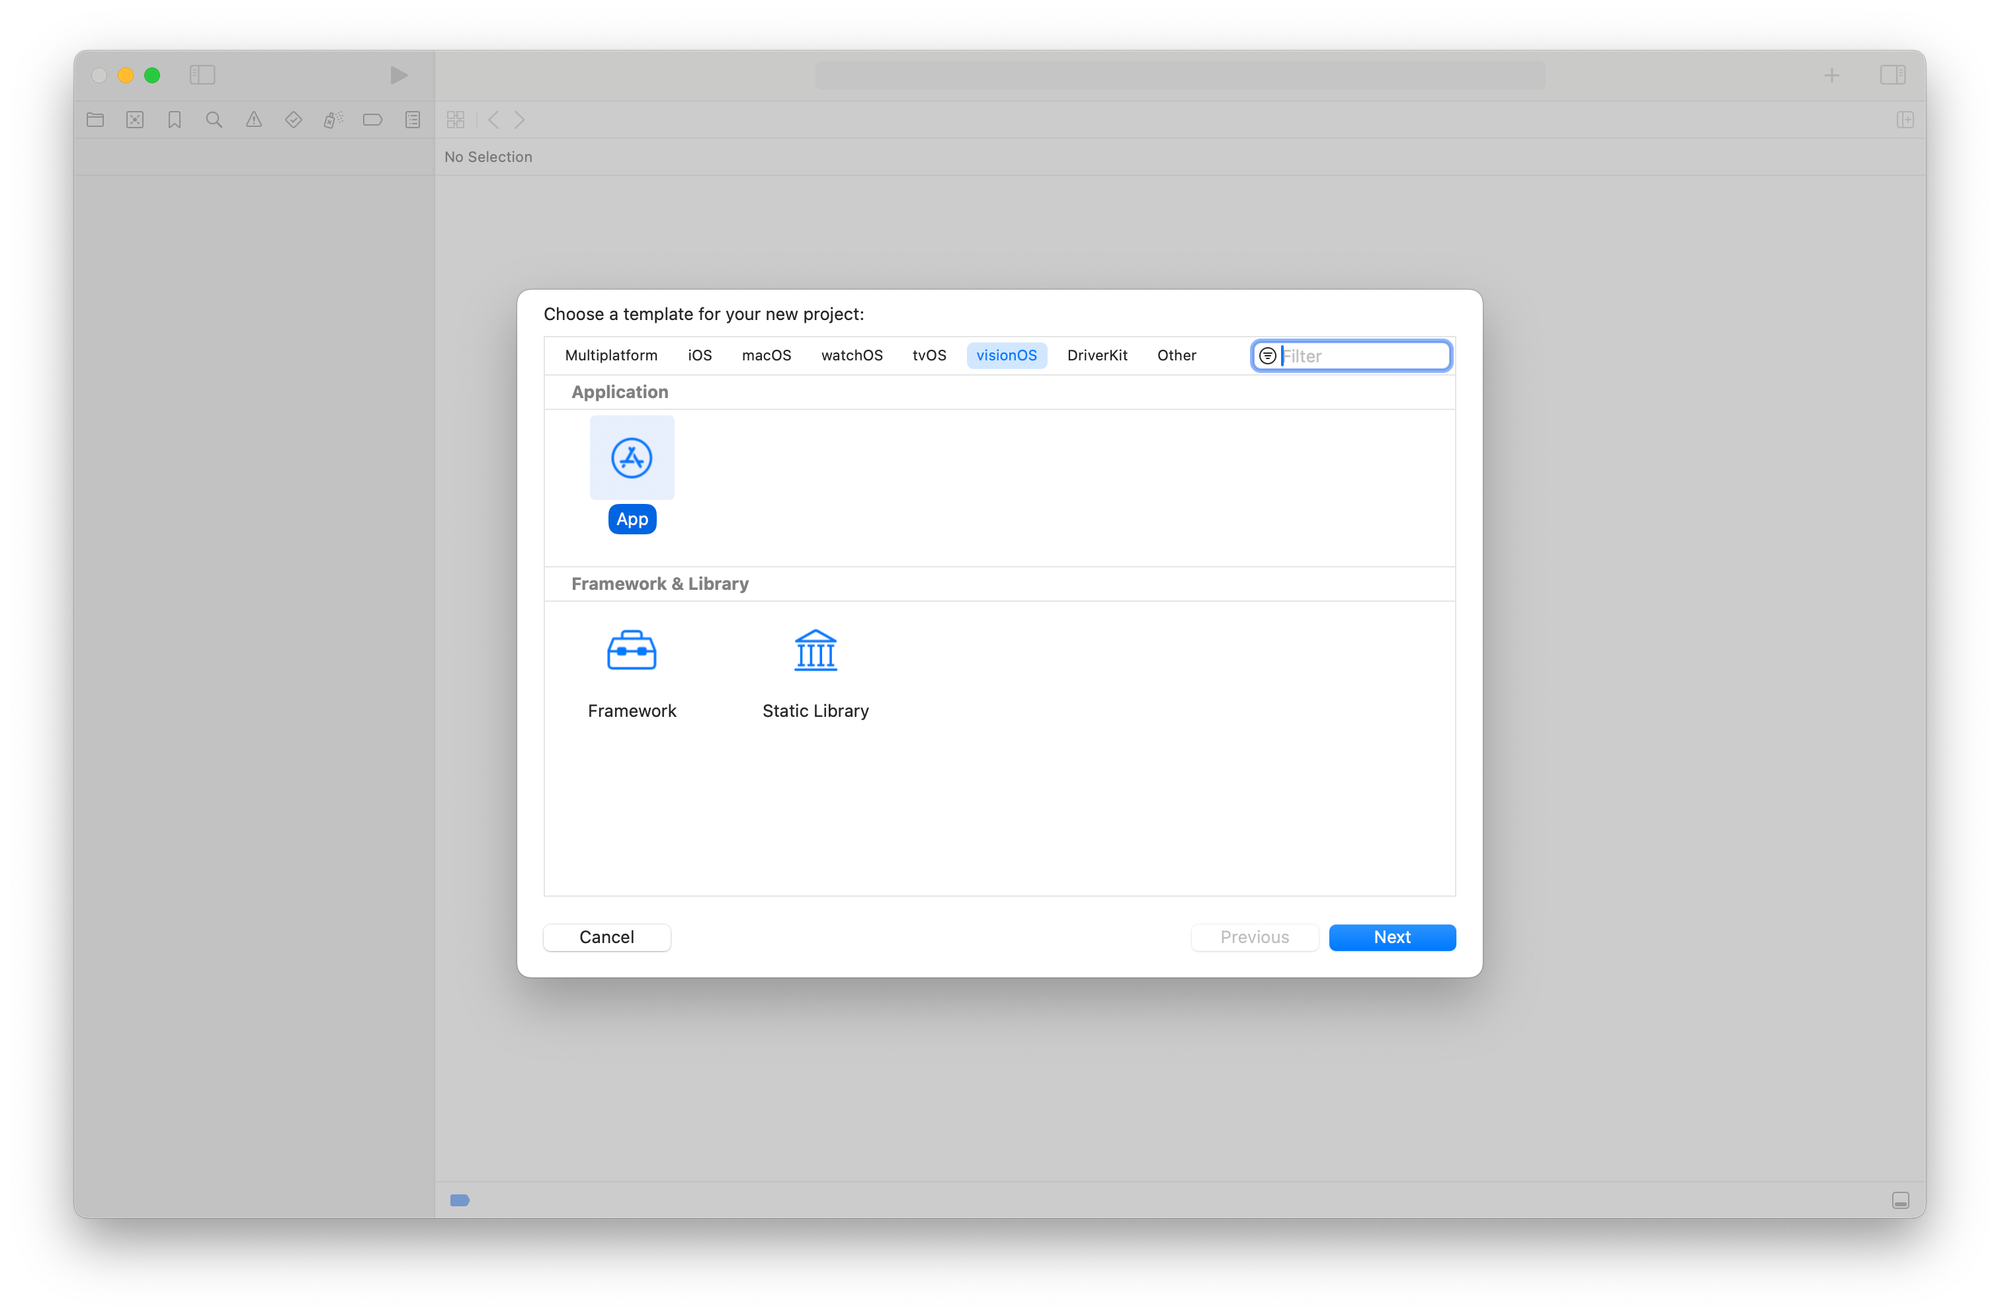
In the setup process specify the following configuration
- Initial Scene:
Window - Immersive Space Render:
None - Immersive Space:
None
Step 2 - Implement built-in particle emitter
RealityKit provides a collection of particle emitters we can easily include in our project. Start by defining a new function inside the ContentView that returns an Entity with a ParticleEmitterComponent object applied as a component.
In the ContentView.swift file:
import SwiftUI
import RealityKit

struct ContentView: View {
    var body: some View {
        RealityView { content in

        }
    }

    // 1.
    func emitter() -> Entity {
        // 2.
        let particles = ParticleEmitterComponent.Presets.magic
        // 3.
        let model = Entity()
        // 4.
        model.components.set(particles)

        return model
    }
}
- Define a new method named
emitter()that returns anEntityobject - Define a property named
particleswhere we assign one of the built-in emitters included in theParticleEmitterComponentobject. In this case, we chose thePresets.magicemitter - Create an instance of the
Entityobject named model - Attach to the
modelproperty the particle emitter as a component of the entity
Step 3 - Display the particle emitter
After defining the method that returns the model with the ParticleEmitterComponent applied we can include the entity inside a RealityView component.
import SwiftUI
import RealityKit

struct ContentView: View {
    var body: some View {
        // 1.
        RealityView { content in
            content.add(emitter())
        }
    }

    func emitter() -> Entity { ... }
}
- Add to the
contentof theRealityViewcomponent theEntitythat theemitter()function returns
Step 4 - Create a custom emitter component
Until now we used the Presets that RealityKit provides by default. In this step, we are going to add a custom particle emitter where we can define some important properties.
import SwiftUI
import RealityKit

struct ContentView: View {
    var body: some View {
        RealityView { content in
            ...
        }
    }

    func emitter() -> Entity {
        ...
    }

   // 1.
    func customParticleEmitter(color: Color) -> ModelEntity {
        // 2.
        let model = ModelEntity()
        // 3.
        var particles = ParticleEmitterComponent()
        // 4.
        particles.emitterShape = .sphere
        // 5.
        particles.emitterShapeSize = [0.05, 0.05, 0.05]
        // 6.
        particles.mainEmitter.birthRate = 2000
        // 7.
        particles.mainEmitter.size = 0.05
        // 8.
        particles.mainEmitter.lifeSpan = 0.5

        // 9.
        particles.mainEmitter.color = .evolving(
            start: .single(UIColor(color)),
            end: .single(.black)
        )
        // 10.
        model.components.set(particles)
        // 11.
        return model
    }
}
- Define a new method named
customParticleSystem(color:)that returns aModelEntityobject - Create a new instance of the
ModelEntityobject and name itmodel - Initialize a new instance of
ParticleEmitterComponent - Set the
emitterShapeproperty of theparticlesobject as.sphere. In this way, the particles will be emitted in a spherical shape - Set the
emitterShapeSizeproperty of theparticlesobject as [0.05, 0.05, 0.05] to determine the size of the emitter in meters - Set the
birthRateproperty of themainEmitterto 2000, controlling the number of particles emitted per second - Set the
sizeproperty of themainEmitterto 0.05, determining the size of the particles - Set the
lifeSpanproperty of themainEmitterto 0.5, determining how long each particle will live - Set the
colorproperty of themainEmitterto an evolving color, meaning the color of the particles will change over time from red to blue - Attach the previously defined
particlesobject as acomponentof themodelproperty - Return the
modelobject
Step 5 - Displaying the custom particle emitter
As we did in the second step, let’s add the custom emitter to the RealityView's content inside the ContentView view.
import SwiftUI
import RealityKit

struct ContentView: View {
    var body: some View {
        RealityView { content in
            content.add(emitter())

            // 1.
            content.add(customParticleEmitter(color: .blue))
        }
    }

    func emitter() -> Entity {
        ...
    }

    func customParticleSystem() -> ModelEntity {
		...
    }
}
- Add to the content of the
RealityViewtheModelEntitythat thecustomParticleSystem()method returns
Step 6 - Make the custom particle emitter dynamic
Now that we have defined our custom particle emitter, we can experiment with changing some parameters, such as the color of the particles, by including a simple ColorPicker in our UI.
import SwiftUI
import RealityKit

struct ContentView: View {
	// 1.
    @State var selectedColor: Color = .cyan

    var body: some View {
        // 2.
        HStack {
            ColorPicker("Select first color", selection: $selectedColor)
                .pickerStyle(InlinePickerStyle())
                .frame(width: 250)
                .padding()

            Spacer()

            RealityView { content in

                content.add(emitter())
                content.add(customParticleEmitter(color: selectedColor))

              // 3.
            } update: { content in
                // 4.
                content.entities.removeAll()
                // 5.
                content.add(customParticleEmitter(color: selectedColor))
                content.add(emitter())
            }
        }
    }

    func customParticleEmitter(color: Color) -> ModelEntity {
        ...
    }


    func emitter() -> Entity {
        ...
    }
}
- Declare a new property named
selectedColorto store color information. - Wrap the RealityView component inside an
HStackcontainer and add aColorPickercontrol to allow the user to select the color of the particler of the emitter - Use the
updateclosure to update theRealityViewcontent in response to changes in theselectedColorparameter. - When the update closure is called all the entities are removed from the
RealityViewcontent using theremoveAll()method - Add to the
RealityViewcontent the two new particle emitters after the update runs
Conclusion
The final result will be a combination of our custom emitter with the magic particle emitter provided by RealityKit. Using the capabilities of the RealityView we also managed to update the emitter when the user selected a new color.
Another option that you need to consider is using software such as Reality Composer Pro to define custom particle emitter components for your app.