Enabling Interaction with Table View in SwiftUI
Discover how to enable single-selection, multi-selection and collapsible rows on a Table view in a SwiftUI app
Representing data within an app using tables offers users a clear and effective overview at a glance. A significant enhancement is enabling users to interact with the table rows, allowing them to perform actions like copying or sharing data with other apps.
Single selection
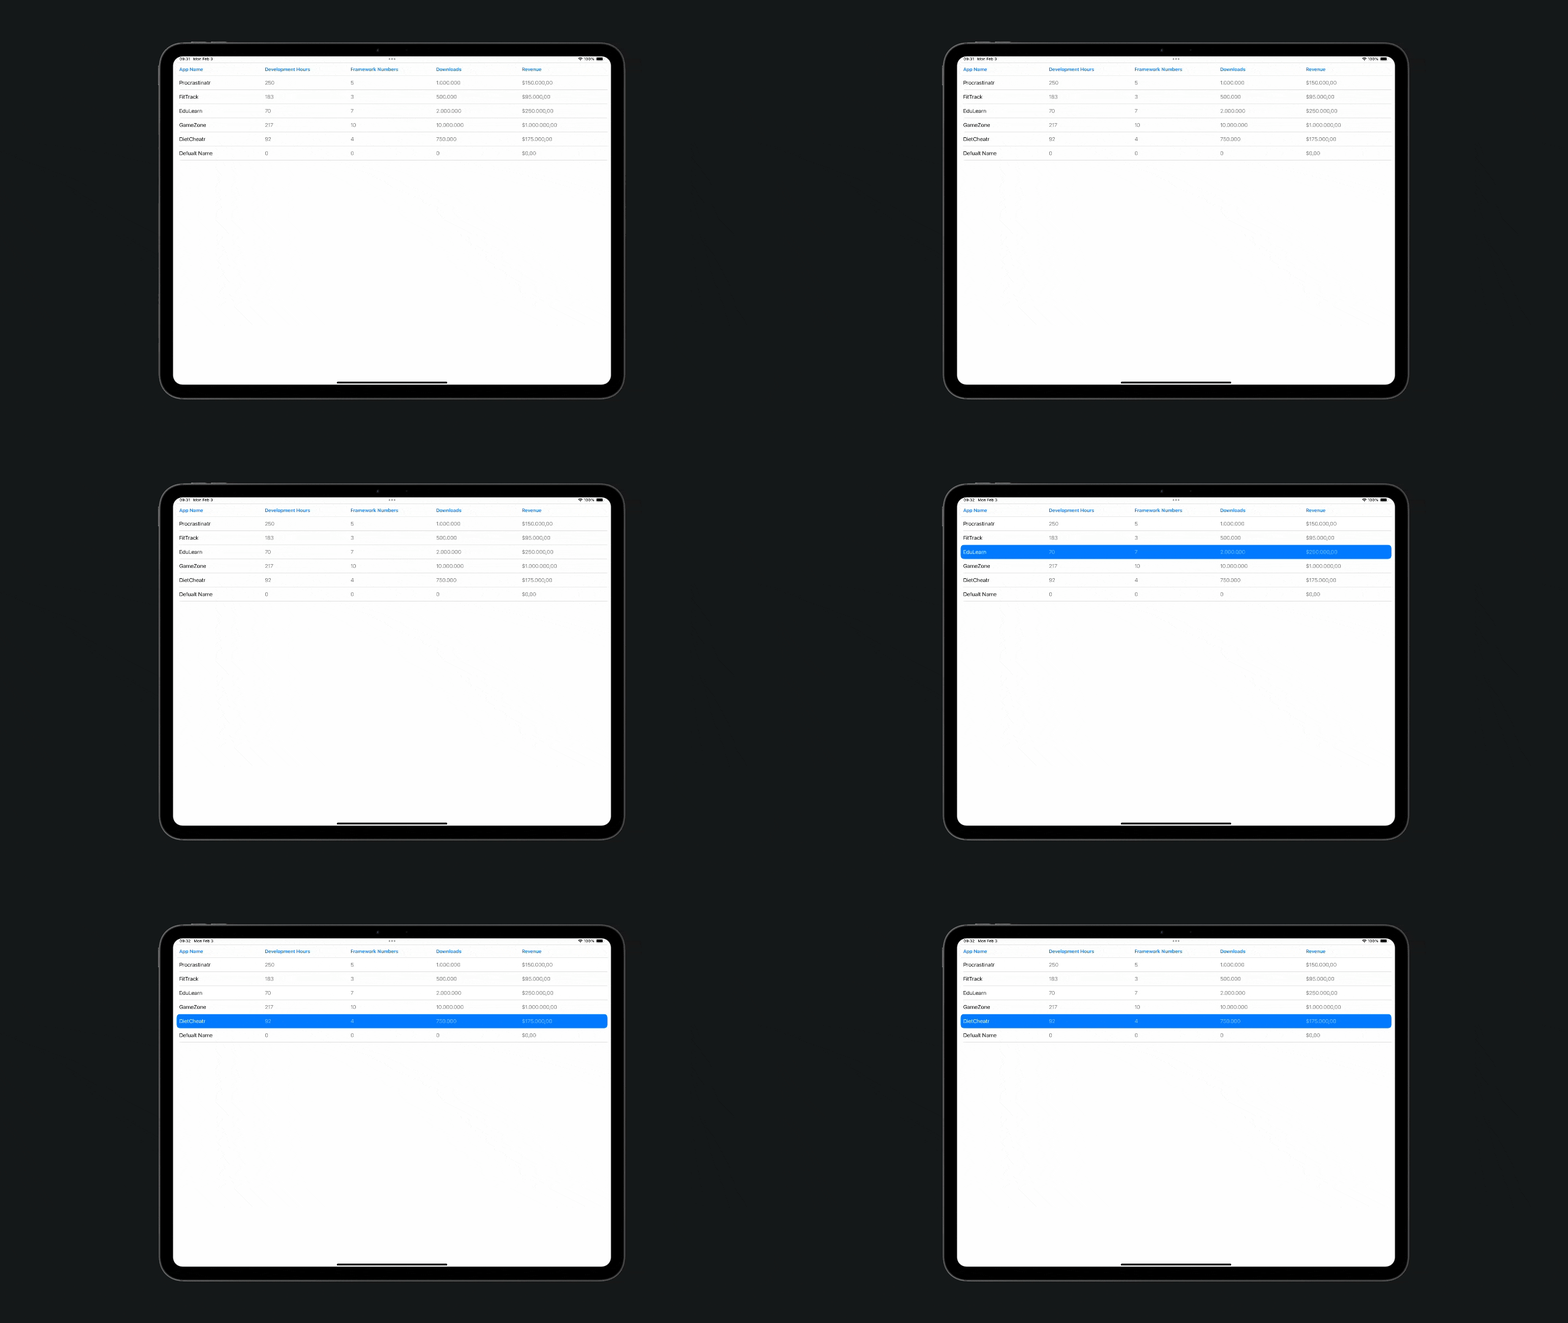
To enable single-row selection in our table, we need to define a new optional property in our view that will hold the selected row value. By passing this value to the Table initializer init(of:selection:columns:rows:) as a Binding, we enable selection in our table.
struct ContentView: View {

    @State var projects = [
            Project(appName: "Procrastinatr", developmentHours: 250, frameworkNumbers: 5, downloads: 1000000, revenue: 150000.0),
            Project(appName: "FitTrack", developmentHours: 183, frameworkNumbers: 3, downloads: 500000, revenue: 95000.0),
            Project(appName: "EduLearn", developmentHours: 70, frameworkNumbers: 7, downloads: 2000000, revenue: 250000.0),
            Project(appName: "GameZone", developmentHours: 217, frameworkNumbers: 10, downloads: 10000000, revenue: 1000000.0),
            Project(appName: "DietCheatr", developmentHours: 92, frameworkNumbers: 4, downloads: 750000, revenue: 175000.0)
    ]

    // Property to track the selected row
    @State var selectionData : Project.ID? = nil

    var body: some View {
        VStack {

            Table(of: Project.self, selection: $selectionData) {

                TableColumn("App Name", value: \.appName)

                TableColumn("Development Hours") { app in
                    Text("\(app.developmentHours)")
                }

                TableColumn("Framework Numbers") { app in
                    Text("\(app.frameworkNumbers)")
                }

                TableColumn("Downloads") { app in
                    Text("\(app.downloads)")
                }

                TableColumn("Revenue") { app in
                    Text("$\(app.revenue, specifier: "%.2f")")
                }
            } rows: {
                ForEach(projects) { project in
                    TableRow(project)
                }

                TableRow(Project(appName: "Default Name", developmentHours: 0, frameworkNumbers: 0, downloads: 0, revenue: 0))
            }

        }
    }
}
Multi-selection
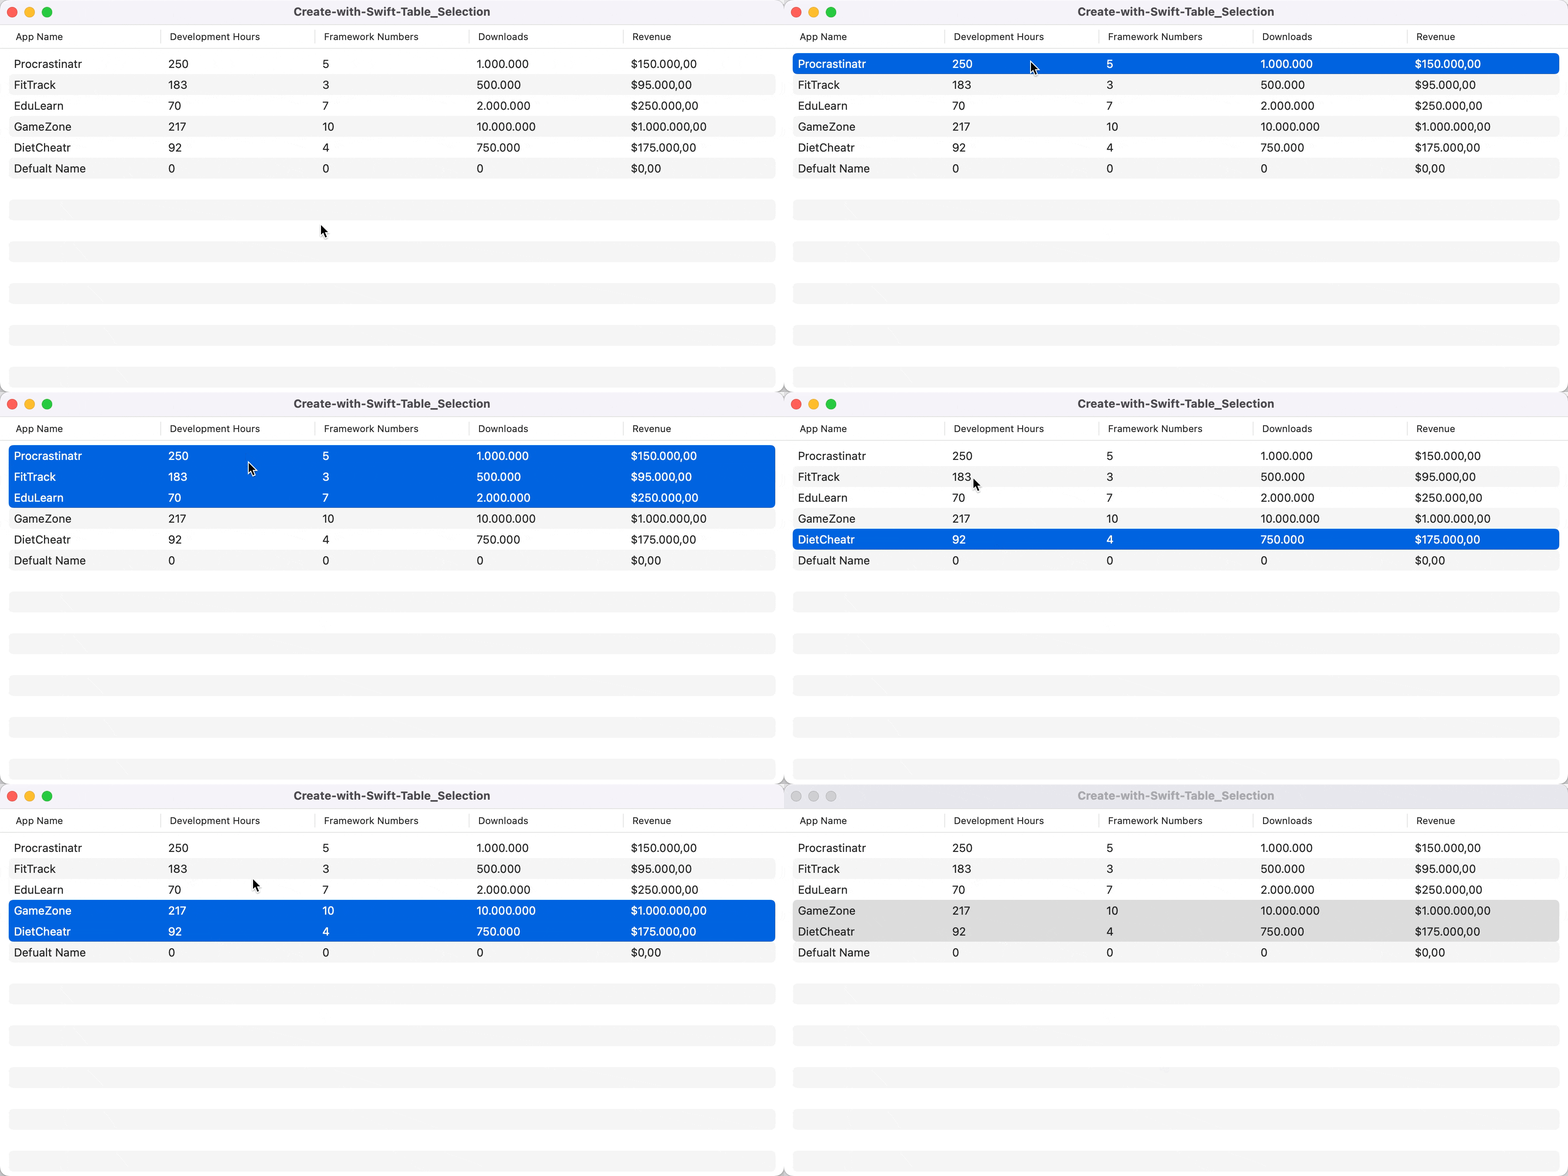
To enable multi-selection, we bind to a set of identifiers instead of a single one.
struct ContentView: View {

    @State var projects = [ ... ]

    // Set of identifier to enable multi-selection
    @State var selectionData : Set<Project.ID> = []

    var body: some View {
        VStack {

            Table(of: Project.self, selection: $selectionData) {

                TableColumn("App Name", value: \.appName)

                TableColumn("Development Hours") { app in
                    Text("\(app.developmentHours)")
                }

                TableColumn("Framework Numbers") { app in
                    Text("\(app.frameworkNumbers)")
                }

                TableColumn("Downloads") { app in
                    Text("\(app.downloads)")
                }

                TableColumn("Revenue") { app in
                    Text("$\(app.revenue, specifier: "%.2f")")
                }
            } rows: {
                ForEach(projects) { project in
                    TableRow(project)
                }

                TableRow(Project(appName: "Default Name", developmentHours: 0, frameworkNumbers: 0, downloads: 0, revenue: 0))
            }

        }
    }
}
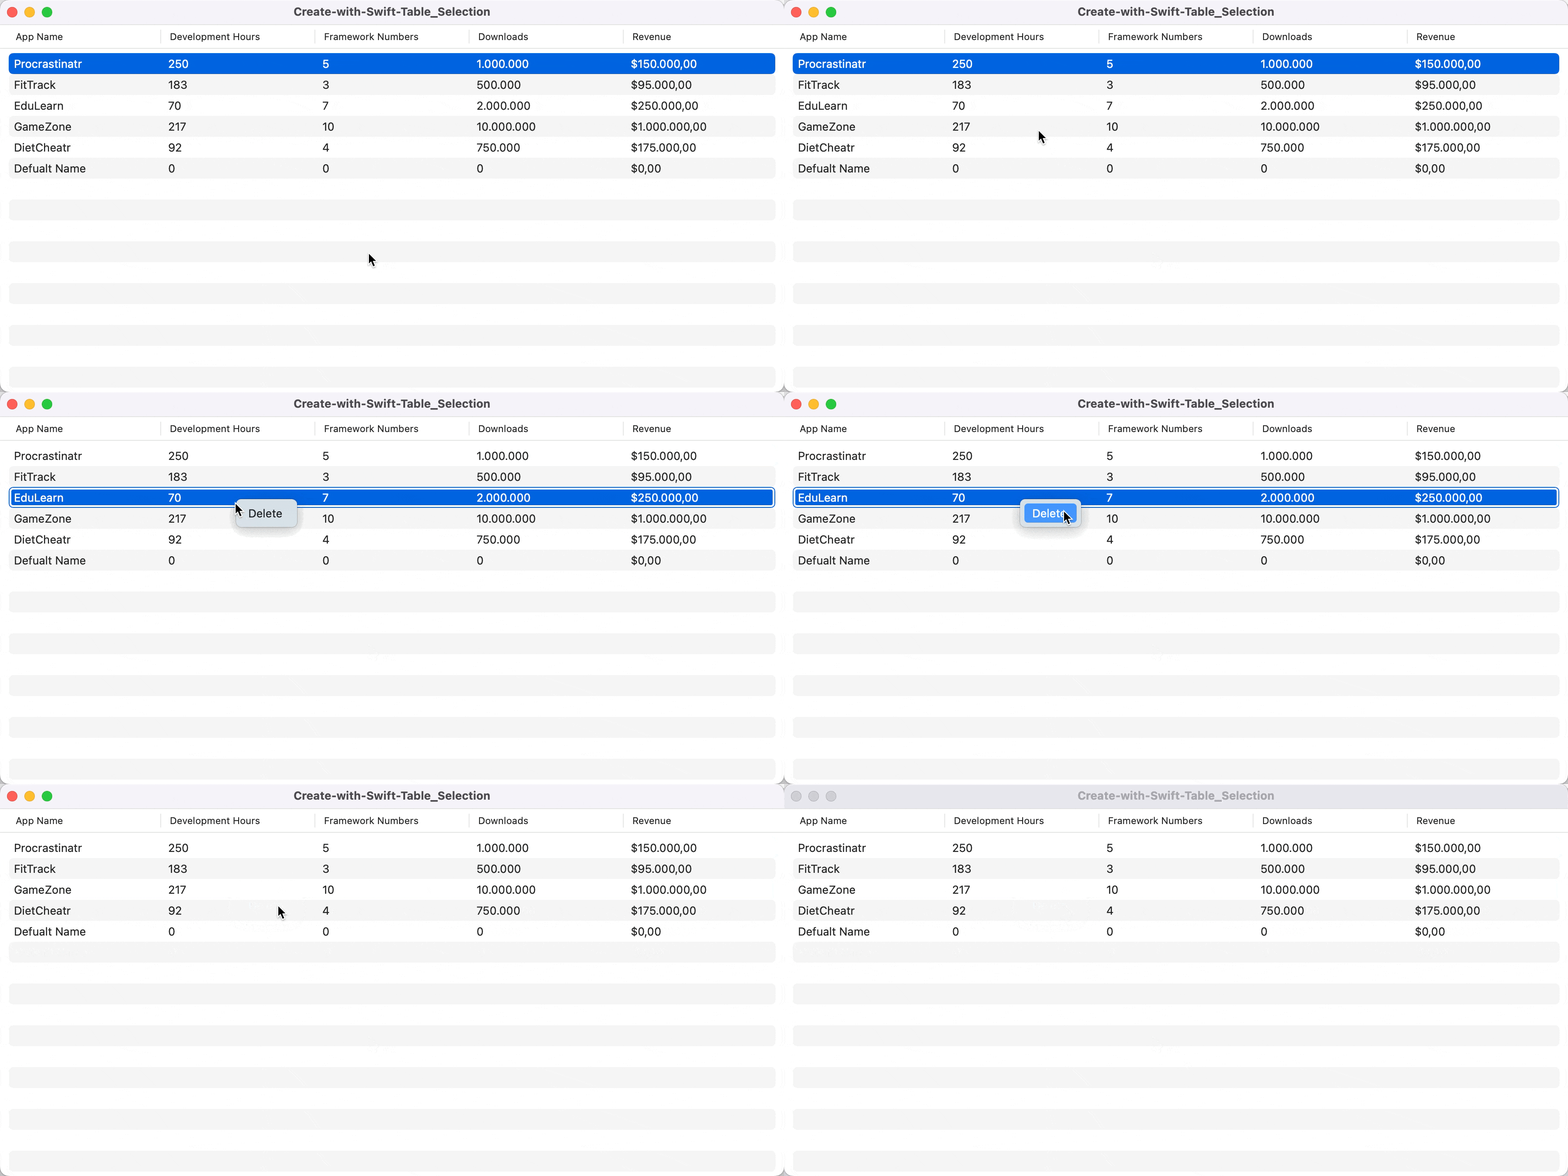
There is also the possibility of adding contextual actions using the contextMenu(menuItems:) modifier. The user can execute them by simply:
- Long pressing on the row on iPadOS
- With a right click on macOS
struct ContentView: View {

    @State var projects = [ ... ]

    @State var selectionData : Project.ID? = nil

    var body: some View {
        VStack {

            Table(of: Project.self, selection: $selectionData) {

                // Implementation of the columns

            } rows: {
                ForEach(projects) { project in

                    TableRow(project)
                        .contextMenu {
                            Button("Delete") {
                                projects.removeAll(where: { project.id == $0.id })
                            }
                        }

                }

                TableRow(Project(appName: "Default Name", developmentHours: 0, frameworkNumbers: 0, downloads: 0, revenue: 0))
            }

        }
    }
}
In the example above, a delete function was integrated within the context menu to delete the selected item.

Collapsible rows
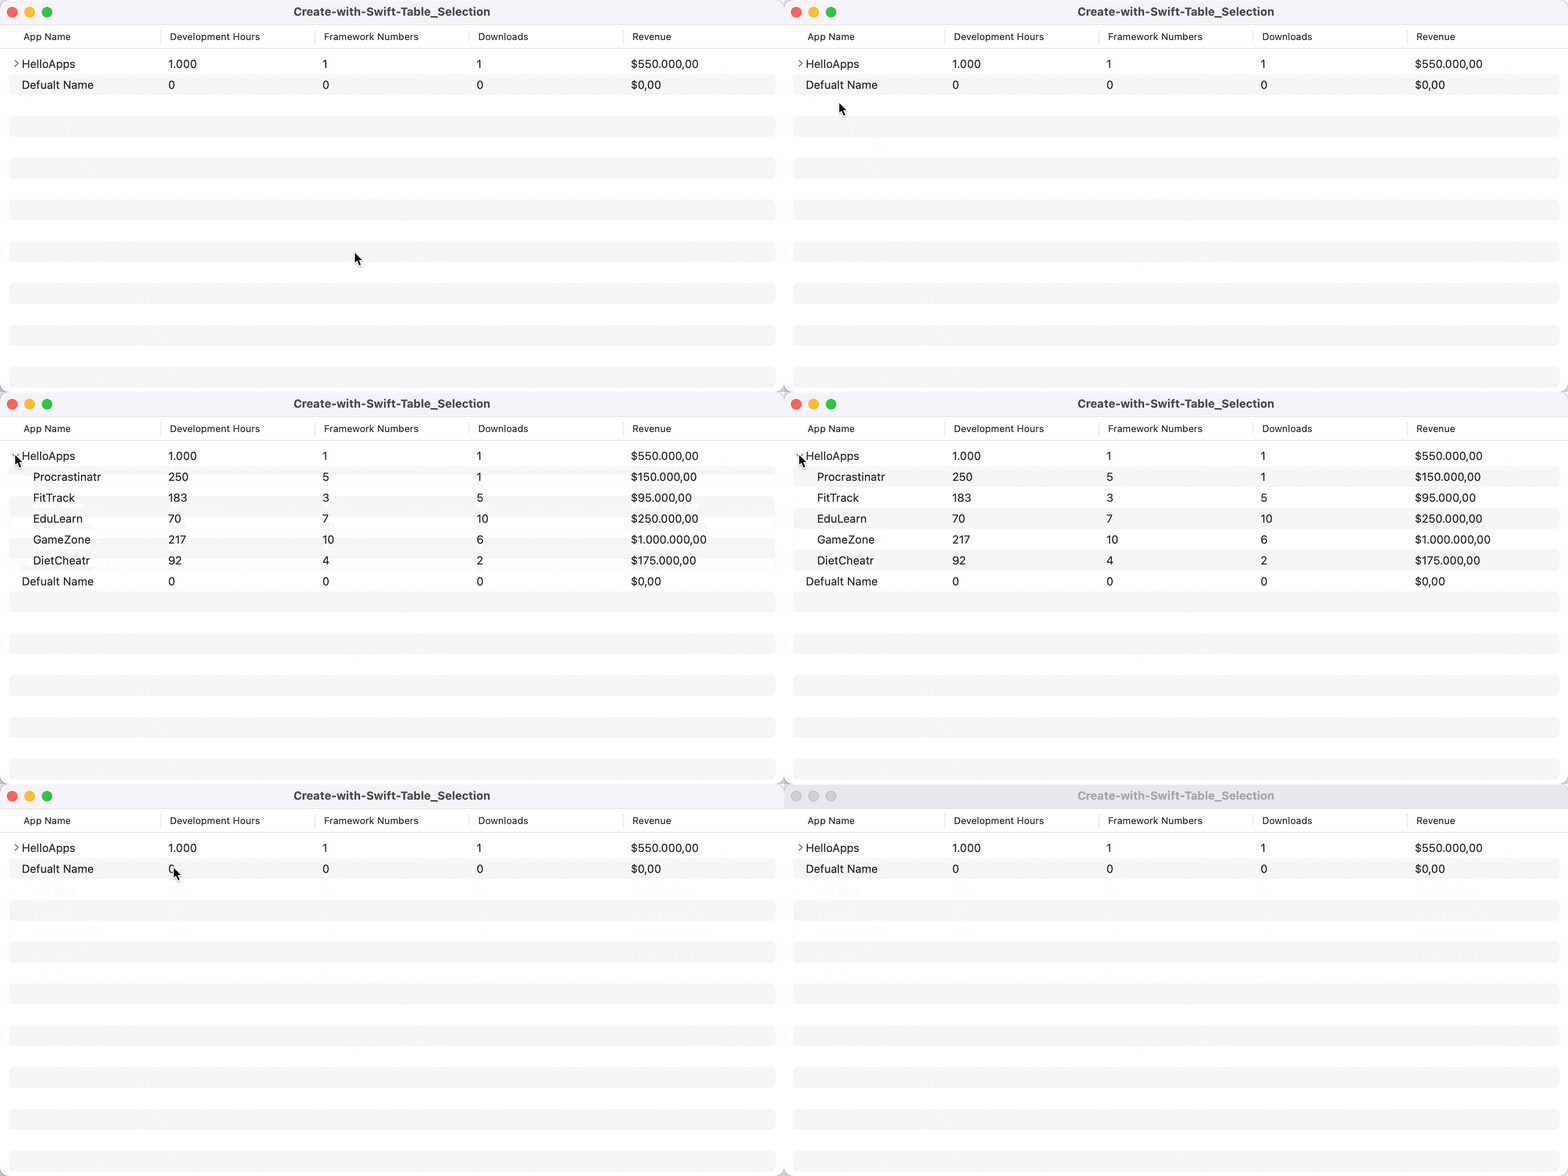
Another way to present tabular data is by using collapsible sections that only reveal additional information when required. We can do that by using the DisclosureTableRow view to create a single collapsable row that will contain additional related rows:
import SwiftUI


struct ContentView: View {
    @State var projects = [ ... ]
    @State var selectionData : Project.ID? = nil

    // Property to expand the disclosure row
    @State private var expanded: Bool = true

    // Data to be presented at the disclosure row
    @State private var project = Project(appName: "HelloApps", developmentHours: 1000, frameworkNumbers: 1, downloads: 1, revenue: 550000.0)

    var body: some View {
        VStack {
            Table(of: Project.self, selection: $selectionData) {
                // Implementation of the table columns
            } rows: {
                // Creation of a disclosure row that can be expanded
                DisclosureTableRow(project, isExpanded: $expanded) {
                    ForEach(projects) { project in
                        TableRow(project)
                    }
                }

                TableRow(Project(appName: "Default Name", developmentHours: 0, frameworkNumbers: 0, downloads: 0, revenue: 0))
            }
        }
    }
}


