Ensure Visual Accessibility: Supporting reduced motion preferences in SwiftUI
Understand how to use the system reduce motion preference to make your animations accessible within SwiftUI

Animations in apps are handy for conveying status, providing feedback, and enhancing the visual experience of an app. However, Human Interface Guidelines (HIG) suggest using them carefully because certain users may encounter discomfort or cognitive challenges with animations.
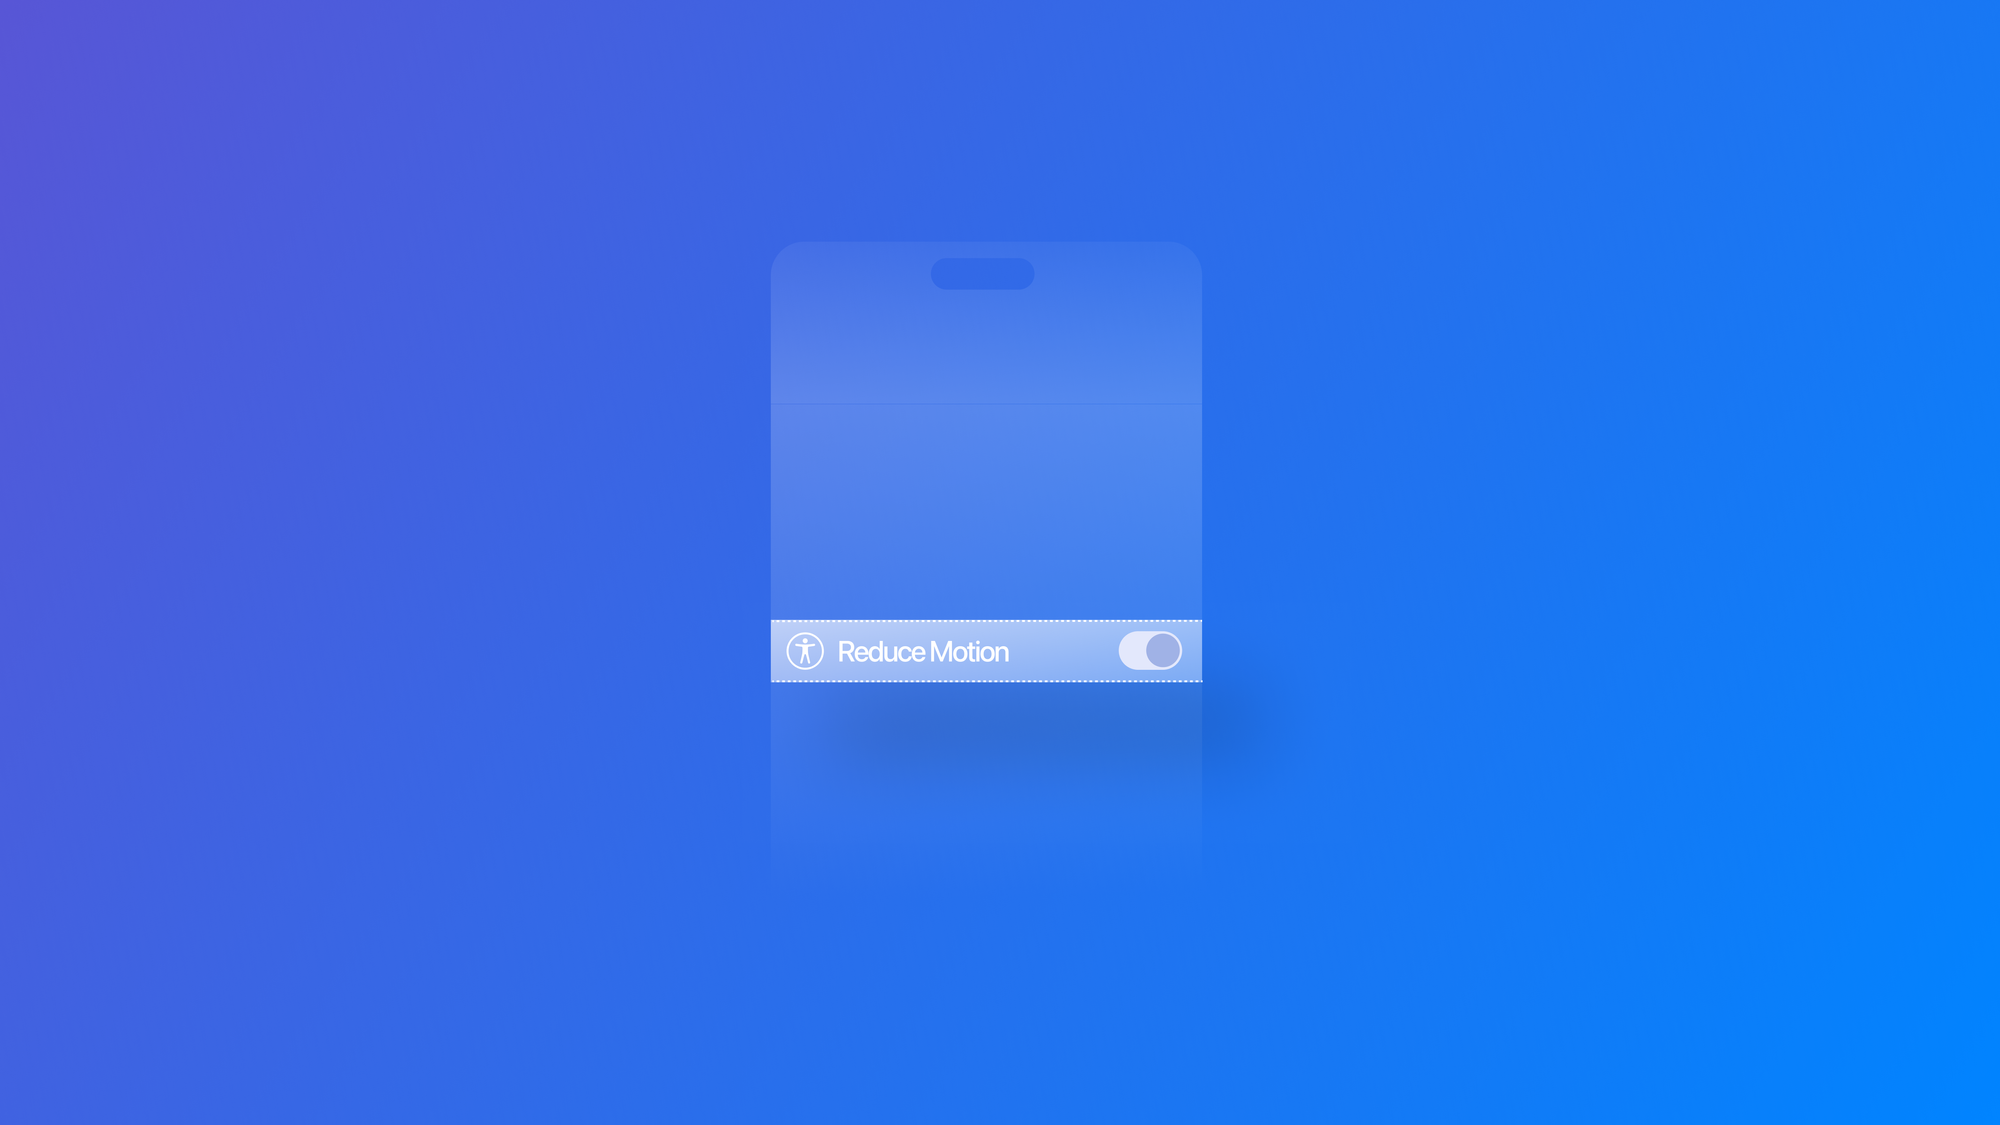
iOS offers users accessibility settings to control motion effects, such as the “Reduce Motion” option. This setting is essential for users with motion sensitivity or other conditions that make animations uncomfortable or disorienting. As developers, we must design the best experience for everyone.
Implementing Reduce Motion in SwiftUI
SwiftUI makes it easy to respect these user preferences through environment values:
import SwiftUI

enum AnimationPhase: CaseIterable {
    case initial
    case middle
    case end

    var animationValue: CGSize {
        switch self {
        case .initial: CGSize(width: 1, height: 1)
        case .middle: CGSize(width: 0.5, height: 0.5)
        case .end: CGSize(width: 1.5, height: 1.5)
        }
    }
}

struct ContentView: View {
    // Environment value storing the user system preference
    @Environment(\.accessibilityReduceMotion) var isReduceMotionEnabled

    @State private var scale = CGSize(width: 1, height: 1)

    var body: some View {
        PhaseAnimator(AnimationPhase.allCases) { phase in
            VStack {
                Circle()
                    .fill(Color.blue)
                    .frame(width: 100, height: 100)
                    .scaleEffect(isReduceMotionEnabled ? scale : phase.animationValue)
            }
        }

    }
}
The environment values are key to making our animations accessible. With @Environment(\.accessibilityReduceMotion) we can read the user's system preference for reduced motion. In the example above the scale property maintains the same size when animation are disabled in the system, respecting accessibility preferences.
Use motion with purpose ensuring animations enhance the user experience rather than distract while always respecting user preferences by checking accessibility settings before applying them. When motion is reduced, offer static alternatives that still communicate the necessary information, and test your app to ensure it works smoothly with both standard and reduced motion settings.