Implement blurring when multitasking in SwiftUI
Learn how to implement automatic screen blurring in SwiftUI apps to enhance user privacy when the app enters multitasking mode.
Enhancing user privacy is critical in modern app development. This tutorial explains how to build a SwiftUI app that automatically blurs its screen when it enters multitasking or background mode, a useful privacy feature for protecting sensitive content.
We'll explore how to implement this concept with a playful example involving developer "secrets," which get blurred when the app isn’t active. Following this step-by-step short tutorial, you'll learn how to apply this privacy technique in your SwiftUI apps.
Before we start
Before you start, ensure you have basic knowledge of Swift and SwiftUI, especially scene and scene phases management. If you're unfamiliar with these concepts it is recommended that you review Apple's SwiftUI documentation.

Setting Up the Project
To demonstrate screen blurring, we'll use a simple app, called My Secrets, that hides sensitive information when the app enters the background.

As a starting point create a list of secrets stored locally to populate our user interface.
class SecretsStore {

    static var secrets: [String] = [
        "I still have a soft spot for **UIKit**.",
        "I cringe at the sight of hamburger menus.",
        "In **Human Interface Guidelines**, I trust.",
        "I secretly enjoy writing documentation.",
        "I believe every bug is just a misunderstood feature",
        "I'm always looking for a better way to do things.",
        "I have a favorite Xcode theme, and it's not dark..."
    ]

}
Then update the ContentView to exhibit a simple stylized list of the elements in the array of secrets from the SecretsStore.
struct ContentView: View {

    var body: some View {
        List(SecretsStore.secrets, id: \.self) { secret in
            Text(.init(secret))
                .listRowSeparator(.hidden)
                .fontDesign(.monospaced)
        }
        .listStyle(.inset)
        .navigationTitle("My Secrets")
    }

}
The goal of the app is to automatically blur its content when entering multitasking mode or becoming inactive. Here’s how we can implement it.
Blurring a view
In ContentView.swift, the app will monitor the scene's state using @Environment(\.scenePhase) to detect when it becomes inactive or enters the background. Based on the current state of the scene the value of the radius of the blur applied to the view content will change.
struct ContentView: View {
    // Monitoring the value of the scenePhase from the app environment
    @Environment(\.scenePhase) private var scenePhase
    // Value of the radius of the blur effect
    @State private var blurRadius: CGFloat = 0

    var body: some View {
        NavigationStack {
            List(SecretsStore.secrets, id: \.self) { secret in
                Text(.init(secret))
                    .listRowSeparator(.hidden)
                    .fontDesign(.monospaced)
            }
            .listStyle(.inset)
            .navigationTitle("My Secrets")
        }
        // Changes the blurRadius value when the scene phase changes
        .onChange(of: scenePhase) { oldPhase, newPhase in
            if newPhase == .inactive || newPhase == .background {
                withAnimation { blurRadius = 20}
            } else {
                withAnimation { blurRadius = 0}
            }
        }

    }
}
Then with the blur(radius:opaque:) modifier we apply the blur effect on the view content.
struct ContentView: View {
    // Monitoring the value of the scenePhase from the app environment
    @Environment(\.scenePhase) private var scenePhase
    // Value of the radius of the blur effect
    @State private var blurRadius: CGFloat = 0

    var body: some View {
        NavigationStack {
            List(SecretsStore.secrets, id: \.self) { secret in
                Text(.init(secret))
                    .listRowSeparator(.hidden)
                    .fontDesign(.monospaced)
            }
            .listStyle(.inset)
            .navigationTitle("My Secrets")

            // The blur modifier
            .blur(radius: blurRadius)

        }
        // Changes the blurRadius value when the scene phase changes
        .onChange(of: scenePhase) { oldPhase, newPhase in
            if newPhase == .inactive || newPhase == .background {
                withAnimation { blurRadius = 20}
            } else {
                withAnimation { blurRadius = 0}
            }
        }

    }
}
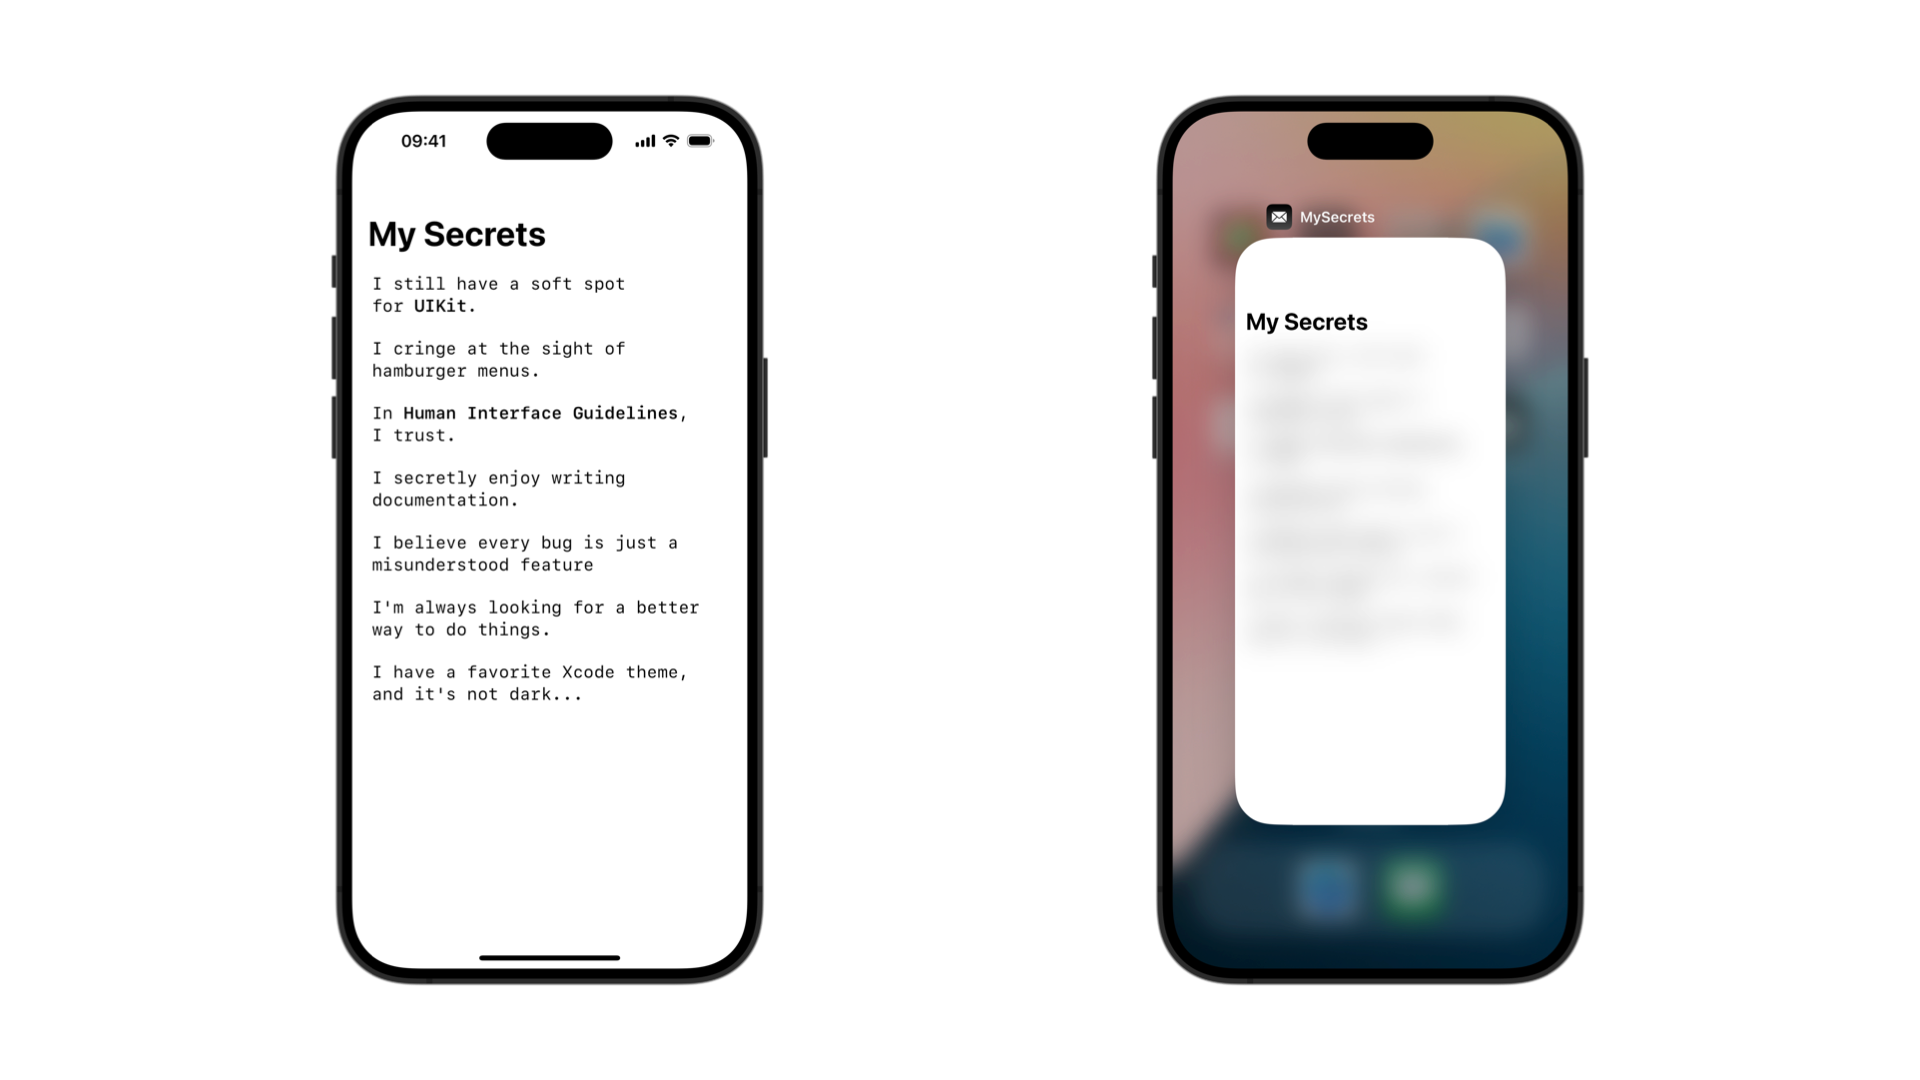
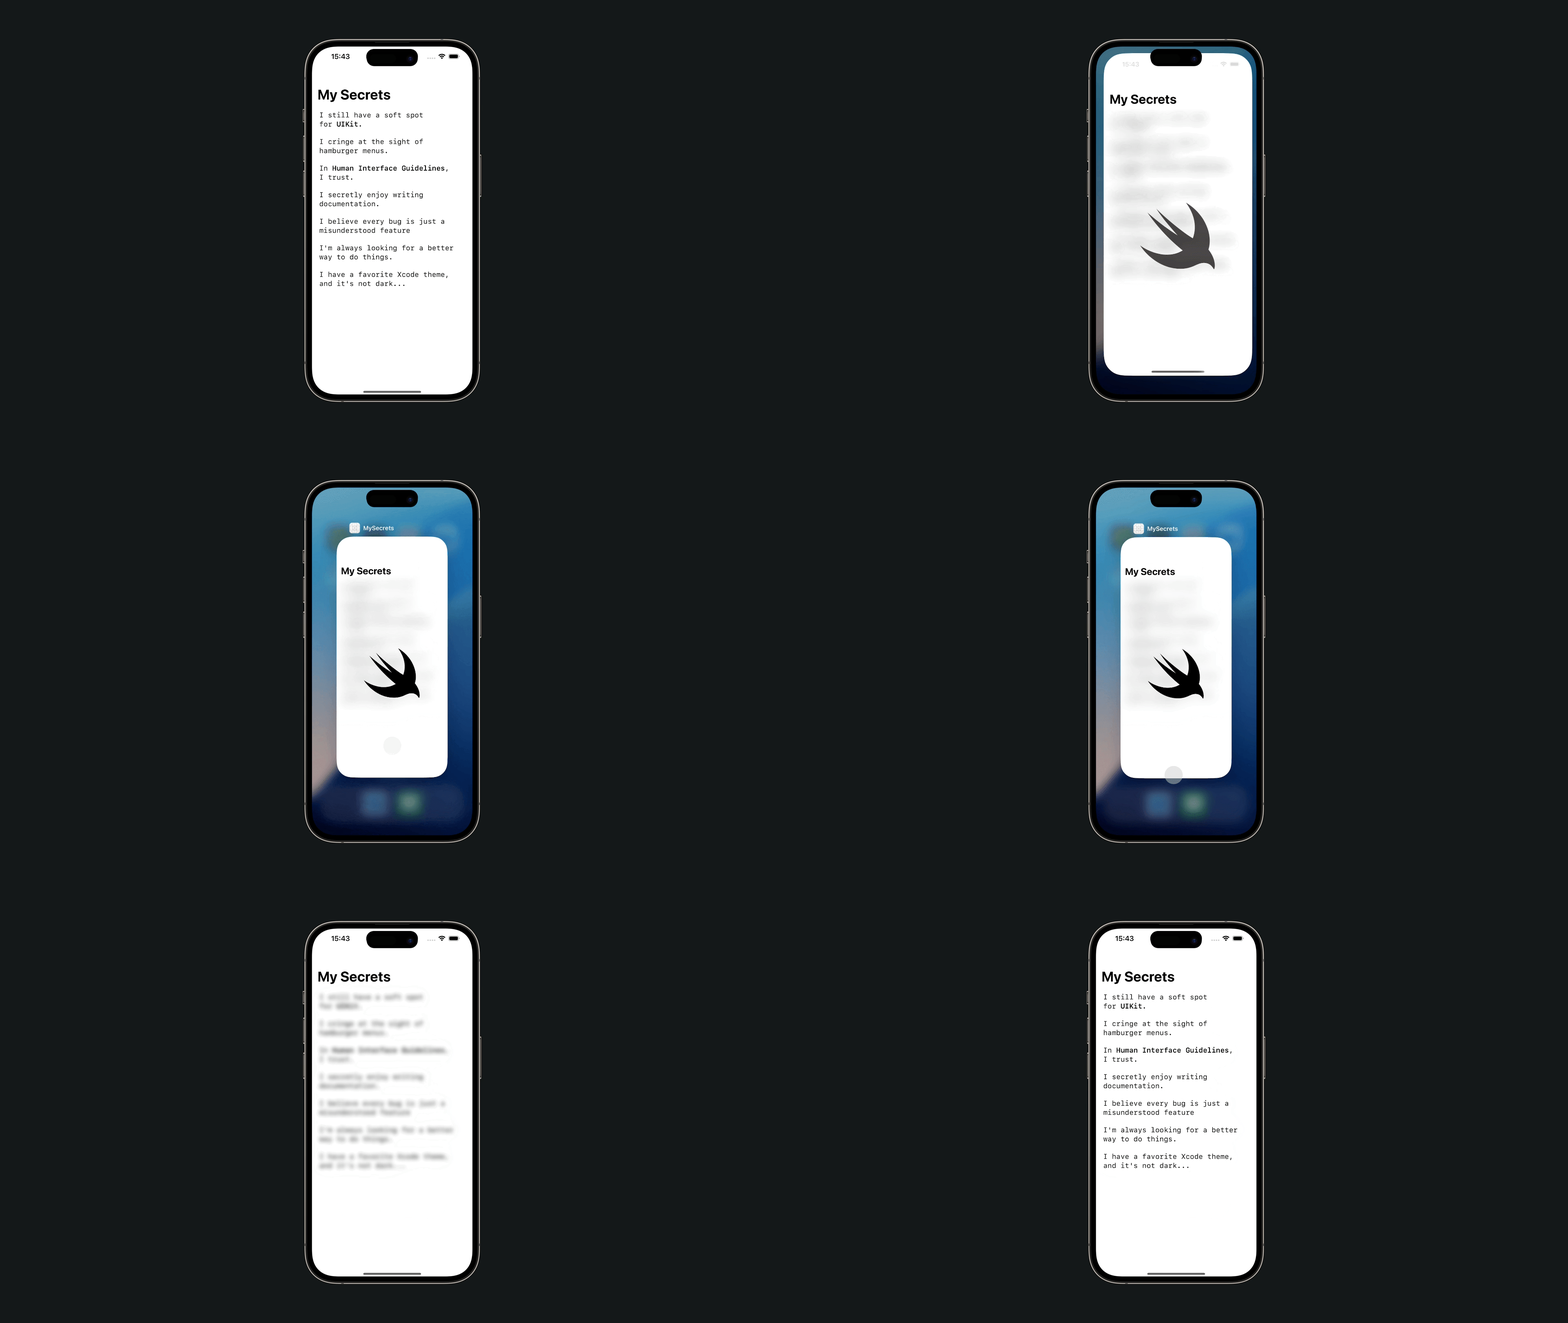
If the user switches to another app or returns to the home screen, the sensitive content within your app becomes blurred, obscuring it from view. This ensures that the displayed information remains protected when the app is inactive.
When the user returns to your app, the blur effect is smoothly removed, making the content visible again without any abrupt transitions.

Expanding the Feature
While the previous example focuses on a single view, you can extend the blur functionality app-wide by integrating similar logic in your app's main scene delegate or higher in the view hierarchy. This ensures all sensitive content stays protected whenever the app transitions between states.
import SwiftUI

@main
struct MySecretsApp: App {

    @Environment(\.scenePhase) private var scenePhase
    @State private var blurRadius: CGFloat = 0

    var body: some Scene {

        WindowGroup {

            ZStack {
                ContentView()
                    .blur(radius: blurRadius)

                if blurRadius > 0 {
                    Image("logo")
                        .resizable()
                        .aspectRatio(contentMode: .fit)
                        .frame(width: 200)
                }
            }

            .onChange(of: scenePhase) { oldValue, newValue in
                if newValue == .inactive || newValue == .background {
                    withAnimation { blurRadius = 20 }
                } else {
                    withAnimation { blurRadius = 0 }
                }
            }

        }

    }
}
Creating a container
Another approach can be to create a view container that will be responsible for keeping track of the current state of the application and applying the blur effect to its content. It can be useful if you want to place an image over the content, such as your app logo, or if there are only specific views you want to blur.
struct SensitiveContentView<Content: View>: View {

    @Environment(\.scenePhase) private var scenePhase
    @State private var blurRadius: CGFloat = 0

    private var content: Content

    init(@ViewBuilder content: () -> Content) {
        self.content = content()
    }

    var body: some View {

        ZStack {
            content
                .blur(radius: blurRadius)

            // Shows the app logo on top of the blurred content
            if blurRadius != 0 {
                Image(systemName: "swift")
                    .resizable()
                    .aspectRatio(contentMode: .fit)
                    .frame(width: 200)
            }

        }

        .onChange(of: scenePhase) { oldPhase, newPhase in
            if newPhase == .inactive || newPhase == .background {
                withAnimation { blurRadius = 20 }
            } else {
                withAnimation { blurRadius = 0 }
            }
        }

    }
}
The same logic can be used for the creation of a custom modifier.

