Integrating TimelineView in a SwiftUI app
Learn how to periodically refresh and update UI components, enabling smooth and efficient animations in your SwiftUI app
The TimelineView is a powerful container view in SwiftUI designed to build dynamic, time-based interfaces. Unlike traditional views that update only when state changes, TimelineView allows updates to occur on a defined schedule, making it ideal for smooth, continuous animations and building interactive elements that respond to the passage of time.
A TimelineView itself has no visual appearance, it simply manages time-driven updates for its content.
struct ContentView: View {
    var body: some View {
        TimelineView(.periodic(from: .now, by: 1)) { context in
            Text(context.date, format: .dateTime.second())
        }
    }
}
The TimelineView requires a property that conforms to the TimelineSchedule protocol to specify when updates happen. There are a few alternatives that give us more control over generating the sequence of dates:
animation: allows for a pausable schedule of dates that update with a specific frequency.everyMinute: updates the timeline view at the start of every minute.explicit: update the view at specific points in time by using an array ofDateperiodic: updates the timeline view at regular intervals.
Additionally the TimelineView closure provides access to a property of type TimelineView.Context that you can use to customize the content’s appearance. The TimelineView.Context object has two properties:
- the
datethat triggered the update, as in the example above the timeline view sends that date to an analog timer that you create so the timer view knows how to draw the hands on its face. - a
cadenceproperty that you can use to hide unnecessary detail. For example, you can use the cadence to decide when it’s appropriate to display the timer.
Let’s take a look on how we can use the TimelineView container within our SwiftUI view to create a simple animation that will generate a random color and adjust the scale of an image:
import SwiftUI

struct PulsatingCircleView: View {
    var body: some View {
        TimelineView(.animation(minimumInterval: 0.5)) { timeline in
            let timeInterval = timeline.date.timeIntervalSinceReferenceDate

            // Color animation based on sine wave
            let hue = (sin(timeInterval) + 1) / 2
            let animatedColor = Color(hue: hue, saturation: 1.0, brightness: 1.0)

            // Size animation based on sine wave - pulsating effect
            let baseScale = 1.0
            let scaleVariation = 0.5
            let imageScale = baseScale + scaleVariation * sin(timeInterval * 2.5)

            Image(.image)
                .overlay {
                    Circle()
                        .fill(animatedColor)
                        .blendMode(.color)
                }
                .scaleEffect(imageScale)
                .animation(.easeInOut, value: imageScale)
        }
    }
}

struct ContentView: View {
    var body: some View {
        VStack {
            PulsatingCircleView()
        }
    }
}

#Preview {
    ContentView()
}

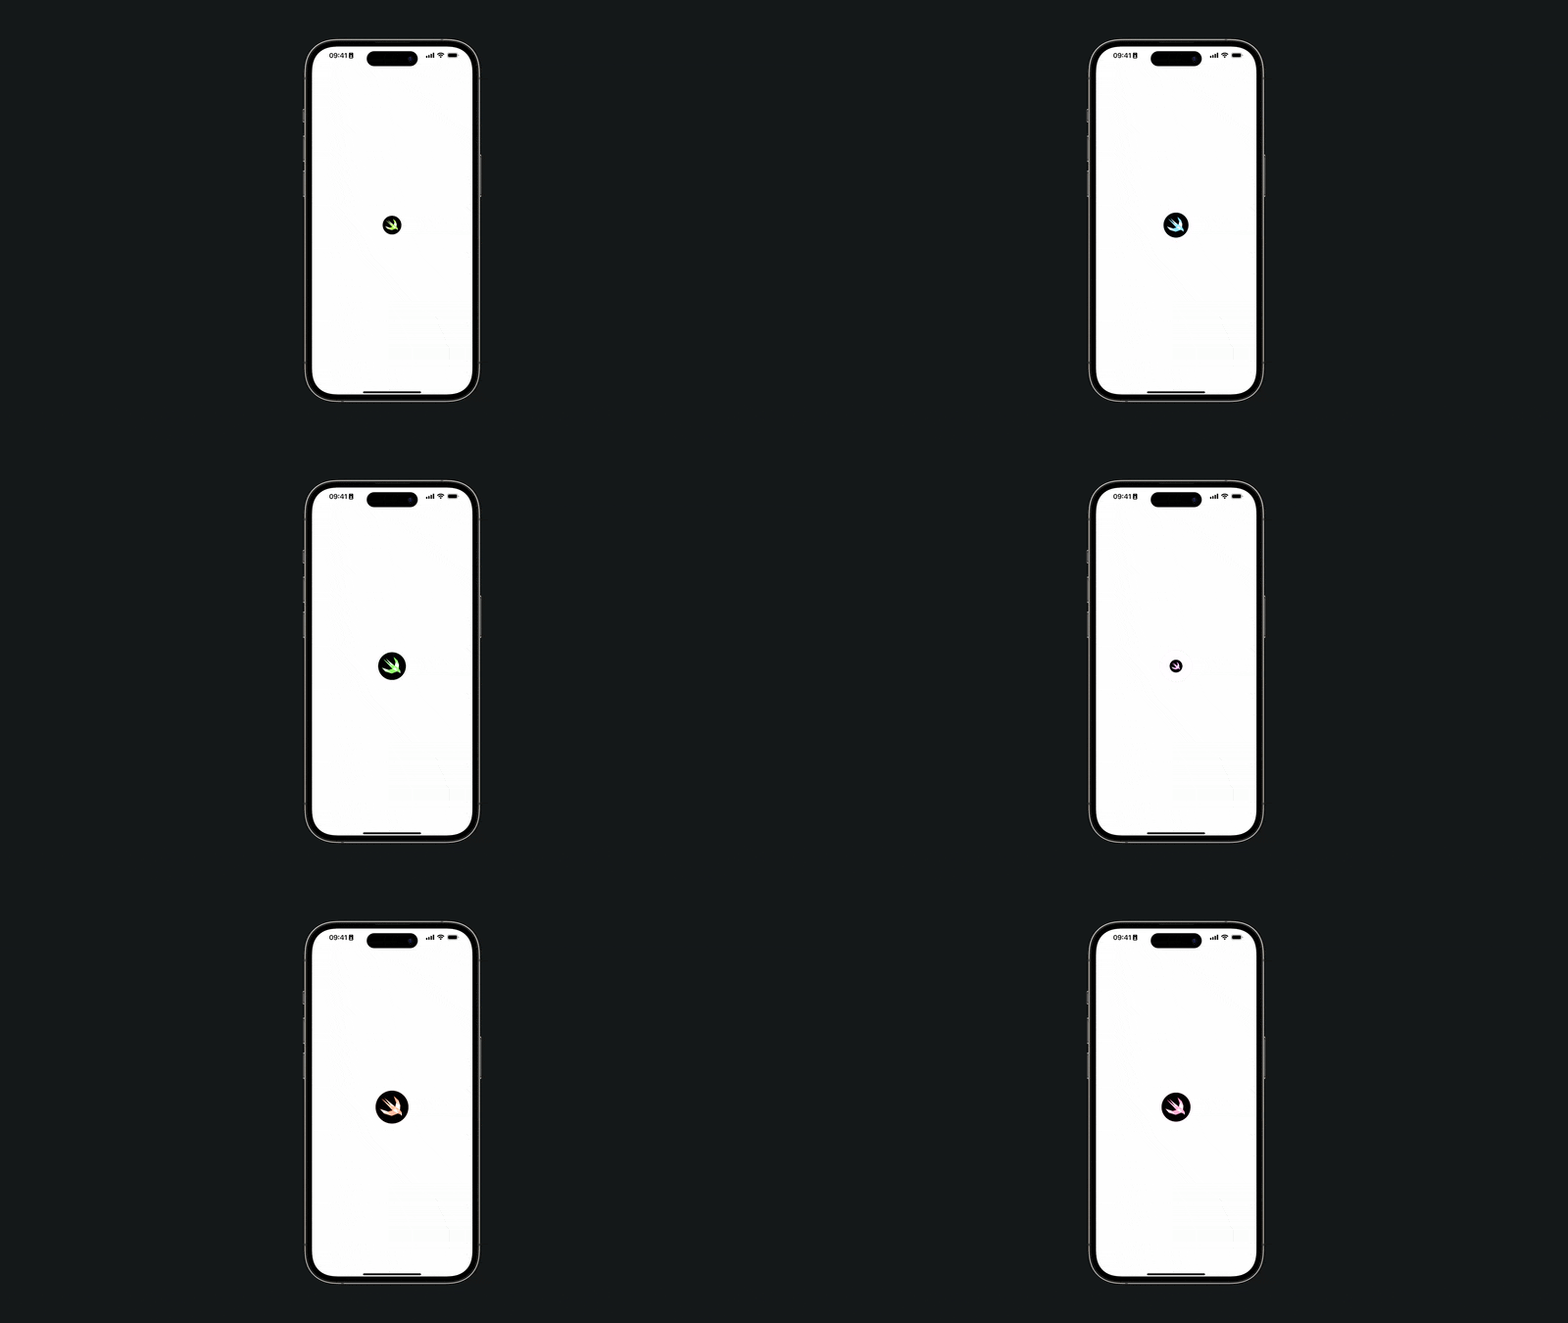
The provided example illustrates how to animate an image with a circle that gradually changes color and size over time. This is achieved by periodically updating the view using TimelineView. The color transition is implemented using a sine wave, while the circle’s size is adjusted to create a pulsing effect. This pulsing effect is overlayed on the image with a blend mode.

