Linking a widget to a specific view in SwiftUI
Learn how to open a specific view in your app when the widget is tapped.


When creating widget extensions for our app, they usually show specific information from the app instead of the entire application. For example, a widget for the Reminder app might display a to-do list, while a widget for Apple Music might show the latest played album.
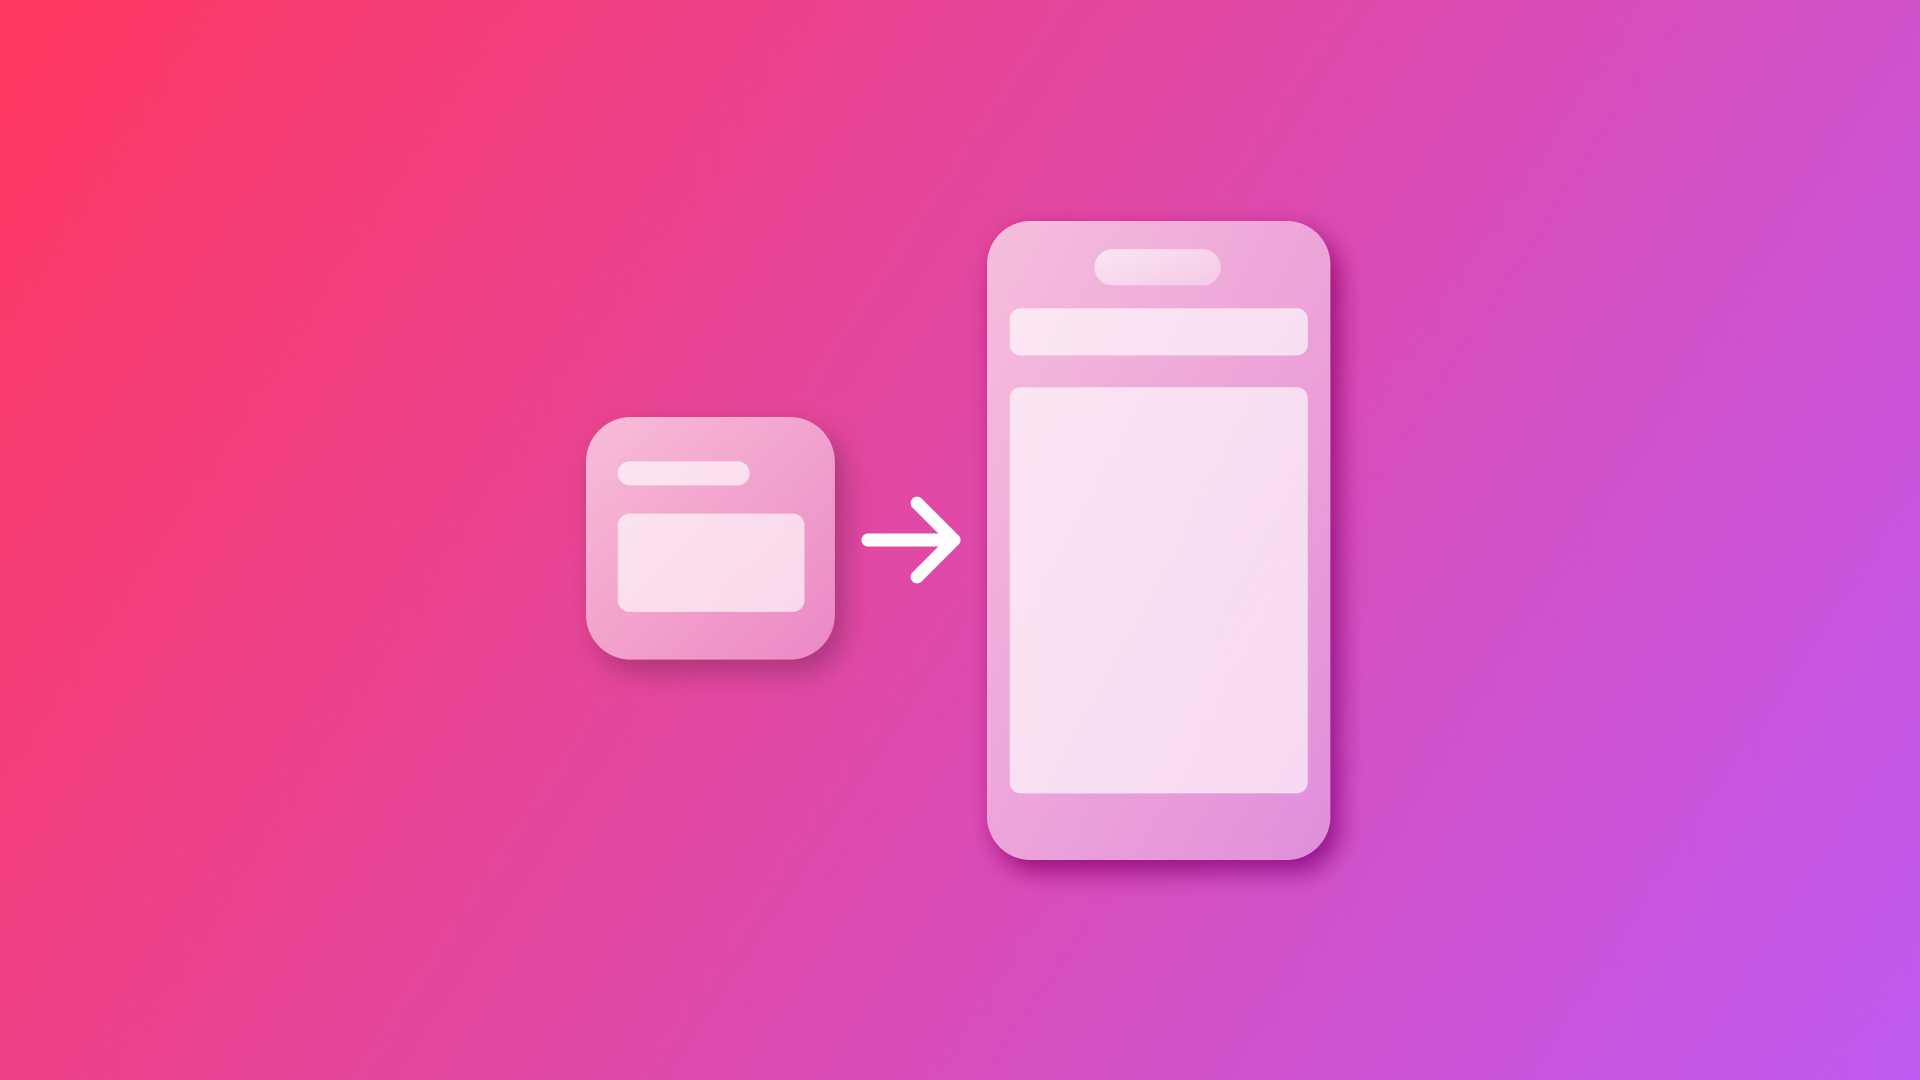
If we tap on the Music app widget for example, it takes us directly to the album shown on the widget, rather than the Home section of the app. This process is known as deep-linking, which allows you to open your app and immediately navigate to a specific location after tapping.
In this article, we will implement a deep link for our widget that will open a specific view of our app when we tap on it.
Before we start
To get started with this tutorial, it’s recommended to have a basic understanding of SwiftUI and be comfortable writing code in Swift. If you are new to WidgetKit, it would be helpful to go through our previous tutorial where we explored some of its foundational concepts.

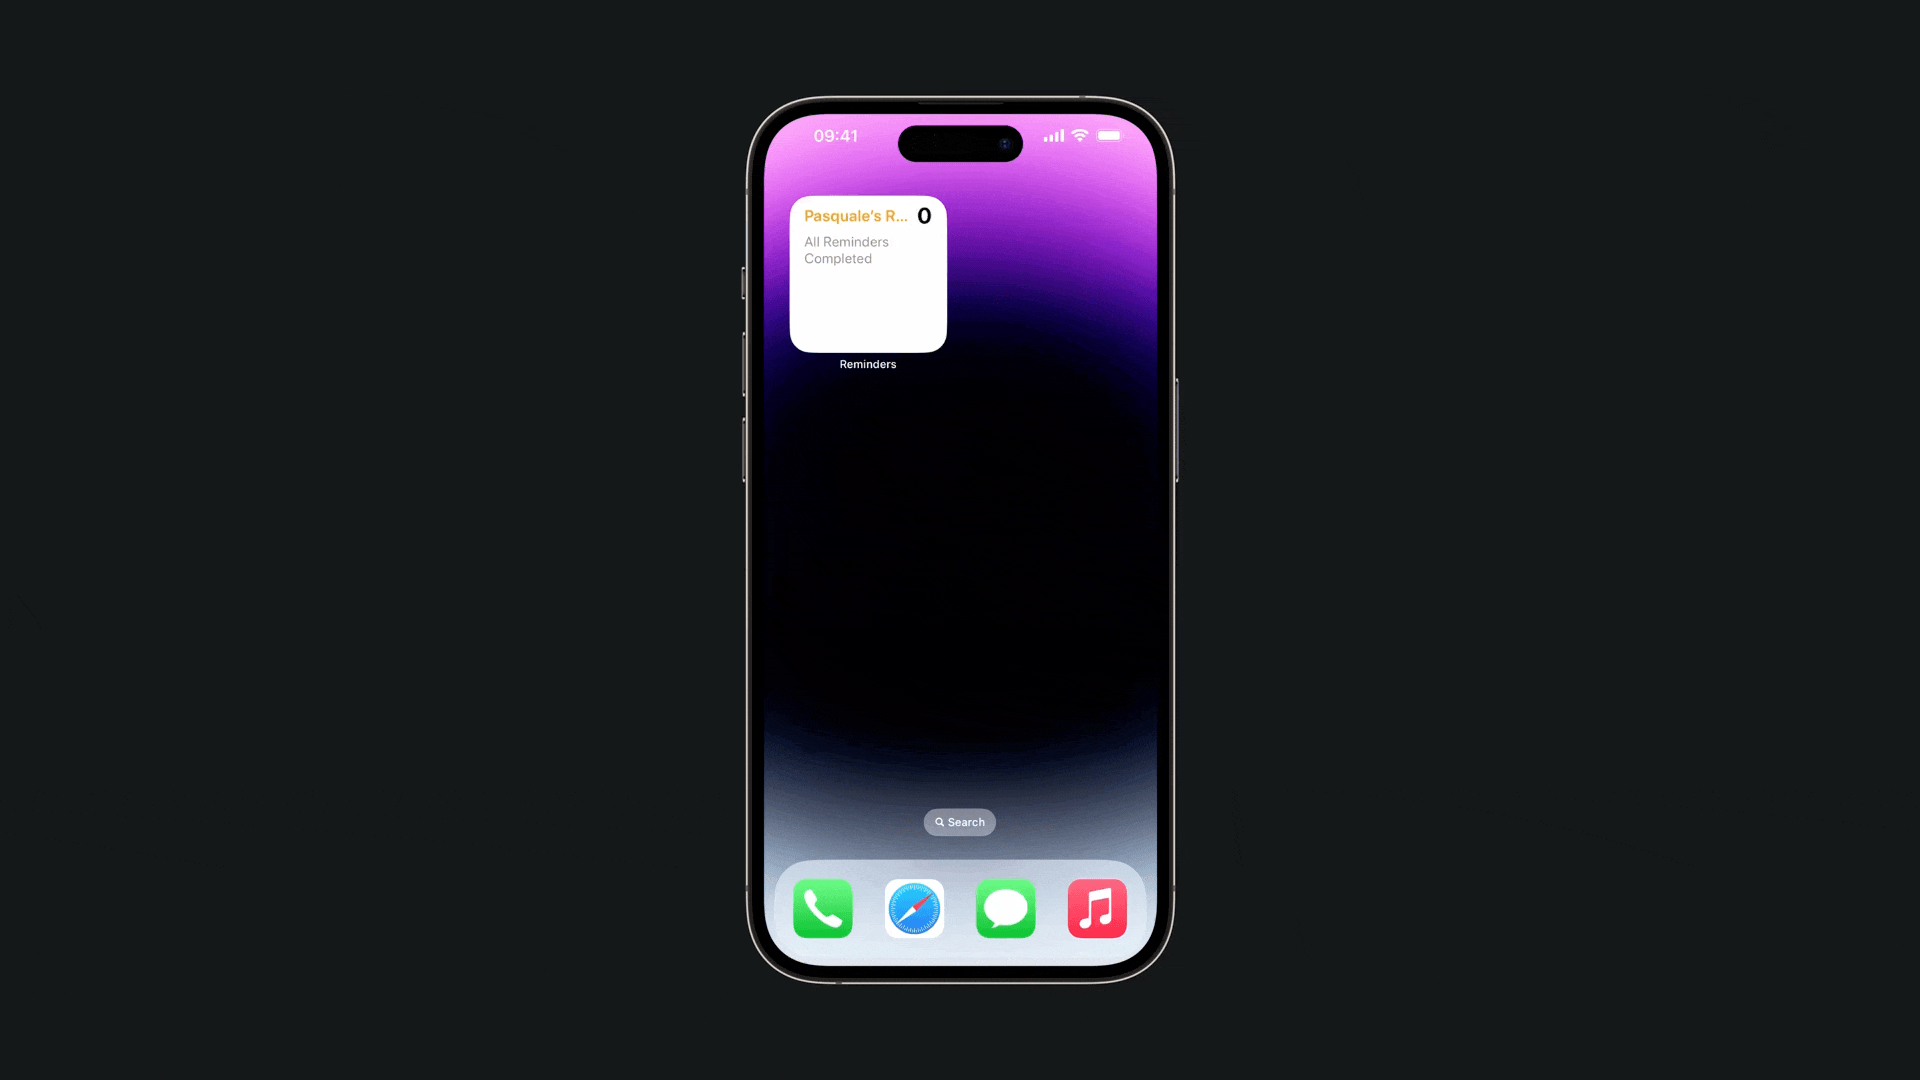
We will start with the following project:
Step 1 - Create a link on the Widget
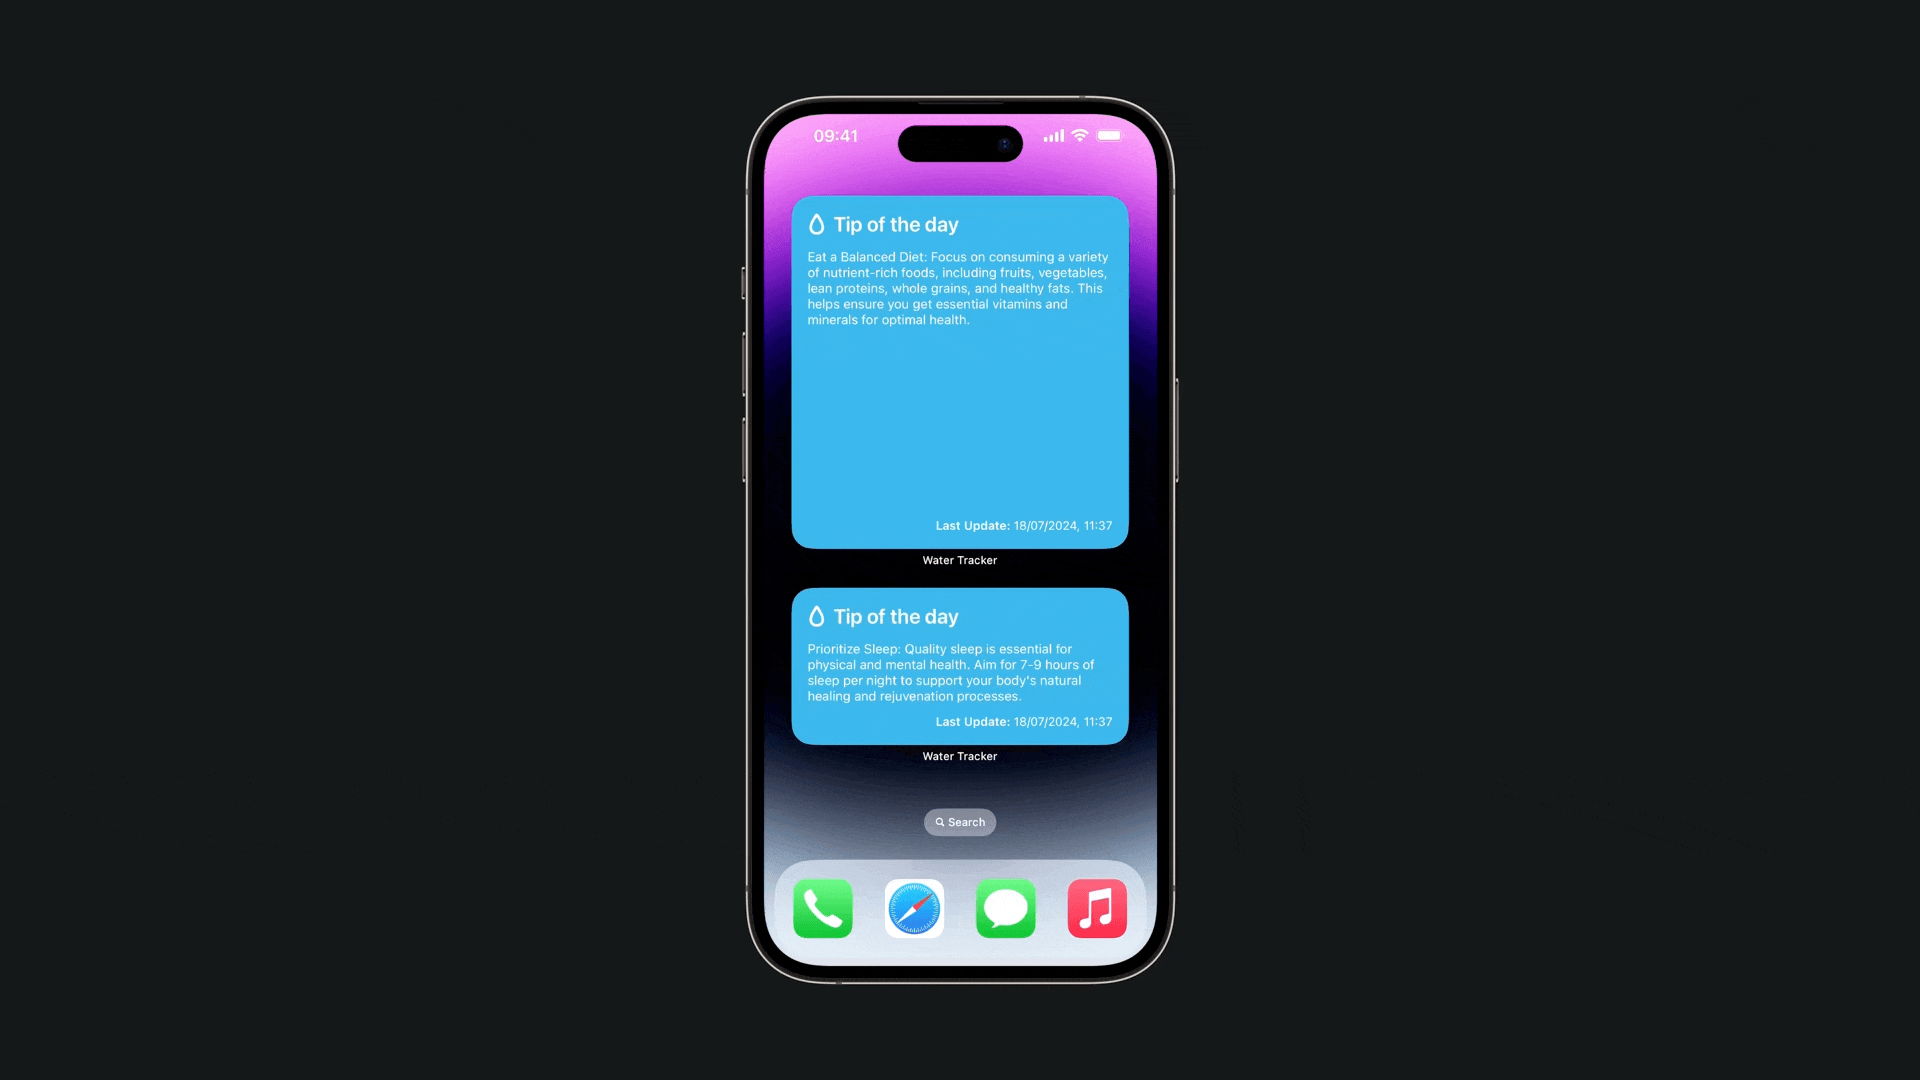
Open the WaterWidgetView from the starting project and replace it with the following:
import WidgetKit
import SwiftUI

struct WaterWidgetView: View {

    var entry: WaterProvider.Entry

    var body: some View {
        VStack(alignment: .leading){
            HStack{
                Image(systemName: "drop")
                Text("Tip of the day")

            }
            .font(.title3)
            .bold()
            .padding(.bottom, 8)

            Text(entry.waterTip)
                .font(.caption)
            Spacer()

            HStack{
                Spacer()
                Text("**Last Update:** \(entry.date.formatted(.dateTime))")
                    .font(.caption2)

            }
        }
        .foregroundStyle(.white)
        .containerBackground(for: .widget){
            Color.cyan
        }

        // Setting the specific URL to send.
        .widgetURL(URL(string: "create-with-swift-interactive-widget-tutorial-starting//CreateWithSwift"))
    }
}
Using the widgetURL(_:) modifier we can set a specific URL that will be sent to the system when the user taps on the it.
Step 2 - Retrieve and Handle the URL
Now that the URL is set, you can retrieve and handle the URL using the onOpenURL(perform:) modifier in the App file. Accessing this URL allows us to trigger navigation to a specific view using, for example, the navigationDestination(isPresented:destination:) modifier.
import SwiftUI

@main
struct create_with_swift_interactive_widget_tutorial_startingApp: App {

    // 1.
    @State var linkActive = false

    var body: some Scene {
        WindowGroup {
            // 2.
            NavigationStack {
                ContentView()
                    // 3.
                    .onOpenURL { url in
                        print("Received deep link: \(url)")
                        linkActive = true
                    }
                    // 4.
                    .navigationDestination(isPresented: $linkActive) {
                        Text("Create with Swift")
                    }
            }
        }
    }
}
- Declare a state variable to track if the navigation link is active
- Embed the
ContentViewin aNavigationStackto enable navigation - Handle deep link URLs and set
linkActiveto true when a URL is opened - Set the destination view, in this case a
Textto navigate when the URL is opened.
Conclusion
By using deep links, we can programmatically set navigation when tapping on different widgets. This allows us to create a widget that provides useful information at a glance and also enables quick access to the relevant section of the app.