Making RealityKit apps accessible
Learn how to ensure RealityKit entities are recognizable by VoiceOver and assistive technologies.
When most people think of spatial computing and the Apple Vision Pro, their minds immediately go to immersive 3D environments, floating windows and virtual objects in space with gesture-based interactions. This visual-first mindset often leads to the assumption that spatial computing devices are exclusively for fully sighted users.
Challenging our preconceptions, Apple Vision Pro isn't exclusively for fully sighted users. It comes with the most comprehensive set of accessibility features ever included in a first-generation Apple product.
Apple has long been a pioneer in designing and supporting accessibility features for its devices, with VoiceOver, the first built-in screen reader integrated into an operating system, being a cornerstone of this accessibility suite. Over the years, Apple has expanded VoiceOver support across a growing number of devices, covering the entire Apple ecosystem.
Thanks to the inclusion of VoiceOver on visionOS, users with visual impairments can also navigate and enjoy the incredible world of Spatial Computing.
This commitment to accessibility demonstrates that spatial computing can be an inclusive technology, potentially offering new ways for people with visual impairments to interact with both digital and physical worlds.
In this article, we’ll explore how VoiceOver is integrated into visionOS to enable accessibility for spatially displayed content.
VoiceOver on other platforms
Before diving into the realm of spatial computing, it’s essential to understand VoiceOver and its role on other platforms. By converting visual information into spoken feedback, VoiceOver enables blind or partially sighted users to navigate apps, read text, and interact with UI elements using gestures and touch-based interactions. By highlighting a component of the user interface, VoiceOver describes it out loud to make the user aware of what is currently selected and if there are some actions that can be performed.
VoiceOver on Shazam

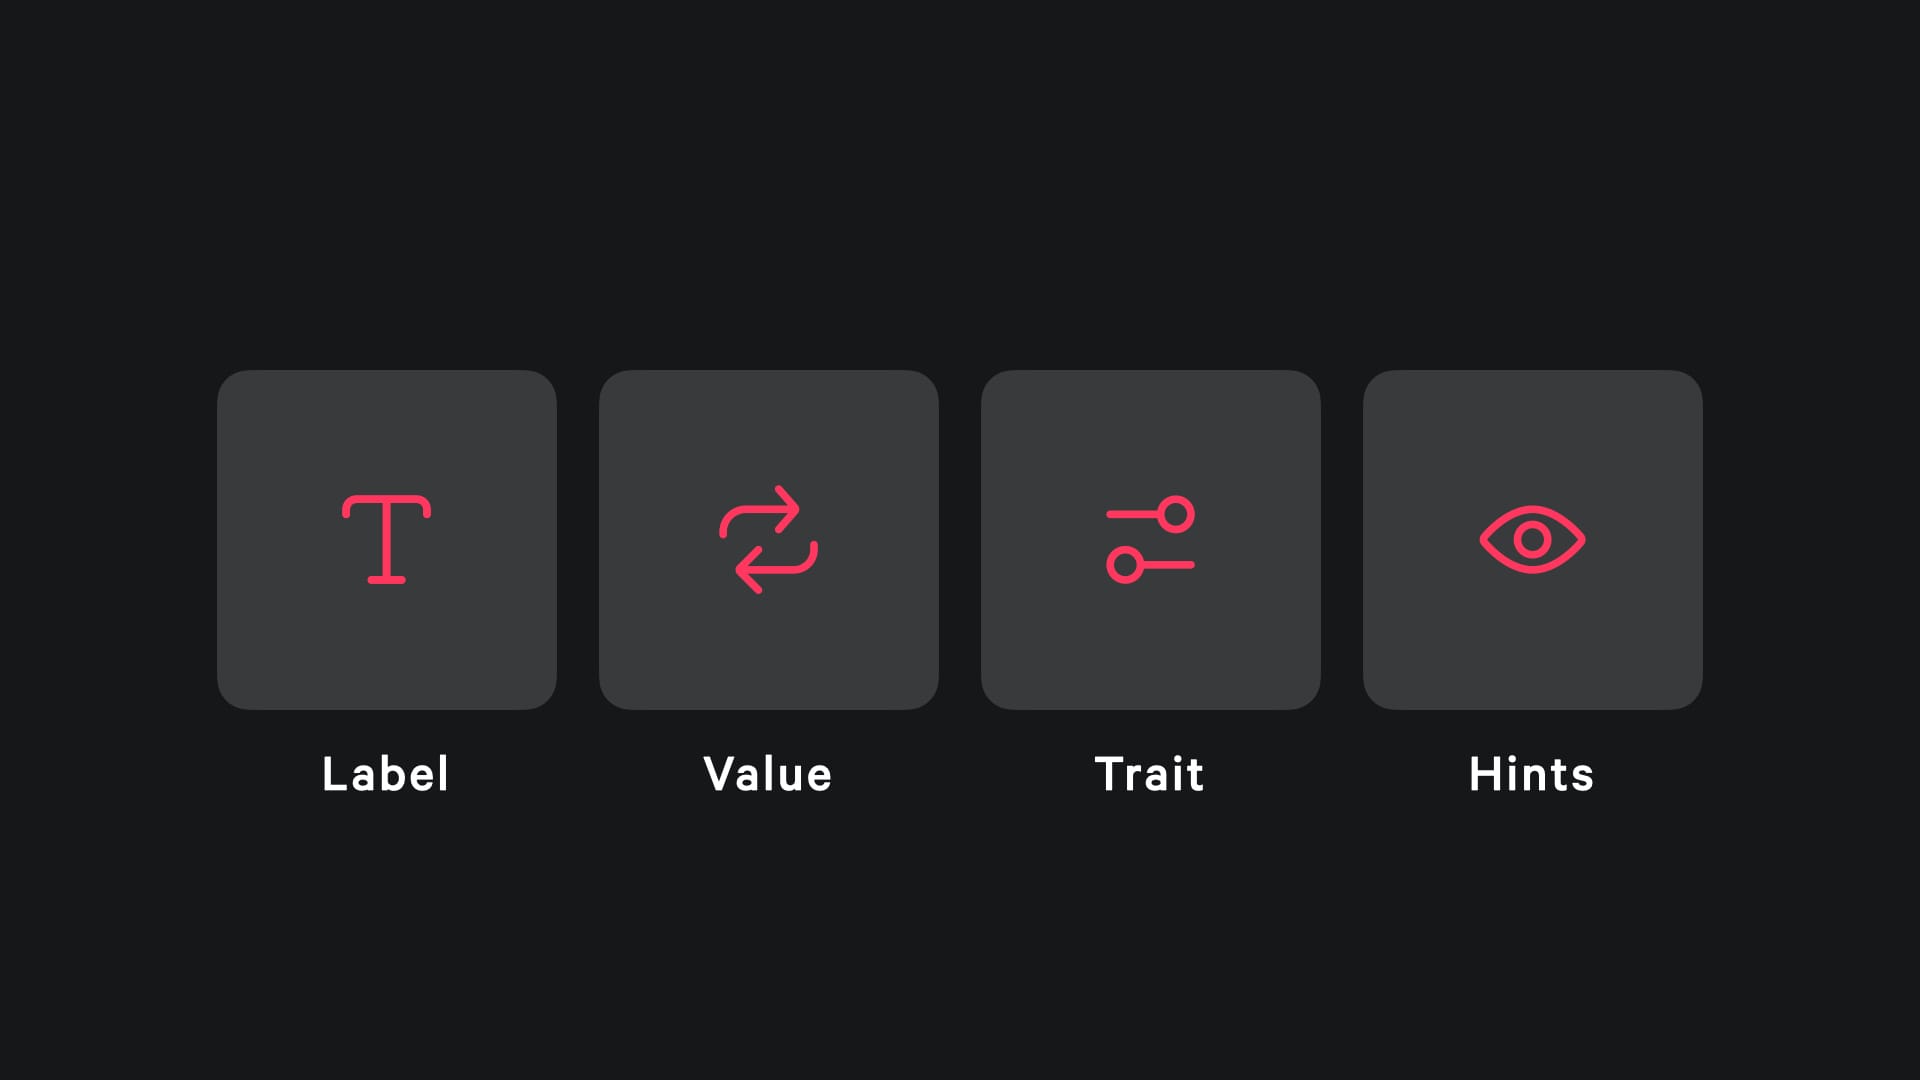
To ensure your app is accessible via VoiceOver, usually, you should focus on the following key properties:
- Labels
Provide concise, descriptive names for UI elements to identify their purpose. For instance, assigning a label to an image or icon that lacks textual context helps VoiceOver convey its function to the user.
In the example, the first thing that VoiceOver says is “Shazam” which is the label of this button. - Values
Communicate the current state or value of an element, such as the position of a slider or the status of a toggle switch. This is crucial for elements where the value isn’t apparent from the label alone. - Traits
Define the behavior and characteristics of UI elements, informing users how they can interact with them. For example, specifying an element as a button or header helps set appropriate expectations. - Hints
Offer additional context about the action an element performs, guiding users on how to interact with it effectively.

Implementing these properties ensures an accessible user experience by clearly conveying the purpose and behavior of interactive elements. Descriptive labels help users identify elements, while traits, such as marking a view a button trait, indicate interactivity. Dynamic values keep users informed by updating in real-time to reflect changes in an element’s state, and helpful hints provide additional context about the outcome of actions, enhancing understanding and navigation.
VoiceOver on visionOS
Until now user interfaces were intended for 2D type of content, but with the introduction of the Vision Pro and its spatial computing capabilities the third dimension is now enabled, with the possibility of placing 3D objects in augmented reality moving from the touch interaction into a combination of hand gestures and eye pointer
On Vision Pro, VoiceOver has been reimagined for these interactions. Instead of touch gestures, users perform finger pinches for navigation and interaction. The right index finger pinch moves to the next item, while the right middle finger pinch moves to the previous item. Activation is performed using either the right ring finger or the left index finger pinch.
VoiceOver gestures in visionOS
With Windows, the VoiceOver experience aligns closely with how it functions on other Apple devices. The screen reader highlights elements of the user interface, providing users with audible descriptions of the elements and the available actions associated with them.
VoiceOver interaction in the Music app
Without any particular changes, Windows are already compatible with VoiceOver, thanks to the capabilities of SwiftUI that automatically support accessibility features in native components.
But how does VoiceOver works for 3D models?
A significant shift occurs with the inclusion of 3D objects within an environment. These objects must also be made accessible to users relying on assistive technologies. RealityKit provides some accessibility properties.
Let's explore how to make spatial experiences accessible using RealityKit's accessibility features.
Accessibility Component for Reality Entities
As we saw before to make an element highlighted by VoiceOver to reveal its accessibility properties and actions, we need to make sure it has accessibility properties. Compared with SwiftUI where native components already have some accessibility properties set, RealityKit entities don’t provide any kind of information by default.
In Introduction to RealityView, we covered how entities are the fundamental unit of RealityKit and you need to add components to let them store additional relevant information to a specific type of functionality. Entities are made accessible through the AccessibilityComponent, which provides our entities with all the necessary accessibility properties.
Consider the example:
struct ContentView: View {
    var body: some View {
        RealityView { content in
            // Load the GlassCube model entity asynchronously
            if let glassCube = try? await ModelEntity(named: "GlassCube") {
                // Add the GlassCube entity to the RealityKit scene
                content.add(glassCube)

                // Position the GlassCube entity within the scene
                glassCube.position = [0, -0.1, 0]
            }
        } placeholder: {
            // Placeholder view while the RealityKit content loads
            ProgressView()
        }
    }
}
You can download the GlassCube asset here:
Initially, the volume is not recognized by VoiceOver, being totally ignored. Let's now add the AccessibilityComponent to our entity:
struct ContentView: View {
    var body: some View {
        RealityView { content in
            if let glassCube = try? await ModelEntity(named: "GlassCube") {
                content.add(glassCube)

                glassCube.position = [0, -0.1, 0]

                // Set up accessibility components for the GlassCube
                glassCube.components.set(AccessibilityComponent())
                // Making the GlassCube an accessibility element
                glassCube.isAccessibilityElement = true
            }
        } placeholder: {
            ProgressView()
        }
    }
}
After setting the AccessibilityComponent on the Entity and marking it as an accessible element, we have successfully enabled VoiceOver to highlight it.
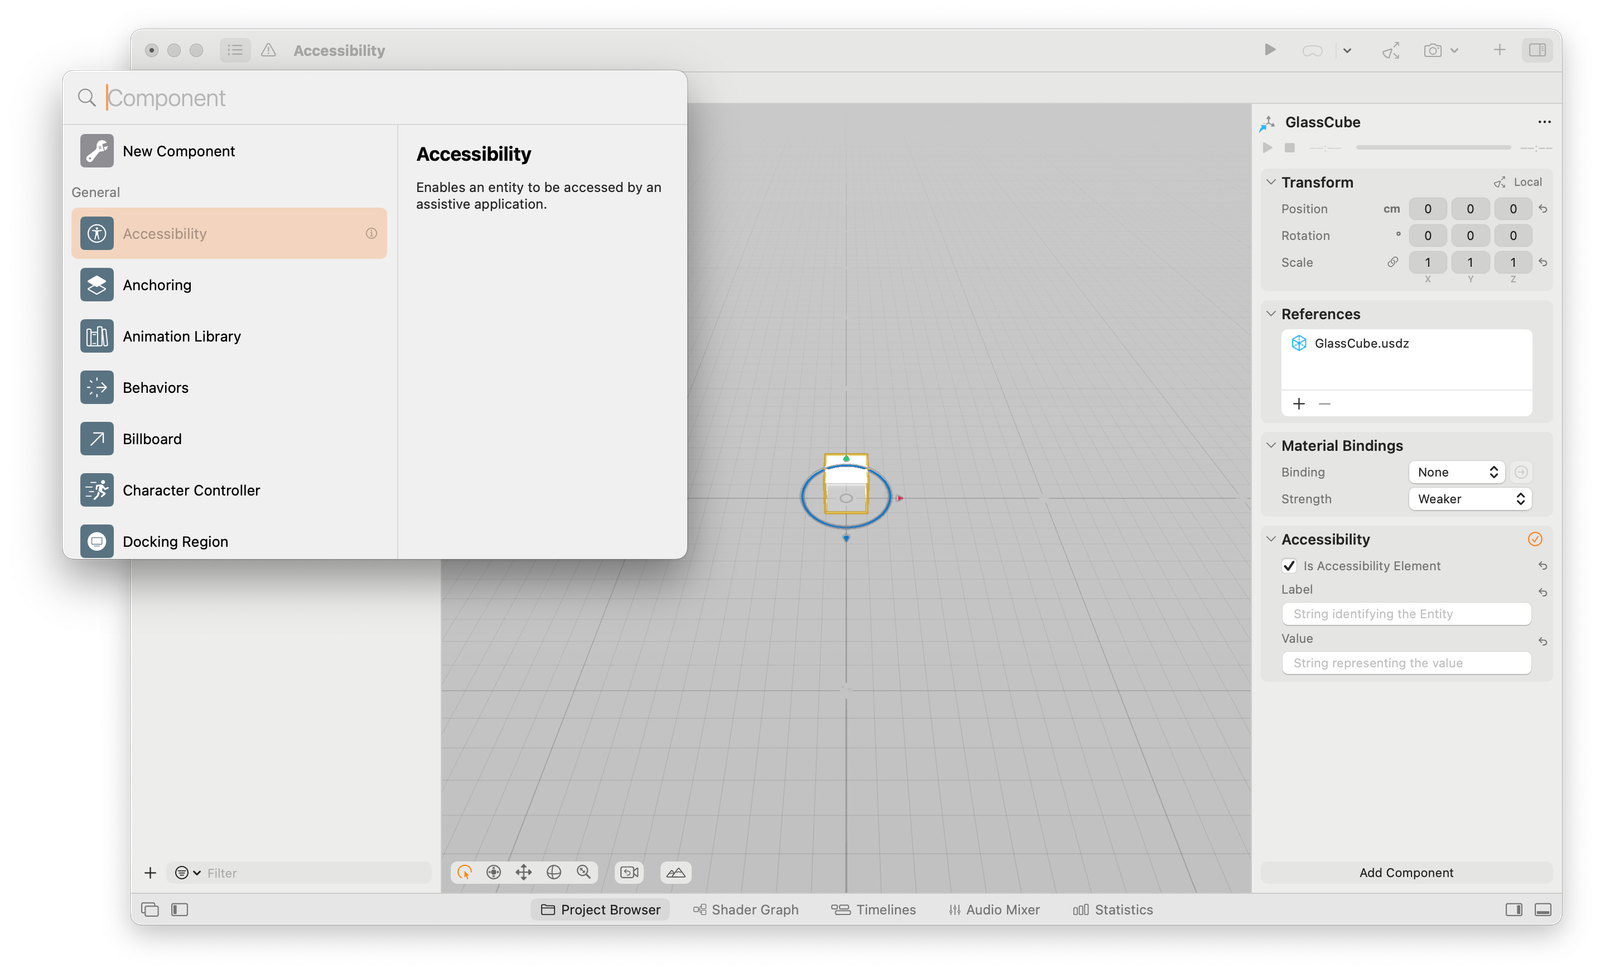
You can also use Reality Composer Pro to add the Accessibility Component to your entities.

However, we still need to take some steps to ensure a completely accessible experience.
VoiceOver support for RealityKit Entities
The VoiceOver support begins by setting properties on RealityKit entities, the first one being the isAccessibilityElement which indicates whether the entity is accessible via assistive technologies. After that, we can define some specific accessibility properties and actions.
Accessibility Properties
Here’s the list of the available accessibility properties that can be set:
isAccessibilityElement
Indicates whether the entity is accessible via assistive technologies.accessibilityLabelKey
A string that describes the entity.accessibilityValue
Describes the current state or value of the entity.accessibilityTraits
Defines how the entity behaves.
struct ContentView: View {
var body: some View {
        RealityView { content in
            if let glassCube = try? await ModelEntity(named: "GlassCube") {
                content.add(glassCube)

                glassCube.position = [0, -0.1, 0]

                // Set up accessibility components for the GlassCube
                glassCube.components.set(AccessibilityComponent())
                glassCube.isAccessibilityElement = true

                // Localization key for the label
                glassCube.accessibilityLabelKey = "Glass Cube"
                // Value description for the entity
                glassCube.accessibilityValue = "A cube made of glass"
                //Trait to describe the entity's behavior or role
                glassCube.accessibilityTraits = .none

            }
        } placeholder: {
            // Placeholder view while the RealityKit content loads
            ProgressView()
        }
    }
}System Actions
By using VoiceOver users can also trigger actions embedded in the Entity. In RealityKit three types of action can be performed on entities:
activate
Tells the entity to activate itself.decrement
Tells the entity to decrement the value of its content.increment
Tells the entity to increment the value of its content.
You can specify which of these actions are supported by the entities with the accessibilitySystemActions accessibility property and then by subscribing the RealityViewContent to one of these actions using the subscribe(to:on:componentType:_:) method. We can trigger specific functionalities as soon as they are performed with VoiceOver.
struct ContentView: View {
    @State private var statusMessage = "Hello" // State variable for status updates

    var body: some View {
        RealityView { content in
            if let glassCube = try? await ModelEntity(named: "GlassCube") {
                content.add(glassCube)

                glassCube.position = [0, -0.1, 0]

                // Set up accessibility components for the GlassCube
                glassCube.components.set(AccessibilityComponent())
                glassCube.isAccessibilityElement = true
                // Localization key for the label
                glassCube.accessibilityLabelKey = "Glass Cube"
                // Value description for the entity
                glassCube.accessibilityValue = "A cube made of glass"
                // Trait to describe the entity's behavior or role
                glassCube.accessibilityTraits = [.button]

                // Define supported accessibility actions
                glassCube.accessibilitySystemActions = [
                    .activate // Supports activation action
                ]

                // Subscribe to accessibility activation events
                content.subscribe(
                    to: AccessibilityEvents.Activate.self,
                    on: glassCube, // Subscription applies only to glassCube entity
                    componentType: nil
                ) { _ in
                    statusMessage = "Create with Swift" // Update status message on activation
                }
            }
        } placeholder: {
            ProgressView()
        }
        .ornament(attachmentAnchor: .scene(.bottom)) {
            // Display the current status message as an overlay
            Text(statusMessage)
                .font(.title2)
                .padding(24)
                .glassBackgroundEffect()
        }
    }
}
In the example above we change the text ornament when the glassCube entity is activated using VoiceOver.
button trait to the accessibilityTraits property of the glassCube to let users know that they can perform actions and interact with it.You can change the on parameter in the subscribe method from an entity to nil to enable the subscription to listen for all events triggered.
// Subscribe to accessibility activation events
content.subscribe(
    to: AccessibilityEvents.Activate.self,
    on: nil, // Subscription applies globally to the scene
    componentType: nil
) { _ in
    statusMessage = "Create with Swift"
}
Creating accessible spatial experiences requires thoughtful implementation of VoiceOver support and consideration of diverse interaction methods. We have explored the fundamentals with RealityKit’s AccessibilityComponent, enabling 3D content accessibility through appropriate accessibility properties. Starting with this you can build inclusive spatial applications that are inclusive to the varied needs of users, ensuring everyone can enjoy them.


