Making your lists searchable in a SwiftUI app
Learn how to make a list searchable in a SwiftUI application.
When listing information on our application interfaces one of the most common actions a user expects to be able to do is to filter that list in order to find the specific data they are looking for, without having to scroll through the whole list.
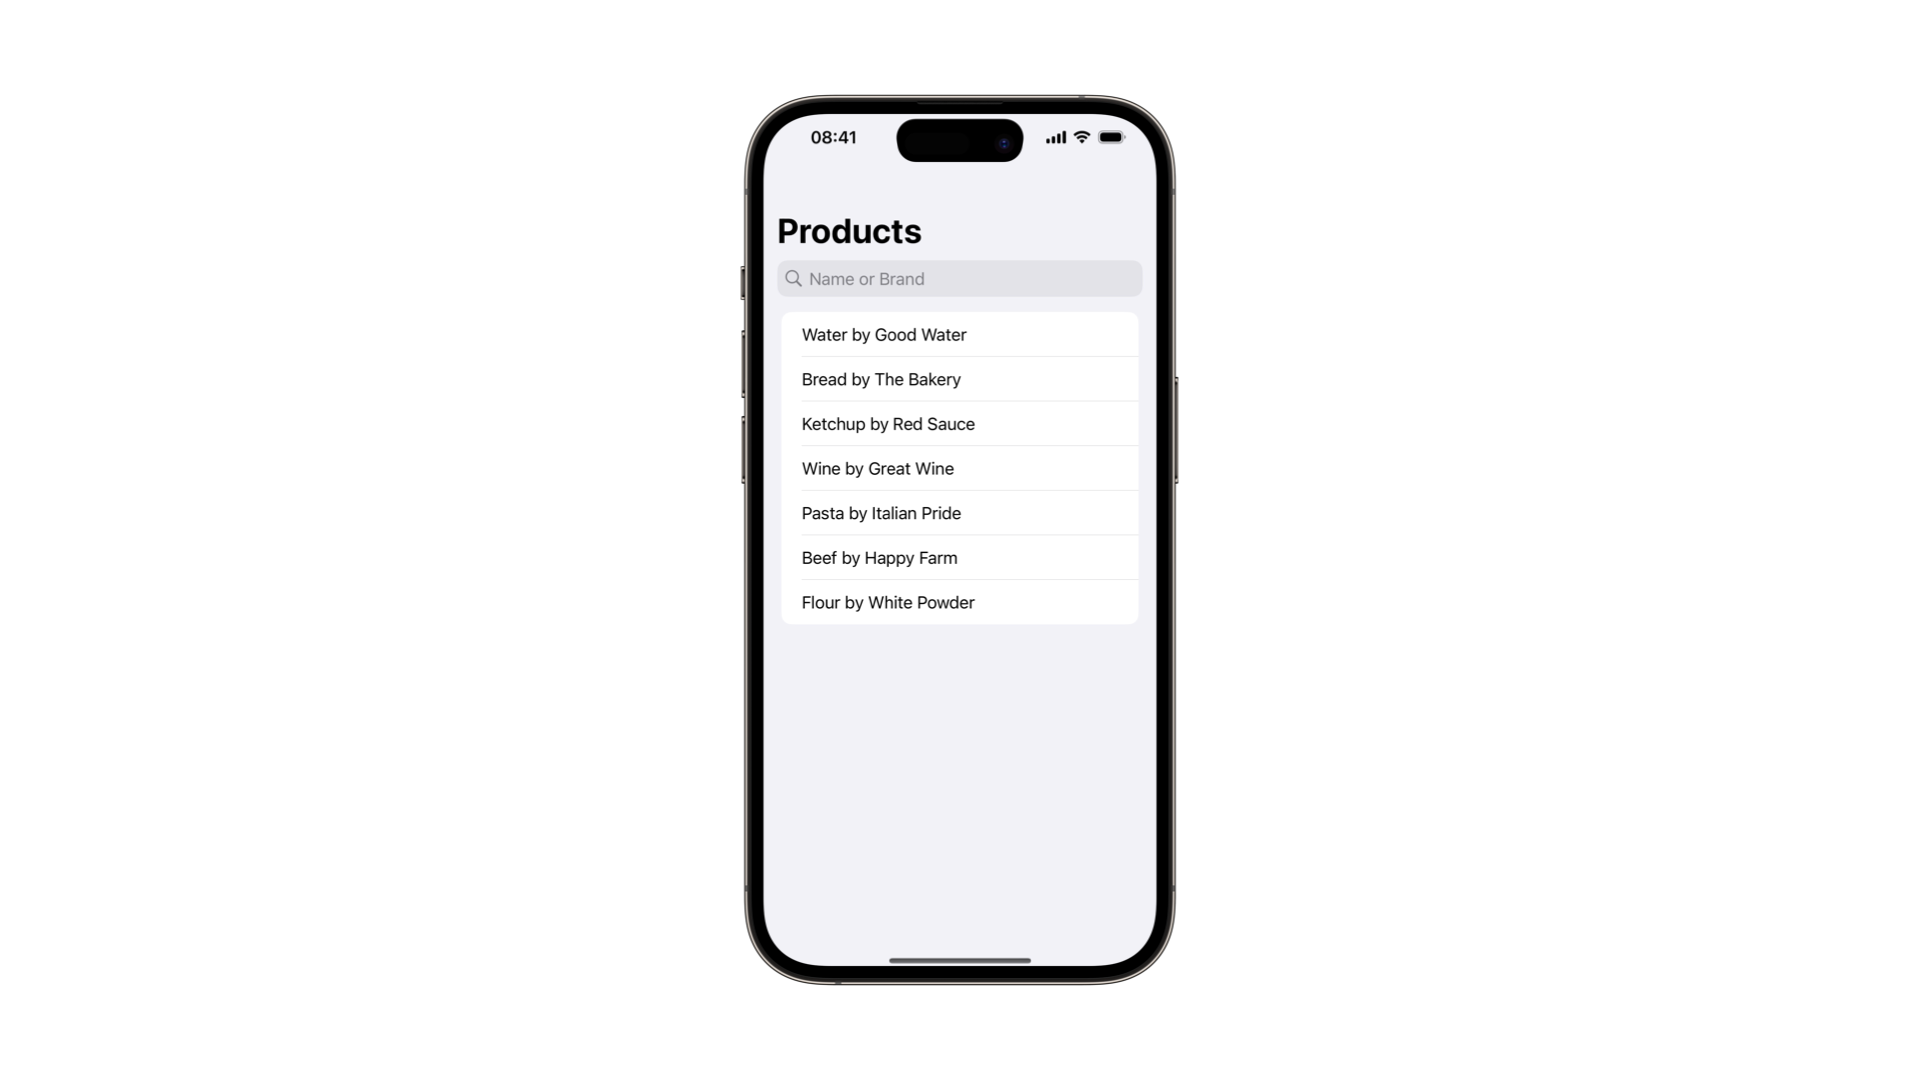
Enabling search on your lists in a SwiftUI application is made possible by using the searchable(text:placement:prompt:) modifier. It automatically configures the user interface to display the search field.
The searchable modifier has many variations and you can find them all on the official page for search in the Apple documentation:

In this short tutorial, we will implement a simple search by filtering functionality on a List view on SwiftUI using the searchable(text:placement:prompt:) modifier.
Starting point
The model is composed of a list of products. Each project has a name and a brand name associated with it and a property that describes the product. It is important that the object conforms with the Identifiable protocol.
struct Product: Identifiable {
    var id: UUID = UUID()

    var name: String
    var brand: String

    var description: String {
        "\(name) by \(brand)"
    }

    static var examples: [Product] = [
        Product(name: "Water", brand: "Good Water"),
        Product(name: "Bread", brand: "The Bakery"),
        Product(name: "Ketchup", brand: "Red Sauce"),
        Product(name: "Wine", brand: "Great Wine"),
        Product(name: "Pasta", brand: "Italian Pride"),
        Product(name: "Beef", brand: "Happy Farm"),
        Product(name: "Flour", brand: "White Powder")
    ]

}
Product.swift
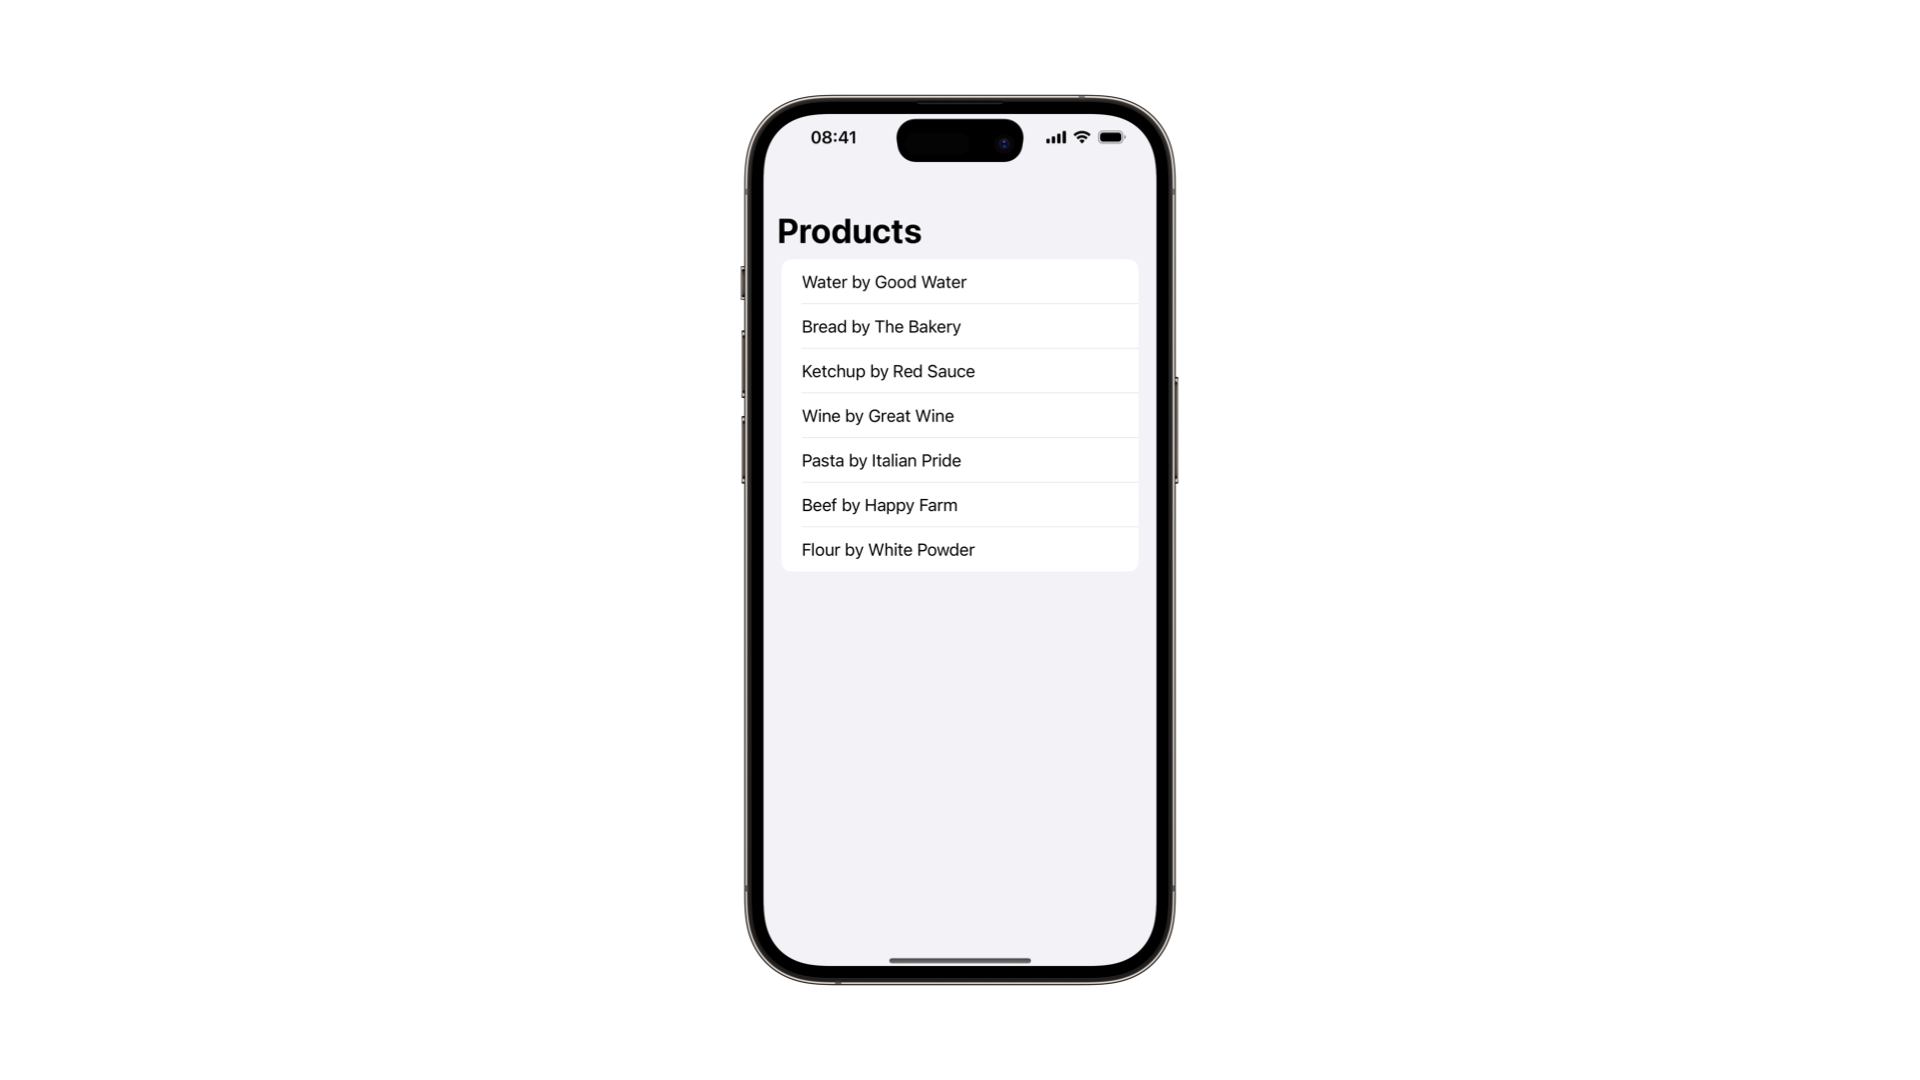
And the view we are going to make searchable will be a view called ProductsListView, which will have:
- An array of products to be presented on the interface
- A
NavigationStack, which will provide us with a navigation bar where the title of the view will be presented and the search field will be located - A
Listview presenting the description of each product in our array
struct ProductsListView: View {
    /// Data source
    @State var products: [Product] = Product.examples

    var body: some View {
        NavigationStack {

            List {
                ForEach(products) { product in
                    Text(product.description)
                }
            }

            /// Navigation
            .navigationTitle("Products")
        }
    }
}
ProductsListView.swift

Adding the search field to the list
Now that we have the list in place let’s make it possible for the user to access the search interface to perform a search on our list of elements.
struct ProductsListView: View {

    @State var products: [Product] = Product.examples

    // 1.
    @State var searchResults: [Product] = []
    // 2.
    @State var searchQuery: String = ""

    var body: some View {
        NavigationStack {

            List {
                ForEach(products) { product in
                    Text(product.description)
                }
            }

            /// Navigation
            .navigationTitle("Products")

            // 3.
            .searchable(
		            text: $searchQuery,
		            placement: .automatic,
		            prompt: "Name or Brand"
		         )
            // 4.
            .textInputAutocapitalization(.never)

        }
    }
}
- Create a property called
searchResultsthat will be responsible for storing the filtered elements of the product array when the filtering is performed - Create a property called
searchQueryto store the search query typed by the user - Add the
searchable(text:placement:prompt:)modifier to theListview.- The text parameter will be bound to the
searchQueryproperty - The placement parameter defines where the search field will be placed on the interface
- The prompt parameter defines the placeholder text that will be shown in the search field when it is empty
- The text parameter will be bound to the
- Add the
textInputAutocapitalization(_:)modifier, setting it up to .never, since for this example we will ignore the capitalization of the text when filtering the results.

The prompt of your search, according to the Apple Human Interface Guidelines, should display a text that describes the type of information people can search for when using it.

Showing the filtered results
At this point, the user can swipe down on the list to present the search field and type a search query to be used to show the filtered results. Let’s use the search query to present the filtered results based on it.
struct ProductsListView: View {

    @State var products: [Product] = Product.examples

    @State var searchResults: [Product] = []
    @State var searchQuery: String = ""

    // 1.
    var isSearching: Bool {
        return !searchQuery.isEmpty
    }

    var body: some View {
        NavigationStack {

            List {
		        // 2.
                if isSearching {
                    ForEach(searchResults) { product in
                        Text(product.description)
                    }
                } else {
                    ForEach(products) { product in
                        Text(product.description)
                    }
                }
            }

            .navigationTitle("Products")
            .searchable(
		            text: $searchQuery,
			          placement: .automatic,
			          prompt: "Name or Brand"
			      )
            .textInputAutocapitalization(.never)

            // 4.
            .onChange(of: searchQuery) {
                self.fetchSearchResults(for: searchQuery)
            }

        }
    }

    // 3.
    private func fetchSearchResults(for query: String) {
        searchResults = products.filter { product in
            product.description
                .lowercased()
                .contains(searchQuery)
        }
    }
}
- Create a computed variable called
isSearchingthat will tell us if the user is performing a search or not - If the user is performing a search we will show the list based on the
searchResultsvariable, if not we will use the complete array of products - Create a function called
fetchSearchResults(for:)that in our example is responsible for performing the search action when needed - Add the
onChange(of:initial:_:)modifier, to track thesearchQueryproperty, so when its value changes the function responsible for fetching the search results will be called
You can also trigger the search based on the submit button of the keyboard instead of triggering it every time the search query changes by using the onSubmit(of:_:).
.onSubmit(of: .search) {
		fetchSearchResults(for: searchQuery)
}
An example of the usage of the onSubmit(of:_:) modifier
Adding an empty state
When a search doesn’t return any results it is a good design practice to provide an empty state for your view. Let’s take advantage of the ContentUnavailableView in SwiftUI, which was created exactly for this purpose.
Let’s use the overlay modifier to present the view when:
- The user is performing a search
- The array with the results is empty
/// Overlay when there are no search results
.overlay {
    if isSearching && searchResults.isEmpty {
        ContentUnavailableView(
            "Product not available",
            systemImage: "magnifyingglass",
            description: Text("No results for **\\(searchQuery)**")
        )
    }
}
Final results
Now you should have a List view with a search field that allows you to filter the list and show the results. If there are no results, a view will be presented telling the user that no products for that search query were found.
Here is the complete code for the view.
struct ProductsListView: View {

    /// View properties
    @State var products: [Product] = Product.examples

    /// Search management properties
    @State var searchResults: [Product] = []
    @State var searchQuery: String = ""

    var isSearching: Bool {
        return !searchQuery.isEmpty
    }

    var body: some View {
        NavigationStack {

            List {
                if isSearching {
                    ForEach(searchResults) { product in
                        Text(product.description)
                    }
                } else {
                    ForEach(products) { product in
                        Text(product.description)
                    }
                }
            }

            /// Navigation
            .navigationTitle("Products")

            /// Search UI
            .searchable(
                    text: $searchQuery,
                      placement: .automatic,
                      prompt: "Name or Brand"
                  )
            .textInputAutocapitalization(.never)

            /// Filtering
            .onChange(of: searchQuery) {
                self.fetchSearchResults(for: searchQuery)
            }

            /// Search empty state
            .overlay {
                if isSearching && searchResults.isEmpty {
                    ContentUnavailableView(
                        "Product not available",
                        systemImage: "magnifyingglass",
                        description: Text("No results for **\\(searchQuery)**")
                    )
                }
            }

        }
    }

    private func fetchSearchResults(for query: String) {
        searchResults = products.filter { product in
            product.description
                .lowercased()
                .contains(searchQuery)
        }
    }
}
Other Resources
To go deeper on what you can do with the modifiers for searching provided by SwiftUI check the official page in the documentation that collects all the search APIs from SwiftUI in one page.

It is also important to highlight the importance of following good design practices to provide a pleasant search user experience in your applications. The Human Interface Guidelines by Apple for search patterns and search fields is a good starting point in understanding how to tailor a search experience that will bring value to your user.

