
Mastering Model3D View
Explore how to use Model3D to load and display 3D models in a visionOS app.

In Implementing volumes in visionOS by Emanuele Agosta and Giovanni Monaco we have seen how volumes can serve as containers for immersive experiences, enabling the exploration of realistic 3D object representations. They also covered how developers can enhance their visionOS app experience in the article Embedding 3D objects into visionOS windows.
In both implementations, we have seen how you could take advantage of the Model3D view released in RealityKit which has been dramatically enhanced with new functionalities.
In this article, let's explore how to use Model3D to load and display 3D models, highlighting their unique features.
Displaying a 3D model
If you create a new visionOS project by selecting Window as the Initial Scene, you will see the ContentView is using the Model3D view to load a simple 3D model into the window.
struct ContentView: View {
    var body: some View {
        VStack {
            Model3D(named: "Scene", bundle: realityKitContentBundle)
                .padding(.bottom, 50)

            Text("Hello, world!")
        }
        .padding()
    }
}
The Model3D view is a useful SwiftUI view provided by RealityKit that allows you to load simple 3D models into any space available on VisionOS, including Windows, Volumes, and Immersive Spaces.
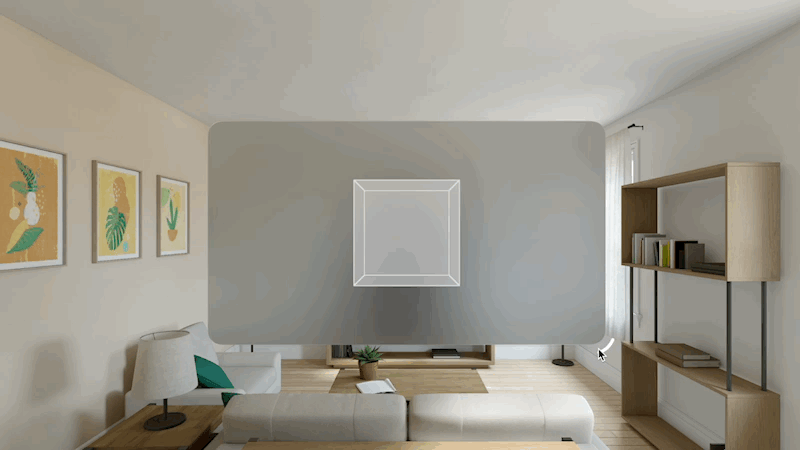
Create a new Model3D view using the same 3D model file that Giovanni and Emanuele used in their articles.
struct ContentView: View {
    var body: some View {
        Model3D(named: "GlassCube")
    }
}
This creates a new Model3D view by referencing the .usdz file you just added to the project folder.
There is no need to specify a bundle since we added the asset directly in the main bundle which is the default one the initializer will search into. With Model3D you can even load the model directly from a URL without the need to import it into the project folder.
struct ContentView: View {
    var body: some View {

        let cubeURL = URL(string: "https://www.createwithswift.com/content/files/2024/01/GlassCube.usdz")!

        Model3D(url: cubeURL)
    }
}
Modifying the 3D Model
If you place this view into a window and you resize it you may notice that the model is not resizing according to the window sizes.
After the model is loaded you may want to allow the model to resize itself to fit its container or modify it as needed before displaying it, for example by scaling it. If you try to resize the model you will see that the modifier is not available you need to apply the modifiers to the actual loaded model.
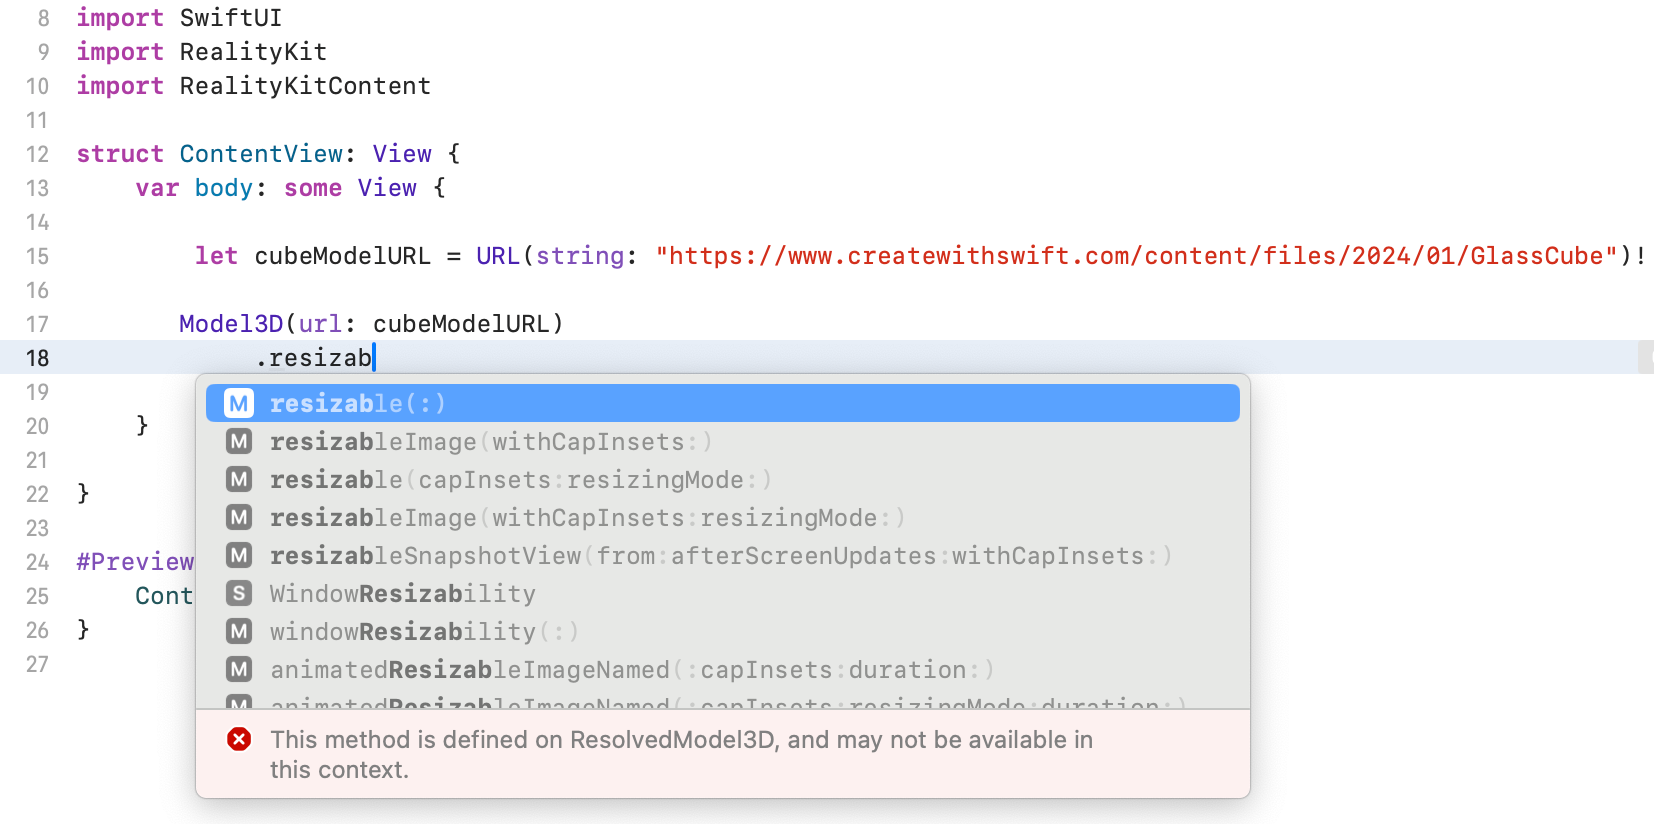
You can’t apply ResolvedModel3D-specific modifiers, like resizable(_:), directly to a Model3D. Instead, apply them to the ResolvedModel3D instance that your content closure gets when defining the view’s appearance.
Apple Developer Documentation
By using another initializer you will have the possibility to do this and also to display a ProgressView() instead of the default placeholder to indicate to the user that the content is asynchronously loading but not yet ready to be displayed.
struct ContentView: View {

    let cubeURL = URL(string: "https://www.createwithswift.com/content/files/2024/01/GlassCube.usdz")!

    var body: some View {

        Model3D(url: cubeURL) { resolvedModel3D in
            resolvedModel3D
                .resizable()
                .aspectRatio(contentMode: .fit)
                .scaleEffect(0.4)
        } placeholder: {
            ProgressView()
        }
    }
}
The resizable(_:), aspectRatio(_:contentMode:) and scaleEffect(_:) modifiers are applied to the actual ResolvedModel3D, the 3d model accessible in the content closure once the model is successfully loaded.
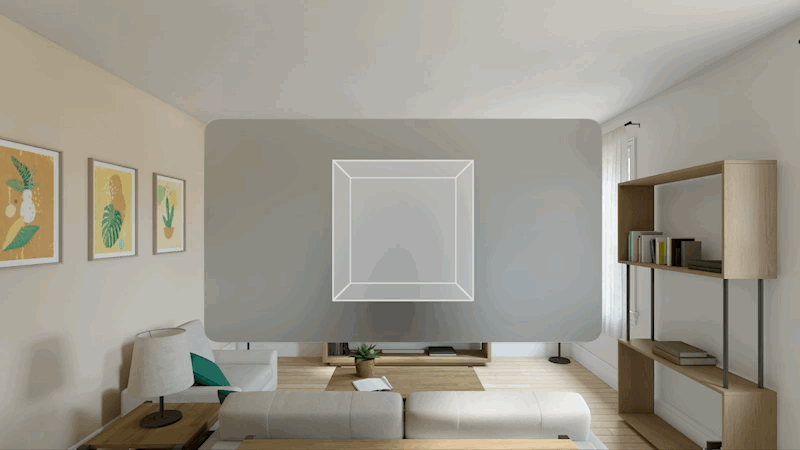
The ProgressView is used to show that the 3D model is loading and will be displayed soon. However, if it is not possible to load the model the ProgessView will spin forever.
Managing Loading Phases
You can gain more control over the loading process itself by using the init(url:transaction:content:) initializer, which takes a content closure that receives a Model3DPhase to indicate the state of the loading operation so that you can return a view that’s appropriate for the current phase.
struct ContentView: View {
    var body: some View {

        let cubeURL = URL(string: "https://www.createwithswift.com/content/files/2024/01/GlassCube.usdz")!

        Model3D(url: cubeURL) { phase in
            switch phase {
            case .empty:
                ProgressView()
            case .success(let resolvedModel3D):
                resolvedModel3D
                    .resizable()
		            .aspectRatio(contentMode: .fit)
		            .scaleEffect(0.4)
            case .failure(let error):
                ContentUnavailableView(error.localizedDescription, systemImage: "exclamationmark.triangle.fill")
            @unknown default:
                EmptyView()
            }
        }
    }

}
By handling the different phases you can inform the user if any kind of error occurs.
We have explored one of the two different views provided by RealityKit to load and display 3D models in our app. Model3D, is fast, easy to use, and ideal for just displaying 3D models.
One of the best things about Model3D is that it can load and display 3D models from a remote URL, which is very useful when you have a large number of models that may frequently change and can significantly impact the app file size.