Removing image background using the Vision framework
Learn how to use the Vision framework to easily remove the background of images in a SwiftUI application.
With iOS 17 Apple released a series of new machine-learning tools that developers can use to implement incredible app features. One of these tools includes a newer and easy way to remove the background from an image using the VNGenerateForegroundInstanceMaskRequest class included in the Vision framework.
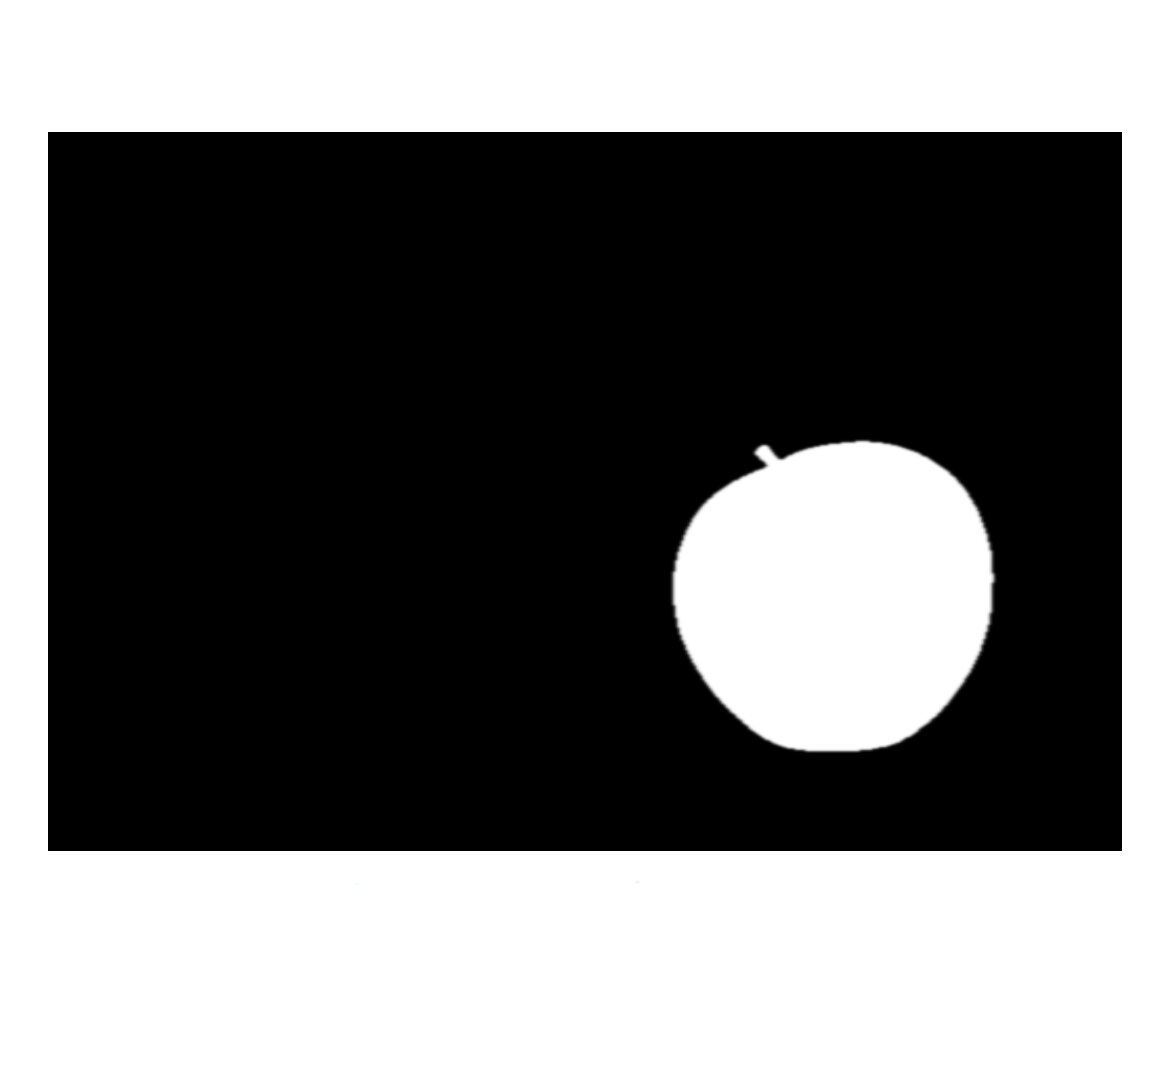
The process consists of three different phases. First, we will obtain a mask from the image. Next, we will apply the mask to the input image to extract the subject. Finally, we will convert the combined image into a format that can be displayed in the UI.
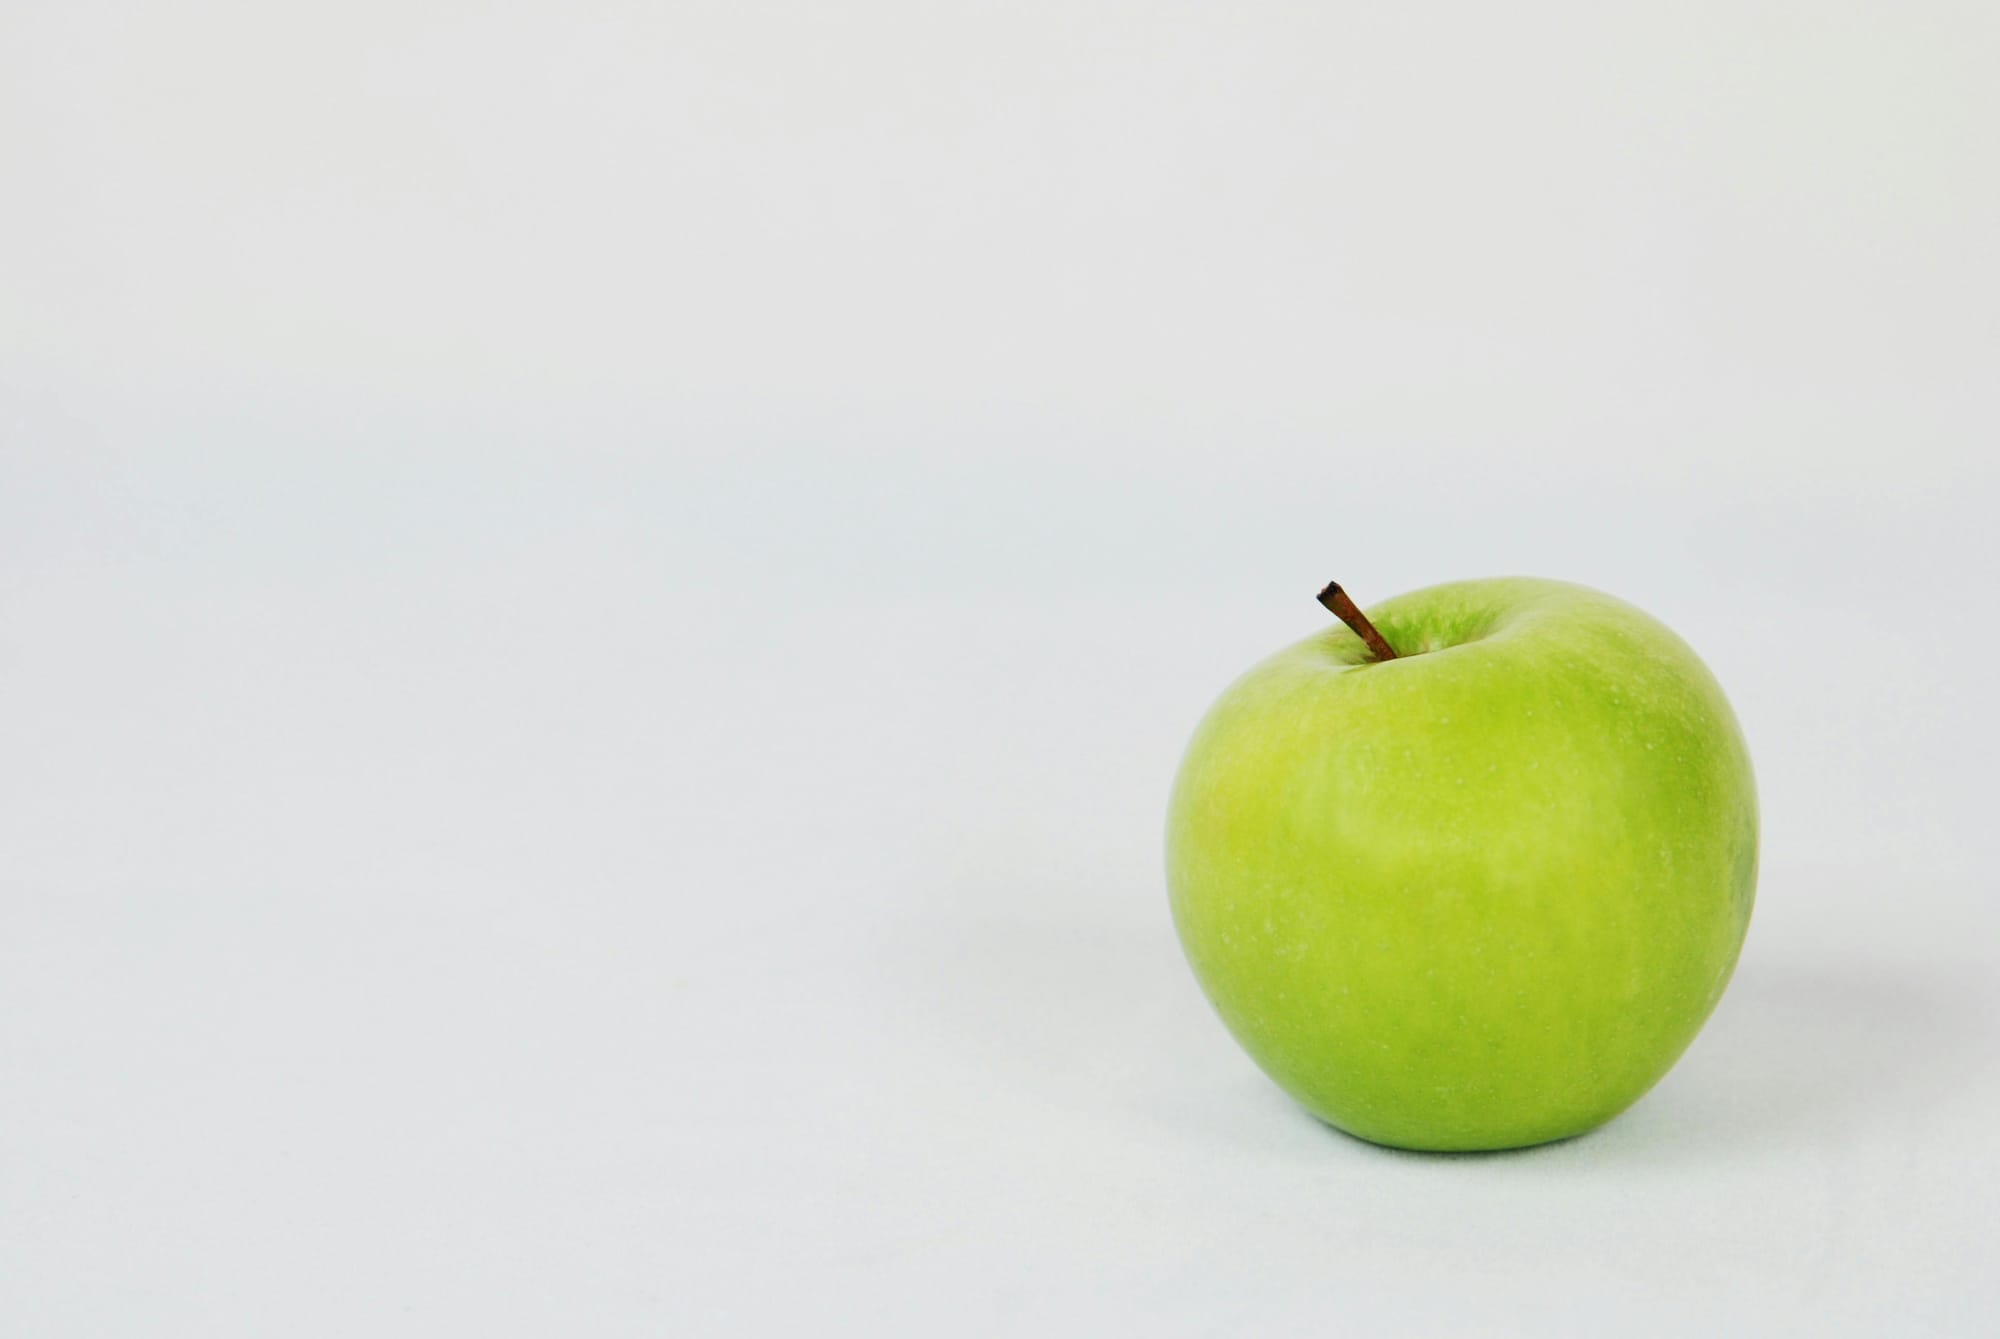
In this reference our goal is to extract the subject from an image like this:

First, we need to create a new SwiftUI project and import the Vision and CoreImage frameworks. Vision is used to analyze the picture, while CoreImage is used to manipulate the image through Vision. Additionally, you should add the apple picture or any other picture you want to the Assets folder.
import SwiftUI
import Vision
import CoreImage
import CoreImage.CIFilterBuiltins

struct ContentView: View {
    ...
}
We can start by creating a mask for the picture to extract the background. This can be achieved by defining a method to create the mask that takes a CIImage object as input.
private func createMask(from inputImage: CIImage) -> CIImage? {

    let request = VNGenerateForegroundInstanceMaskRequest()
    let handler = VNImageRequestHandler(ciImage: inputImage)

    do {
        try handler.perform([request])

        if let result = request.results?.first {
            let mask = try result.generateScaledMaskForImage(forInstances: result.allInstances, from: handler)
            return CIImage(cvPixelBuffer: mask)
        }
    } catch {
        print(error)
    }

    return nil
}
In this function, we define a handler to process Vision requests on the input image. Additionally, we instantiate an VNGenerateForegroundInstanceMaskRequest object, which generates a mask of objects to separate them from the background.
After performing the request we access the first result of the request.
Using the generateScaledMaskForImage(forInstances:from:) method we create a high-resolution mask that will be converted into a CIImage object.

After we generated our mask we can use it to separate the subject from the background by simply applying it to the original picture. To accomplish this we define an additional method.
private func applyMask(mask: CIImage, to image: CIImage) -> CIImage {
    let filter = CIFilter.blendWithMask()

    filter.inputImage = image
    filter.maskImage = mask
    filter.backgroundImage = CIImage.empty()

    return filter.outputImage!
}
In the function above we created a mask filter using the blendWithMask() method. By specifying the inputImage and the maskImage property the filter will automatically merge the two pictures. In this case, we don’t need to specify also the background image property that will be set as empty.

Now that we have the image with the mask applied the last step involves converting the CIImage into something that we can use inside a SwiftUI view. Let’s define a new method named convertToUIImage(ciImage:) to convert a CIImage to an UIImage object.
private func convertToUIImage(ciImage: CIImage) -> UIImage {
    guard let cgImage = CIContext(options: nil).createCGImage(ciImage, from: ciImage.extent) else {
        fatalError("Failed to render CGImage")
    }

    return UIImage(cgImage: cgImage)
}
In this function, we will create a CGImage starting from a CIImage using the createCGImage(_:from:) method. Once we have the CGImage we can easily cast it into an UIImage object.
Now that we have all the steps defined we can conclude by defining the last method that will be responsible for executing all the actions previously defined.
import SwiftUI
import Vision
import CoreImage
import CoreImage.CIFilterBuiltins

struct ContentView: View {
    @State private var image = UIImage(named: "apple")!

    var body: some View {
        VStack {
            Image(uiImage: image)
                .resizable()
                .scaledToFit()


            Button("Remove background") {
                removeBackgorund()
            }
        }
        .padding()
    }

    private func createMask(from inputImage: CIImage) -> CIImage? {
        ...
    }

    private func applyMask(mask: CIImage, to image: CIImage) -> CIImage {
        ...
    }

    private func convertToUIImage(ciImage: CIImage) -> UIImage {
        ...
    }

    private func removeBackground() {
        guard let inputImage = CIImage(image: image) else {
            print("Failed to create CIImage")
            return
        }

        Task {
            guard let maskImage = createMask(from: inputImage) else {
                print("Failed to create mask")
                return
            }

            let outputImage = applyMask(mask: maskImage, to: inputImage)
            let finalImage = convertToUIImage(ciImage: outputImage)

            image = finalImage
        }
    }
}Logging Error: Failed to initialize logging system. Log messages may be missing. If this issue persists, try setting IDEPreferLogStreaming=YES in the active scheme actions environment variables.
These features can only be tested on a device, they won't work on the Simulator or Xcode Preview.
Here’s the final result:
Thanks to the newly released machine learning features and the capabilities of SwiftUI we can easily include all these features in our app taking advantage of the powerful Apple Silicon CPUs.
If you want to go more in-depth about Machine Learning, take a look at Apple's official portal for Machine Learning:


