Testing your App Icon with Parallax Previewer
Learn how to prototype and test your visionOS and tvOS app icon with Parallax Previewer by Apple.
Parallax is a visual technique that enhances the dynamism of digital interfaces by creating a three-dimensional effect. By layering images, adjusting transparency, scaling elements, and adding motion, parallax makes elements like app icons or movie posters appear more vibrant when highlighted by the user. This effect is often used when scrolling websites to enrich the user experience, offering a sense of depth and scale.
Let's explore how to simulate the parallax effect for tvOS or visionOS app icons using Apple's Parallax Previewer application.
Parallax Previewer
A parallax effect can be prototyped and tested through Parallax Previewer by Apple, both for visionOS and tvOS App Icons.
You must provide a layered image to enable Parallax Previewer to render your App Icon properly. For more insights about visionOS App Icons, check out the following article:

Step 1 - Creating layered images
Background image
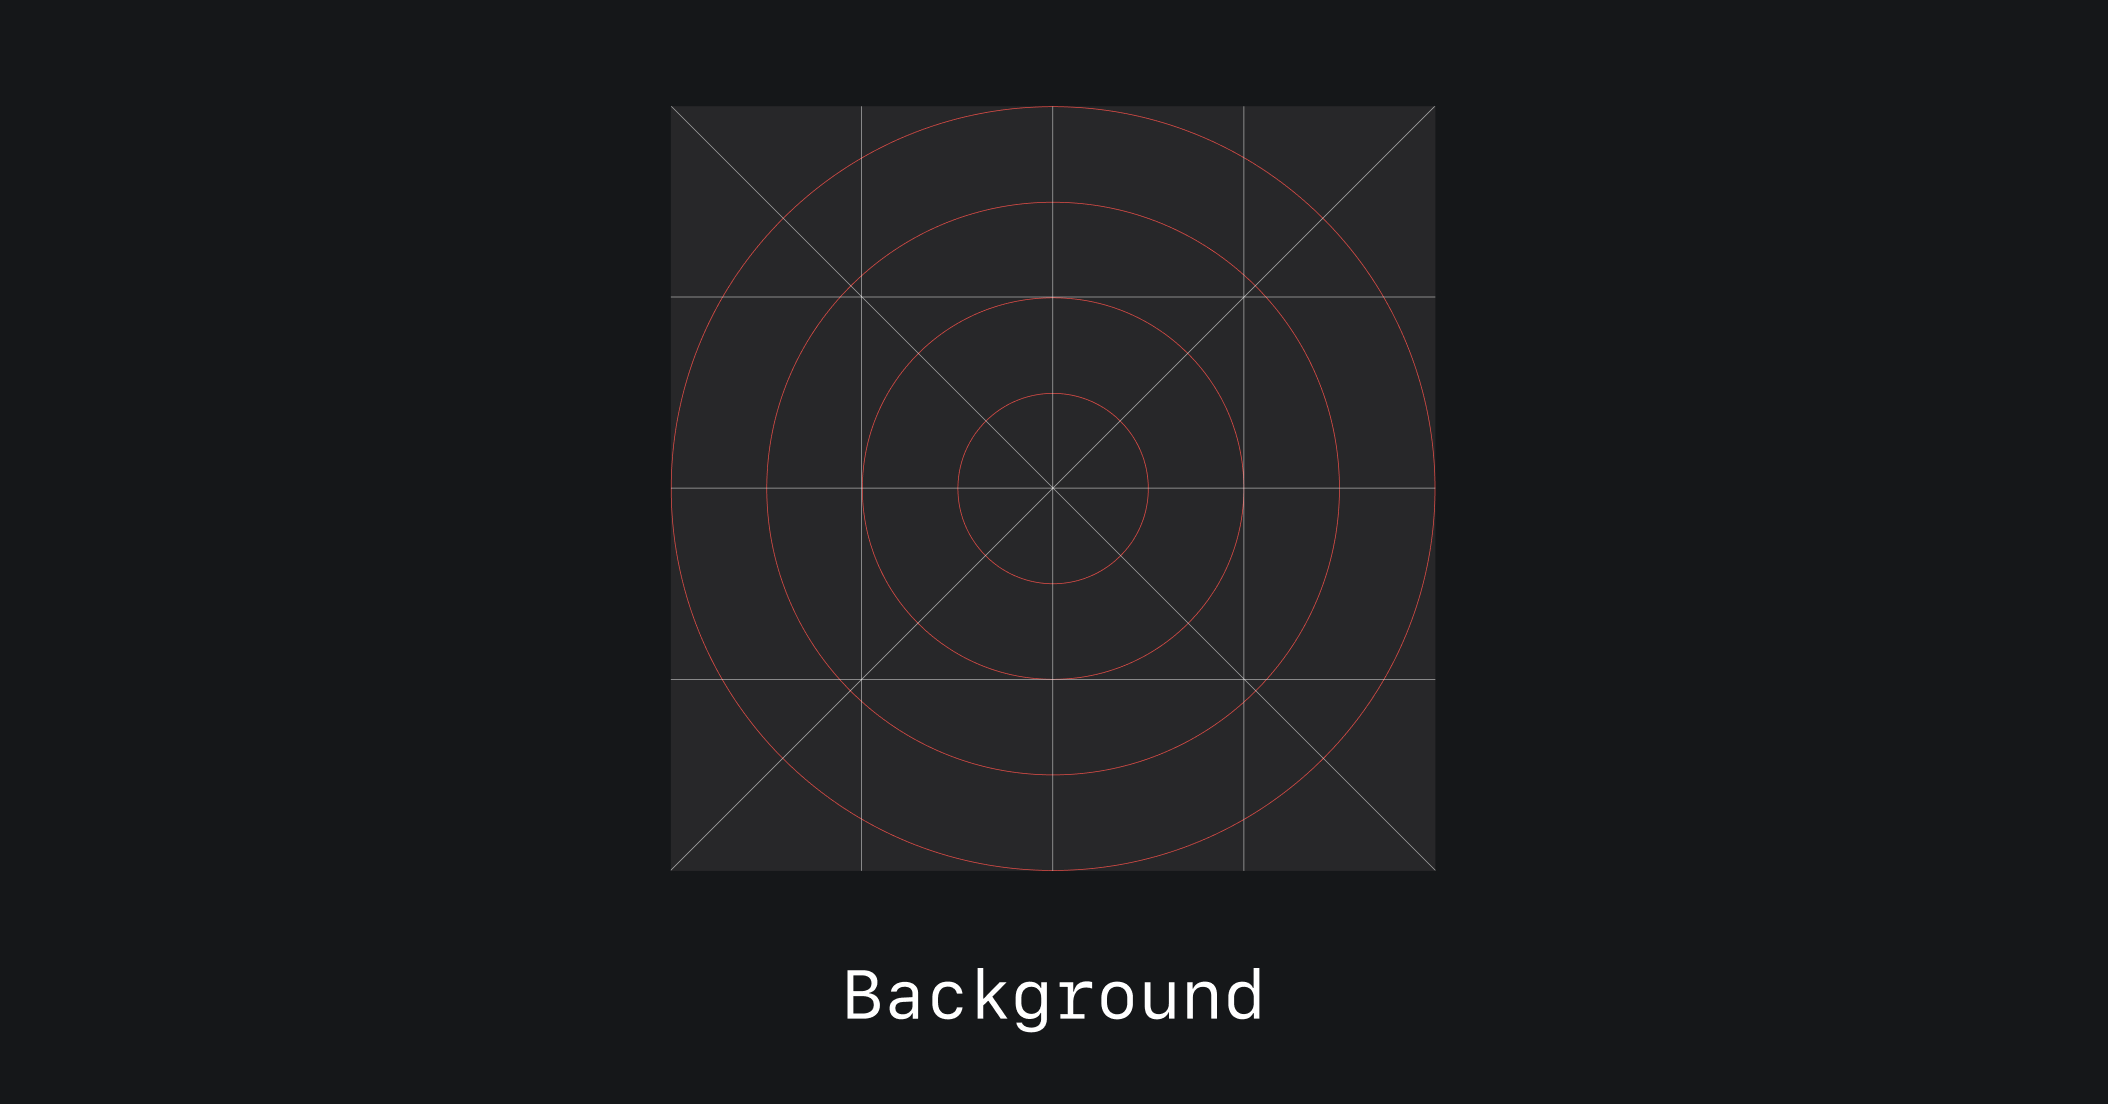
Start by creating a 1024x1024 px artwork with the design tool of your choice. Circular grids for visionOS app icons can help you properly build your artwork consistent with the system requirements.

You can find a reference grid on the following Figma resource:

You can also find different resources to support your design process using different tools, such as Photoshop and Sketch. Consult the official Apple Design Resources in the Parallax image tools section.
Additional layers
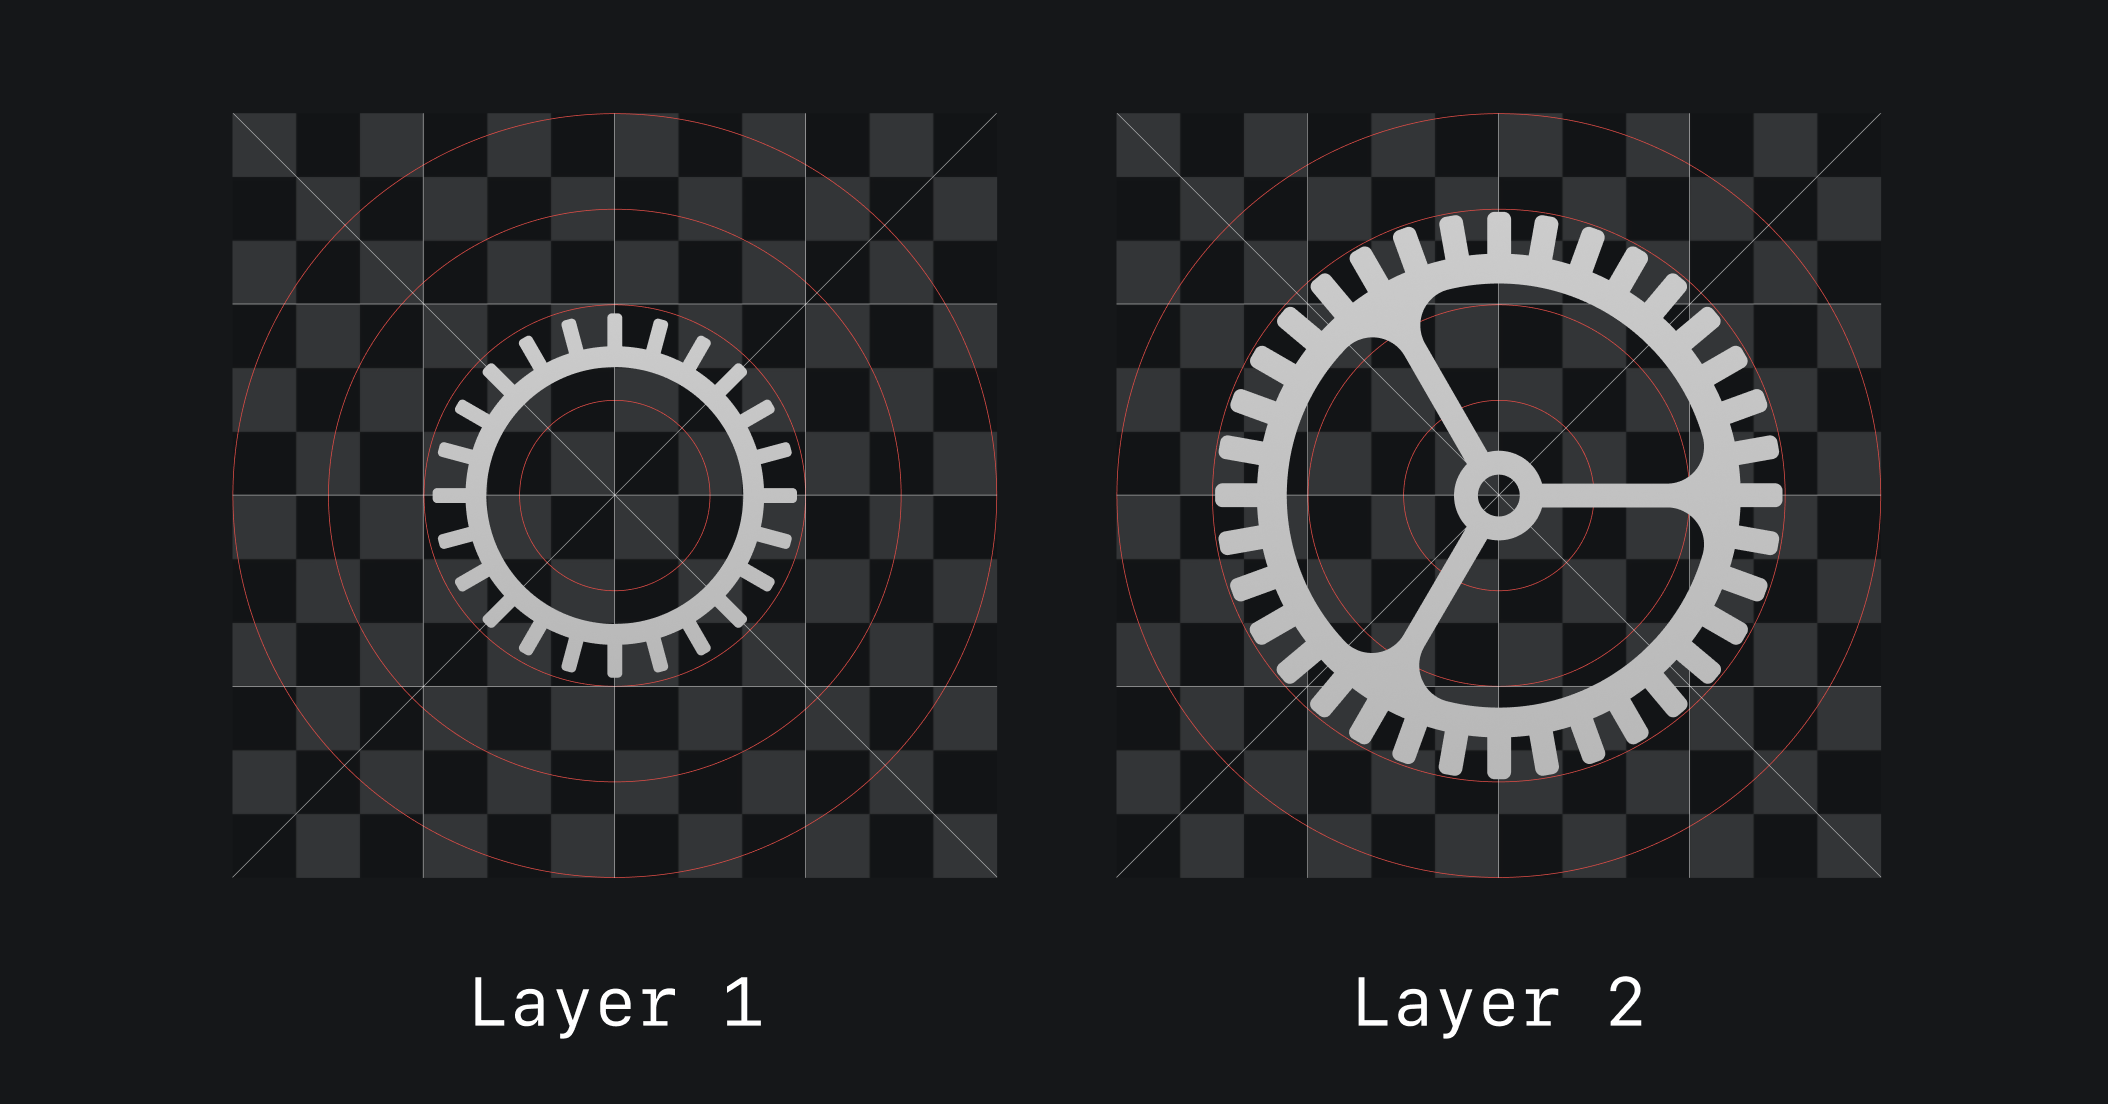
Add one or two layers representing the subject of the icon, which will be used to create the parallax effect.
Ensure that each layer includes background transparency to maintain visibility and allow the system to apply subtle shadows and lights when the icon is highlighted. Therefore, when designing your app icon, refrain from incorporating lights and shadows from a fixed perspective to prevent conflicts.

Step 2 - Testing your app icon
Export & import
Export the three layers in PNG file format and open Parallax Previewer.
Go to the File window and select the New visionOS App Icon option.
Import the three layers as different files, dragging and dropping them in the window. You can also add the files by pressing the plus button on the left panel and selecting your layers.
Prototyping
Once the layers are imported, you can adjust their position and sizes in the right panel, and customize the color of the background to test your icons in different light conditions.
Moving the cursor around the icon, you will see how shadows and lights are applied and how well your layers match.
tvOS
Parallax previewer can be useful also to test your App Icon on tvOS, prototyping the focused state of the icon. You can provide up to 5 different layers, including background, by dragging them in the new document or clicking on the plus button.
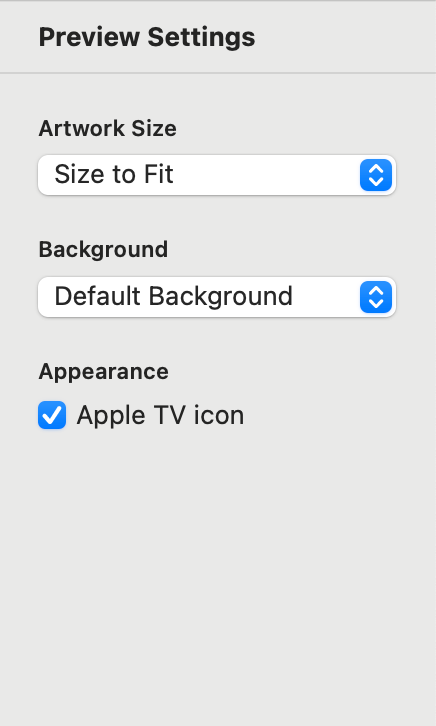
You will need to check the tick box on the bottom-left “Apple TV icon” under the Appearance section to apply the correct corner radius of the tvOS App Icon.

Remember to always apply the correct grid to design the layers of your icon before prototyping the Parallax effect.
In case you have any doubts, an essential resource for every app developer and designer is the official Apple Guide of the Parallax Previewer app.


