Transcribing audio from a file using the Speech framework
Learn how to transcribe text from an audio file using the Speech framework in a SwiftUI application.
To integrate speech recognition into an app use the Speech framework. This framework uses both local machine-learning models and network requests to convert audio into text. We will use an SFSpeechRecognizer object within a SwiftUI project to apply speech recognition with an audio file.
For this example project, we will utilize an audio sample file, which is available for download from the following link:
Request authorization
Once you have created a simple SwiftUI view, we need to prompt the user to grant speech recognition permission.
The first step is to add the Privacy - Speech Recognition Usage Description option inside your project Info settings, providing a meaningful message on why the device needs this authorization.
- Select your Xcode project settings file on the project navigator;
- Select your app target;
- Go to the Info tab;
- Add the key
Privacy - Speech Recognition Usage Descriptionin the Custom iOS Target Properties section;
Once it's done let's create a method called requestSpeechRecognizerPermission() in our view to request user authorization to use the speech recognizer capabilities.
import SwiftUI
import Speech

struct ContentView: View {

    var body: some View {
        VStack {
            Button("Transcribe") {
                // TODO: Transcribe function
            }
            .buttonStyle(.bordered)
        }
        .task {
            requestSpeechRecognizerPermission()
        }
        .padding()
    }

    private func requestSpeechRecognizerPermission() {
        SFSpeechRecognizer.requestAuthorization { authStatus in
            Task {
                if authStatus == .authorized {
                    print("Good to go!")
                } else {
                    print("Transcription permission was declined.")
                }
            }
        }
    }
}
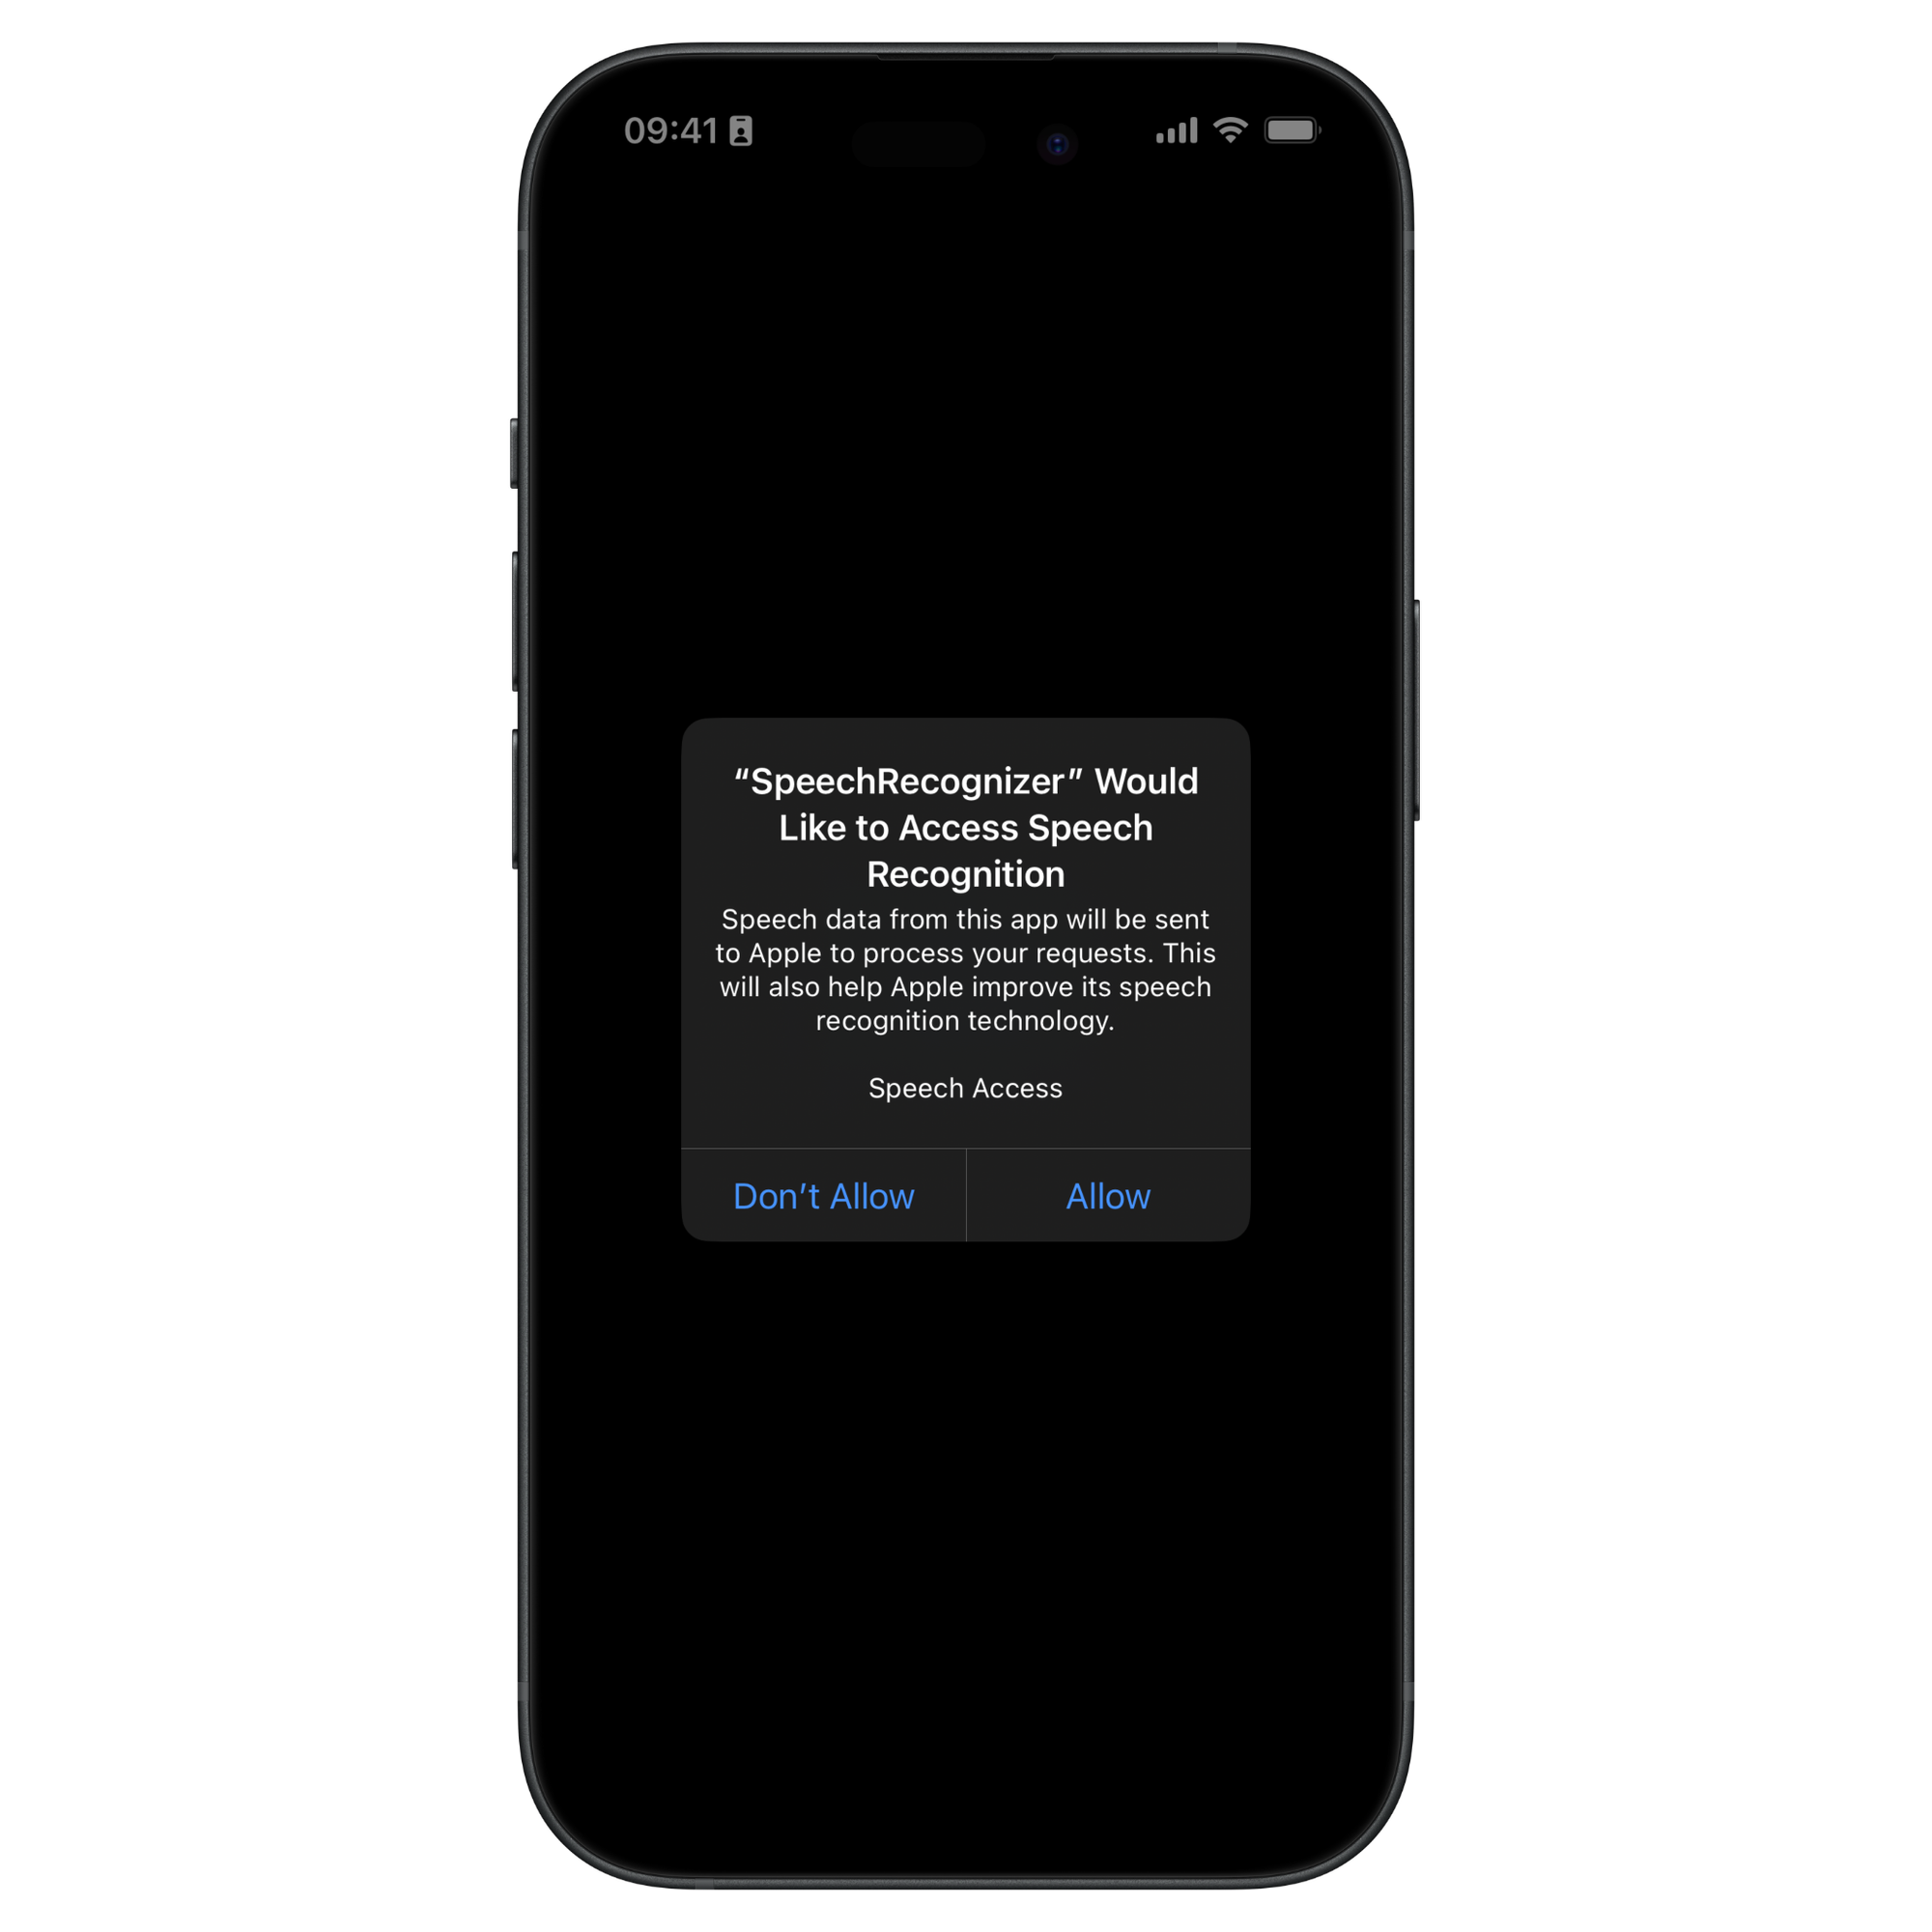
By calling the requestAuthorization(_:) a prompt asking the user for permission to access speech recognition will be automatically displayed.

Transcribing from an audio file
With all the necessary permissions, we are ready to perform speech recognition from the audio file. Create a new method to convert the spoken words in the audio file into text.
import SwiftUI
import Speech

struct ContentView: View {
    // Property to store the result of the transcription
    @State var recognizedText: String?

    var body: some View {
        ...
    }

    private func requestSpeechRecognizerPermission() { ... }

    private func recognizeSpeech(from url: URL) {
        let locale = Locale(identifier: "en-US")
        let recognizer = SFSpeechRecognizer(locale: locale)
        let recognitionRequest = SFSpeechURLRecognitionRequest(url: url)

        recognizer?.recognitionTask(with: recognitionRequest) { (transcriptionResult, error) in

            guard transcriptionResult != nil else {
                print("Could not transcribe the text from url.")
                return
            }

            if (transcriptionResult?.isFinal) != nil {
                recognizedText = transcriptionResult?.bestTranscription.formattedString
            }
        }
    }
}
The new method takes an URL object as a parameter, pointing to the location of the audio file.
In the method, an instance of SFSpeechRecognizer is created with a Locale object defining the language to be used for the analysis. An instance of SFSpeechURLRecognitionRequest is then created with the provided URL.
We initiate the transcription process by calling the method recognitionTask(with:resultHandler:) from the recognizer object using recognitionRequest object.
If the transcription is successful, the bestTranscription property will have the most accurate transcription of the audio stored.
Now let's update the body of the view to trigger the transcription and display the results.
struct ContentView: View {

    @State var recognizedText: String?

    var body: some View {
        VStack {
            if let text = recognizedText {
                Text(text)
                    .font(.title)
            } else {
                ContentUnavailableView {
                    Label("No transcription yet", systemImage: "person")
                } description: {
                    Text("Press the button to transcribe the audio from the audio file.")
                } actions: {
                    Button("Transcribe audio") {
                        self.transcribeAudio()
                    }
                    .buttonStyle(.borderedProminent)
                }
            }
        }
        .task {
            requestSpeechRecognizerPermission()
        }
    }

    private func requestSpeechRecognizerPermission() { ... }

    private func transcribeAudio() {
        if let url = Bundle.main.url(forResource: "AudioSample", withExtension: "mp3") {
            self.recognizeSpeech(from: url)
        } else {
            print("Audio file not found.")
        }
    }

    private func recognizeSpeech(from url: URL) { ... }

}
Offline analysis
With the configuration above the framework will automatically estimate if the transcription should be performed using on-device models or using the network by performing the transcription on Apple’s servers.
If we want to ensure that the transcription happens on-device and offline you must configure the recognizer and the recognition request to do so.
private func recognizeSpeech(from url: URL) {
    let locale = Locale(identifier: "en-US")
    let recognizer = SFSpeechRecognizer(locale: locale)
    let recognitionRequest = SFSpeechURLRecognitionRequest(url: url)

    // Setting up offline speech recognition
    recognizer?.supportsOnDeviceRecognition = true
    recognitionRequest.requiresOnDeviceRecognition = true

    recognizer?.recognitionTask(with: recognitionRequest) { ... }
}
By setting to true the supportsOnDeviceRecognition property of the SFSpeechRecognizer object you are indicating that the recognizer can operate without an internet connection.
By setting to true the requiresOnDeviceRecognition property of the SFSpeechURLRecognitionRequest object you are determining that the request must keep the audio data on the device.

