Translating text in your SwiftUI app with the Translation framework
Discover how to use the Translation framework to provide text translation features within a SwiftUI app.
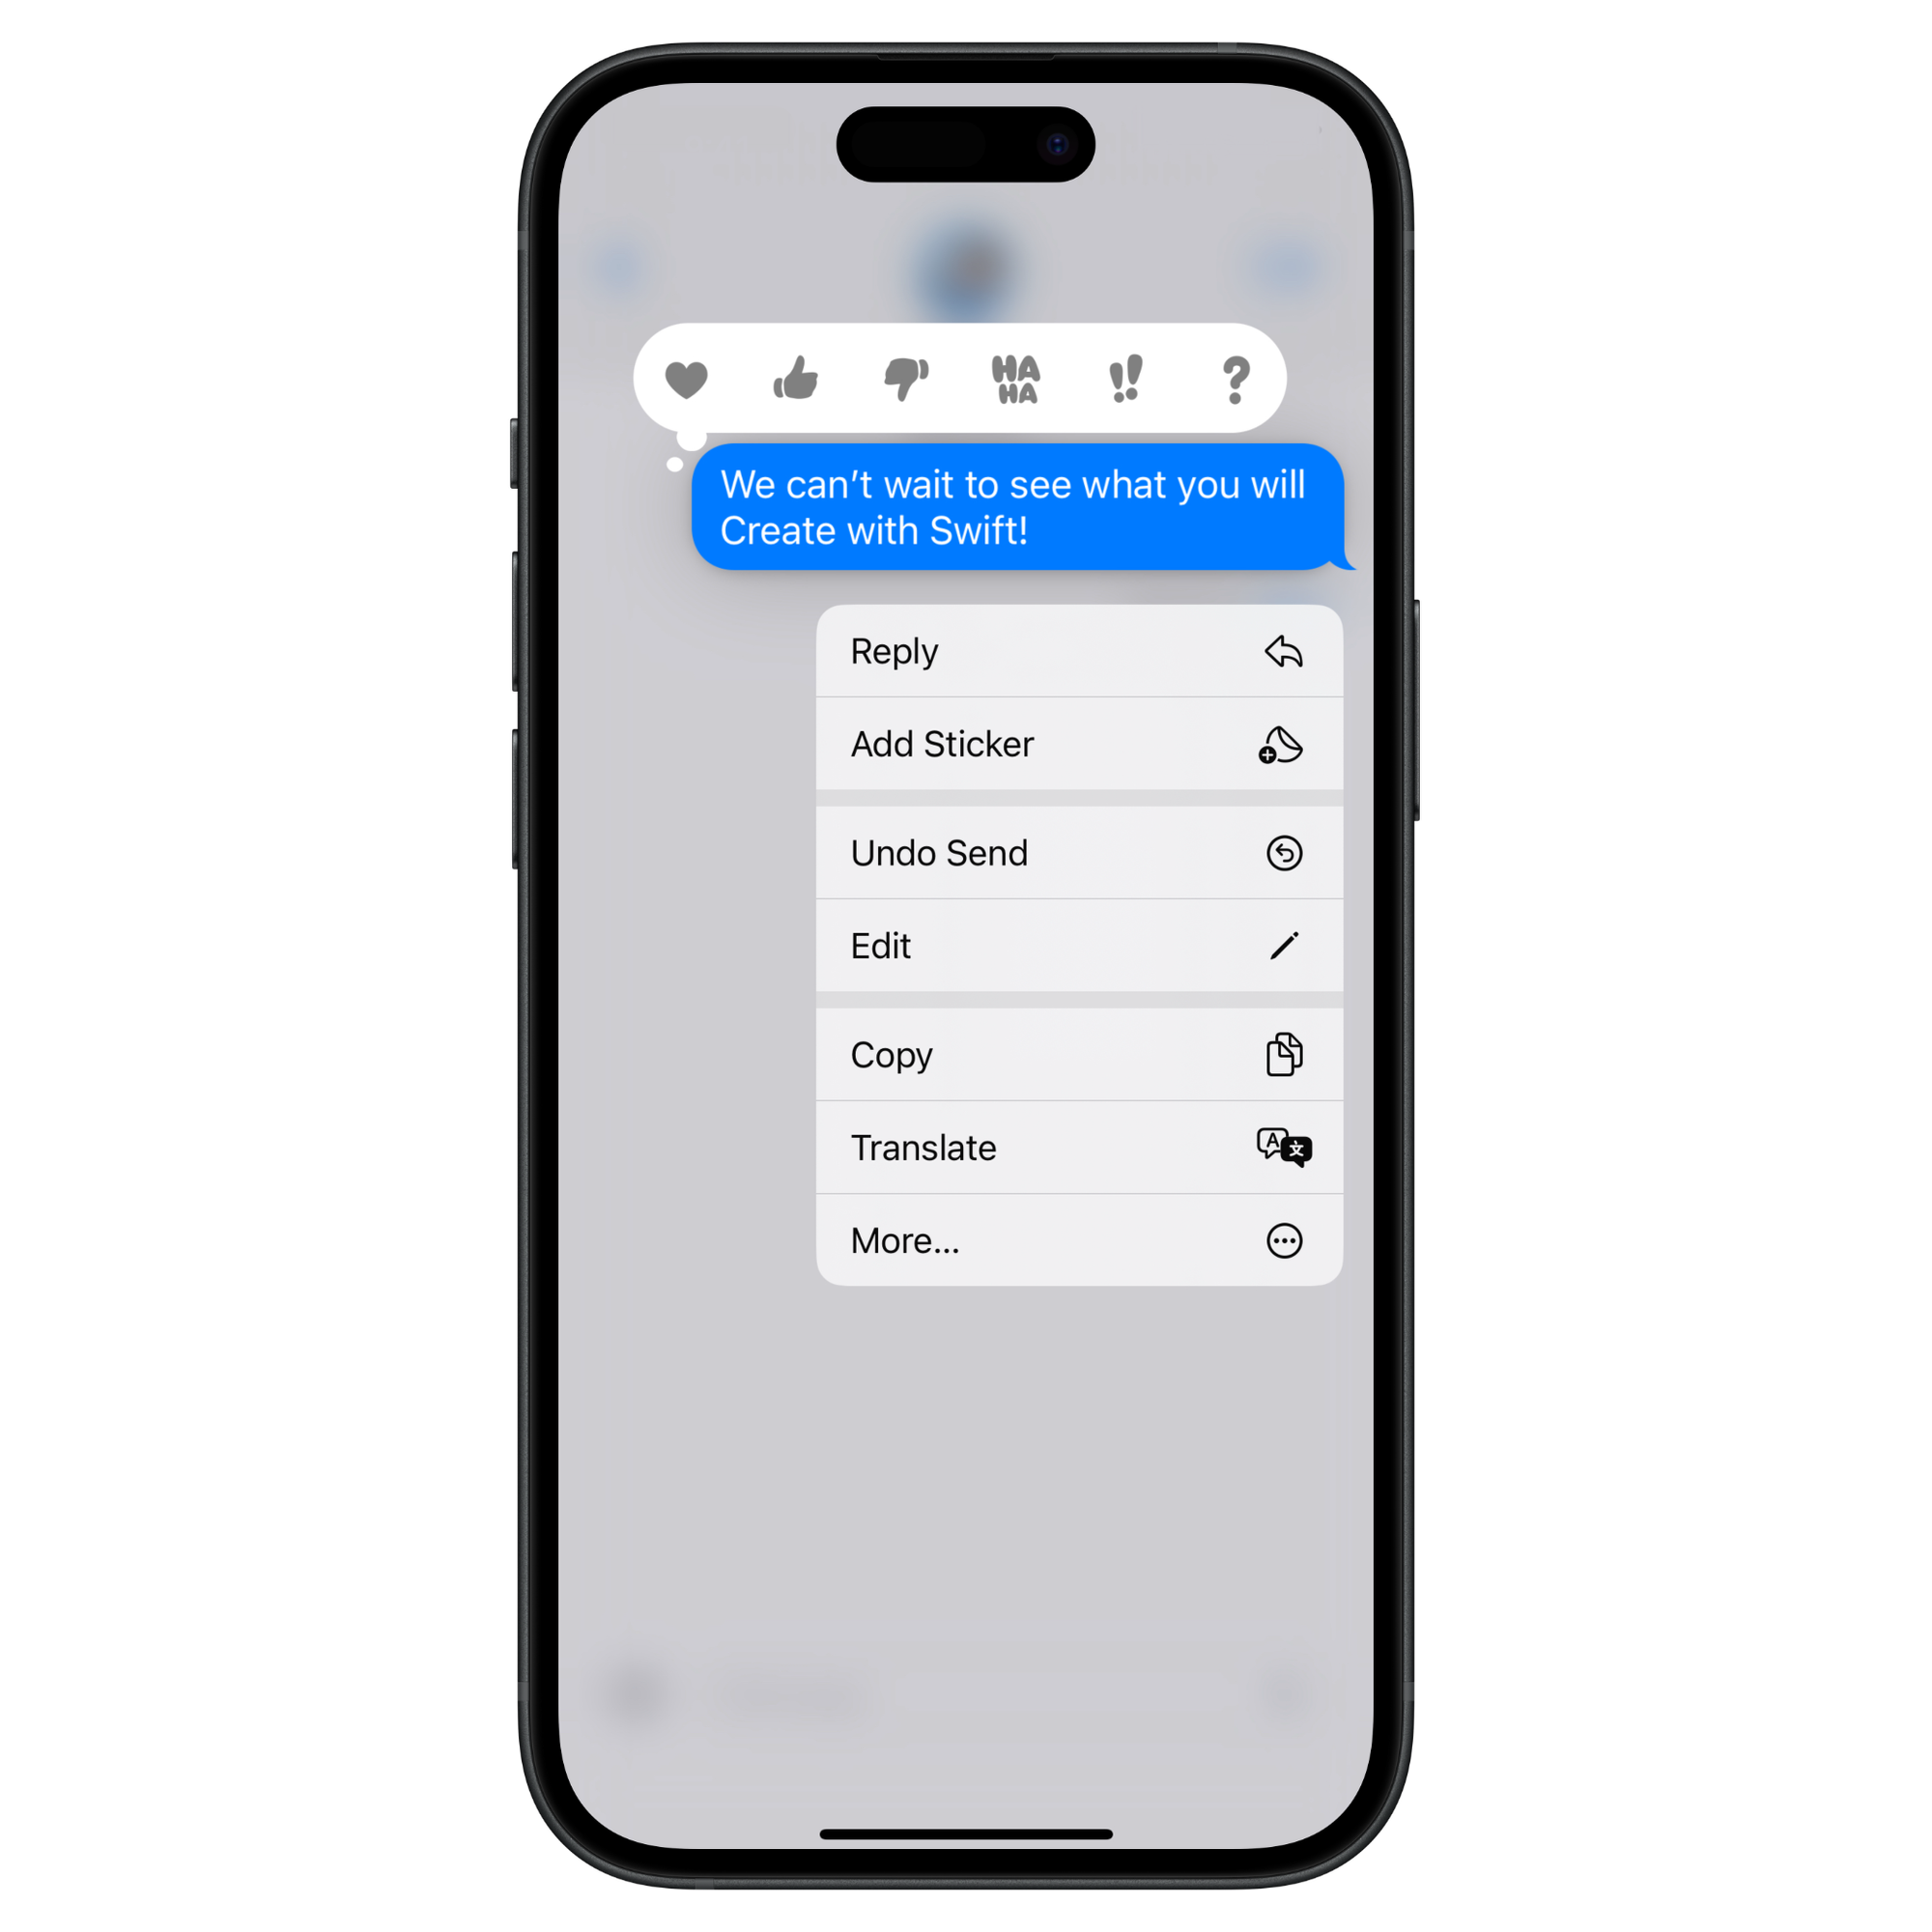
The Translation API is one of the new tools introduced during WWDC24, and it is available for developers to natively translate content inside their apps using machine learning models that run locally on the device without requiring an internet connection. Until now this option was only available in Safari and some native apps like Messages.

In this reference, we will cover how to integrate the translation API overlay within a simple SwiftUI View.
Translation Presentation
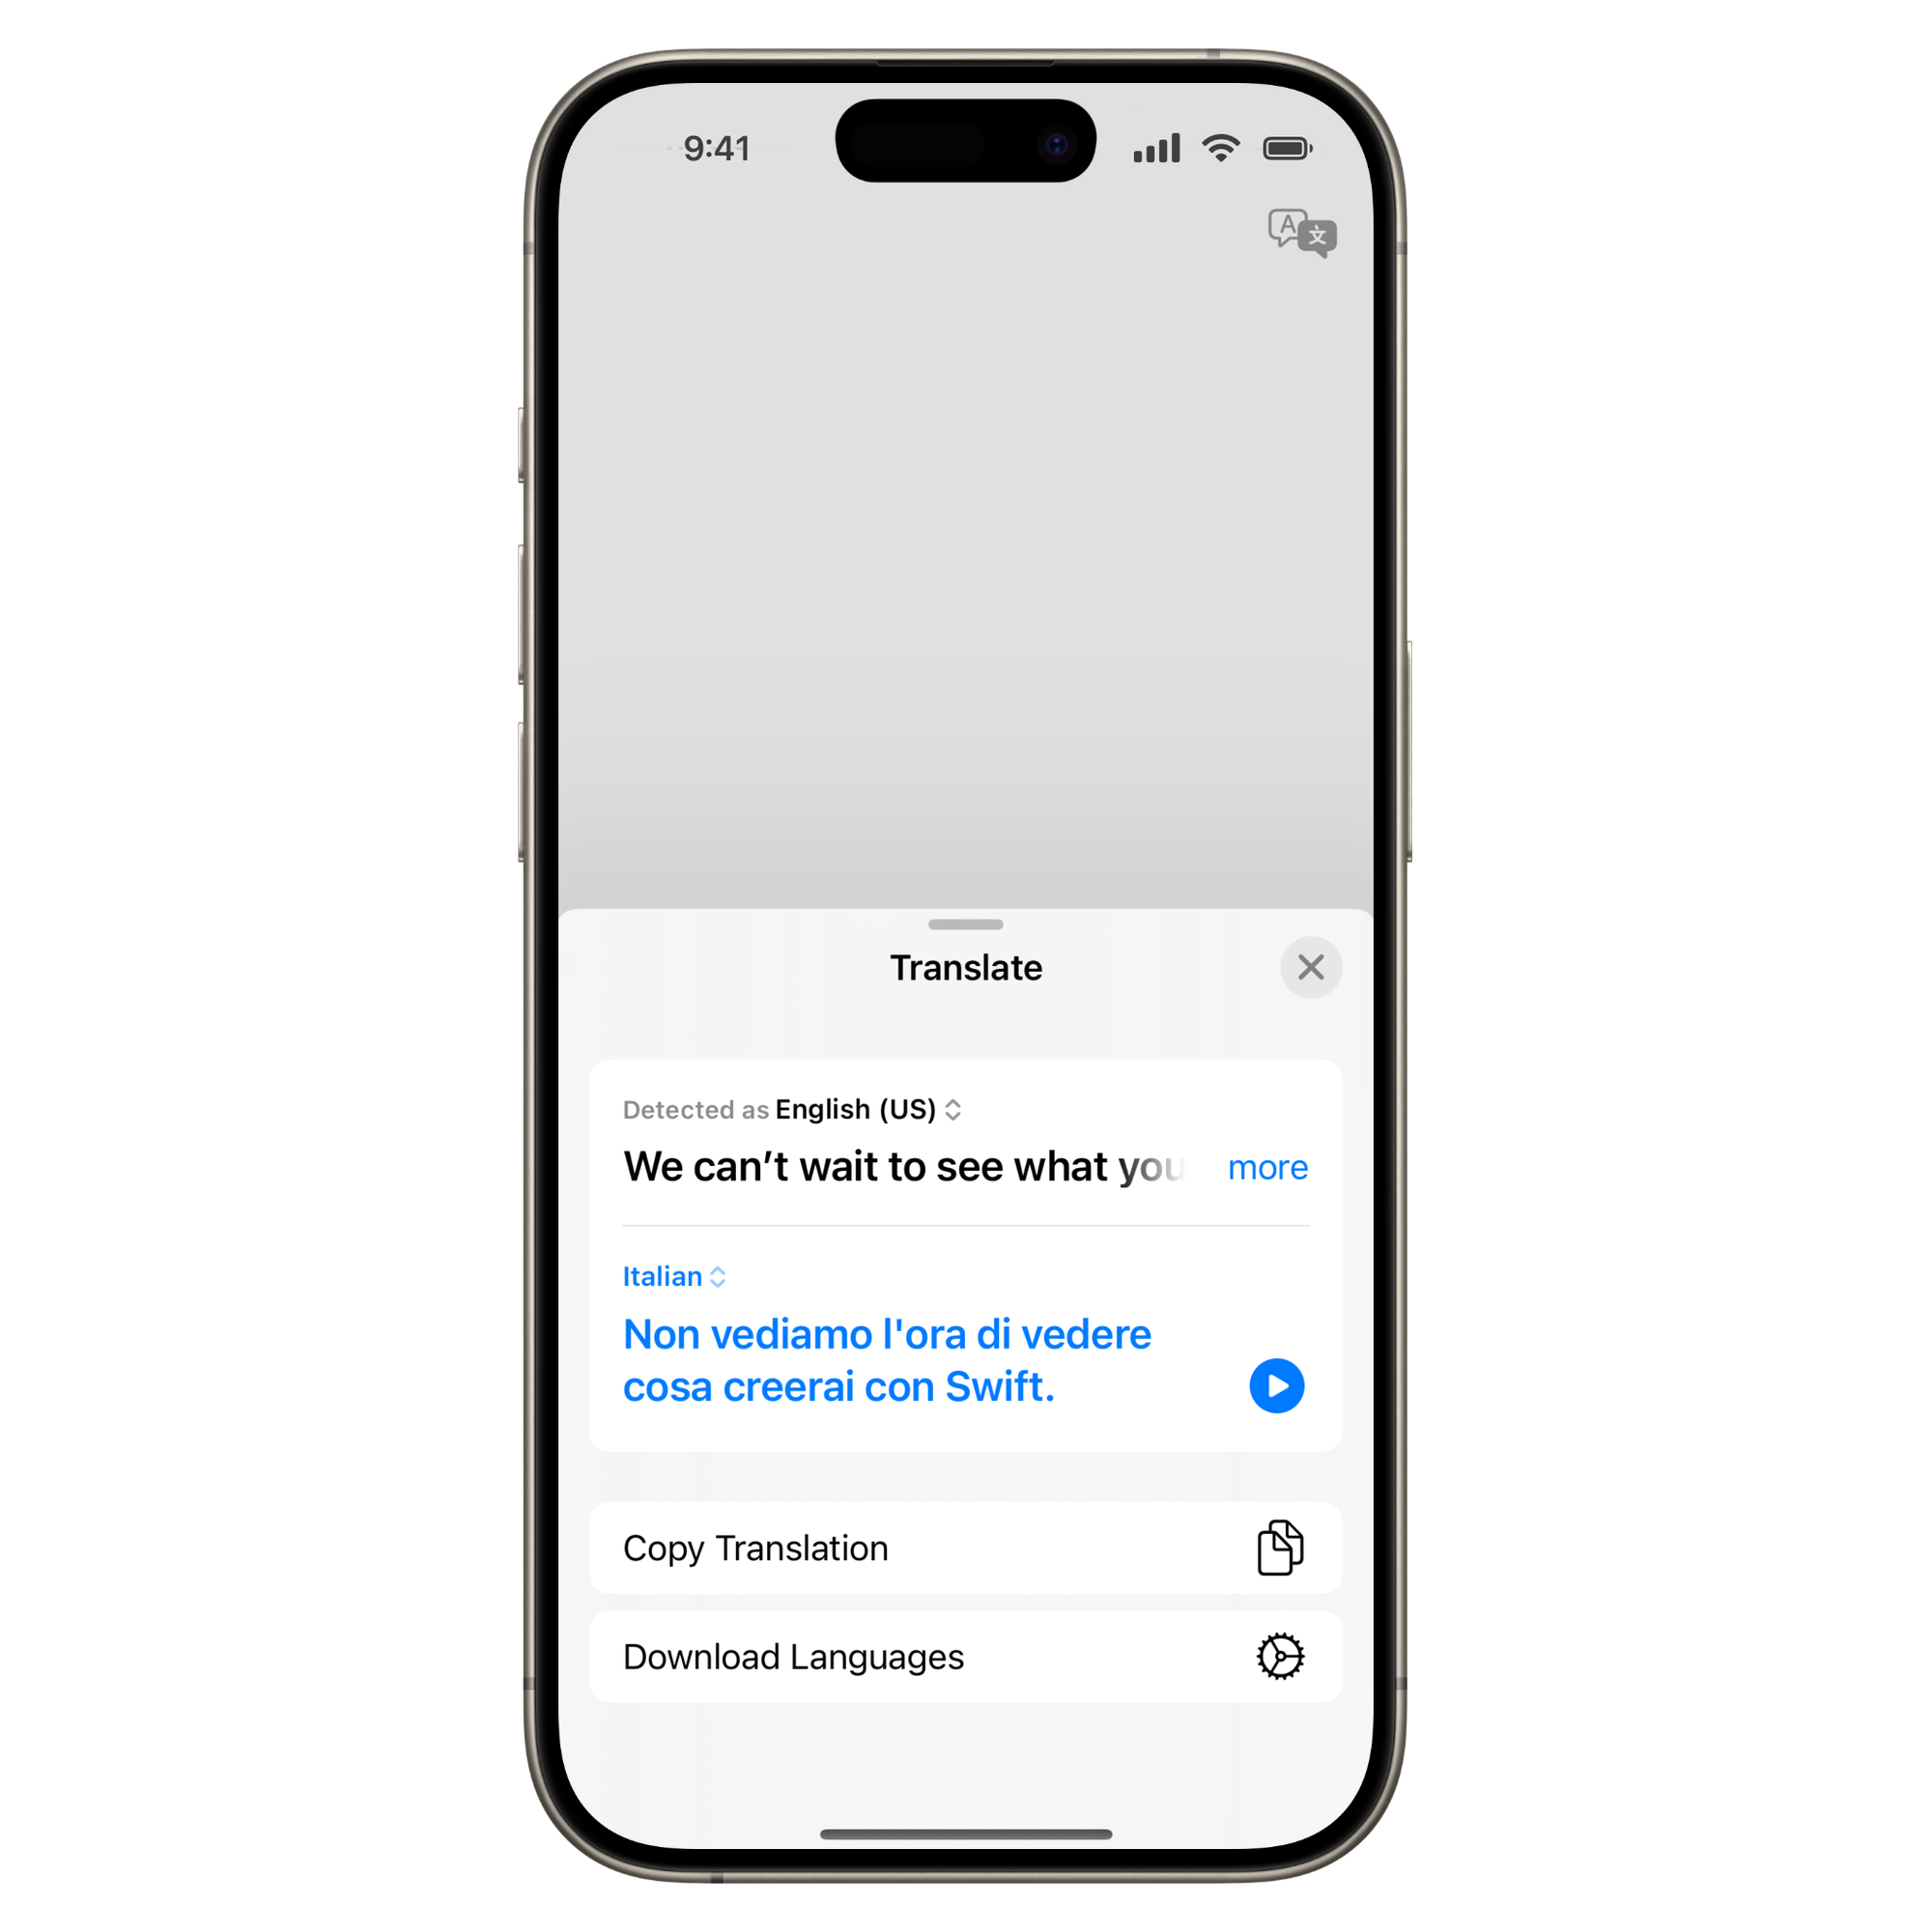
When integrating the translation overlay component, we need to first import the Translation Framework and then, we attach the translationPresentation(isPresented:text:attachmentAnchor:arrowEdge:replacementAction:) modifier to a view. This modifier requires two parameters:
- A boolean value to trigger the sheet;
- The input text for the translation.
import SwiftUI
import Translation

struct ContentView: View {
    @State var text = "We can’t wait to see what you will Create with Swift."
    @State var showTranslation = false

    var body: some View {
        NavigationStack {
            VStack {
                Text(text)
                    .font(.title3)
                    .multilineTextAlignment(.center)
            }

            .translationPresentation(isPresented: $showTranslation, text: text)

            .toolbar {
                Button {
                    showTranslation.toggle()
                } label: {
                    Image(systemName: "translate")
                }
            }
        }
    }
}In the example above when we click on the button placed in the toolbar the translation overlay will be shown.

Replace text in the View
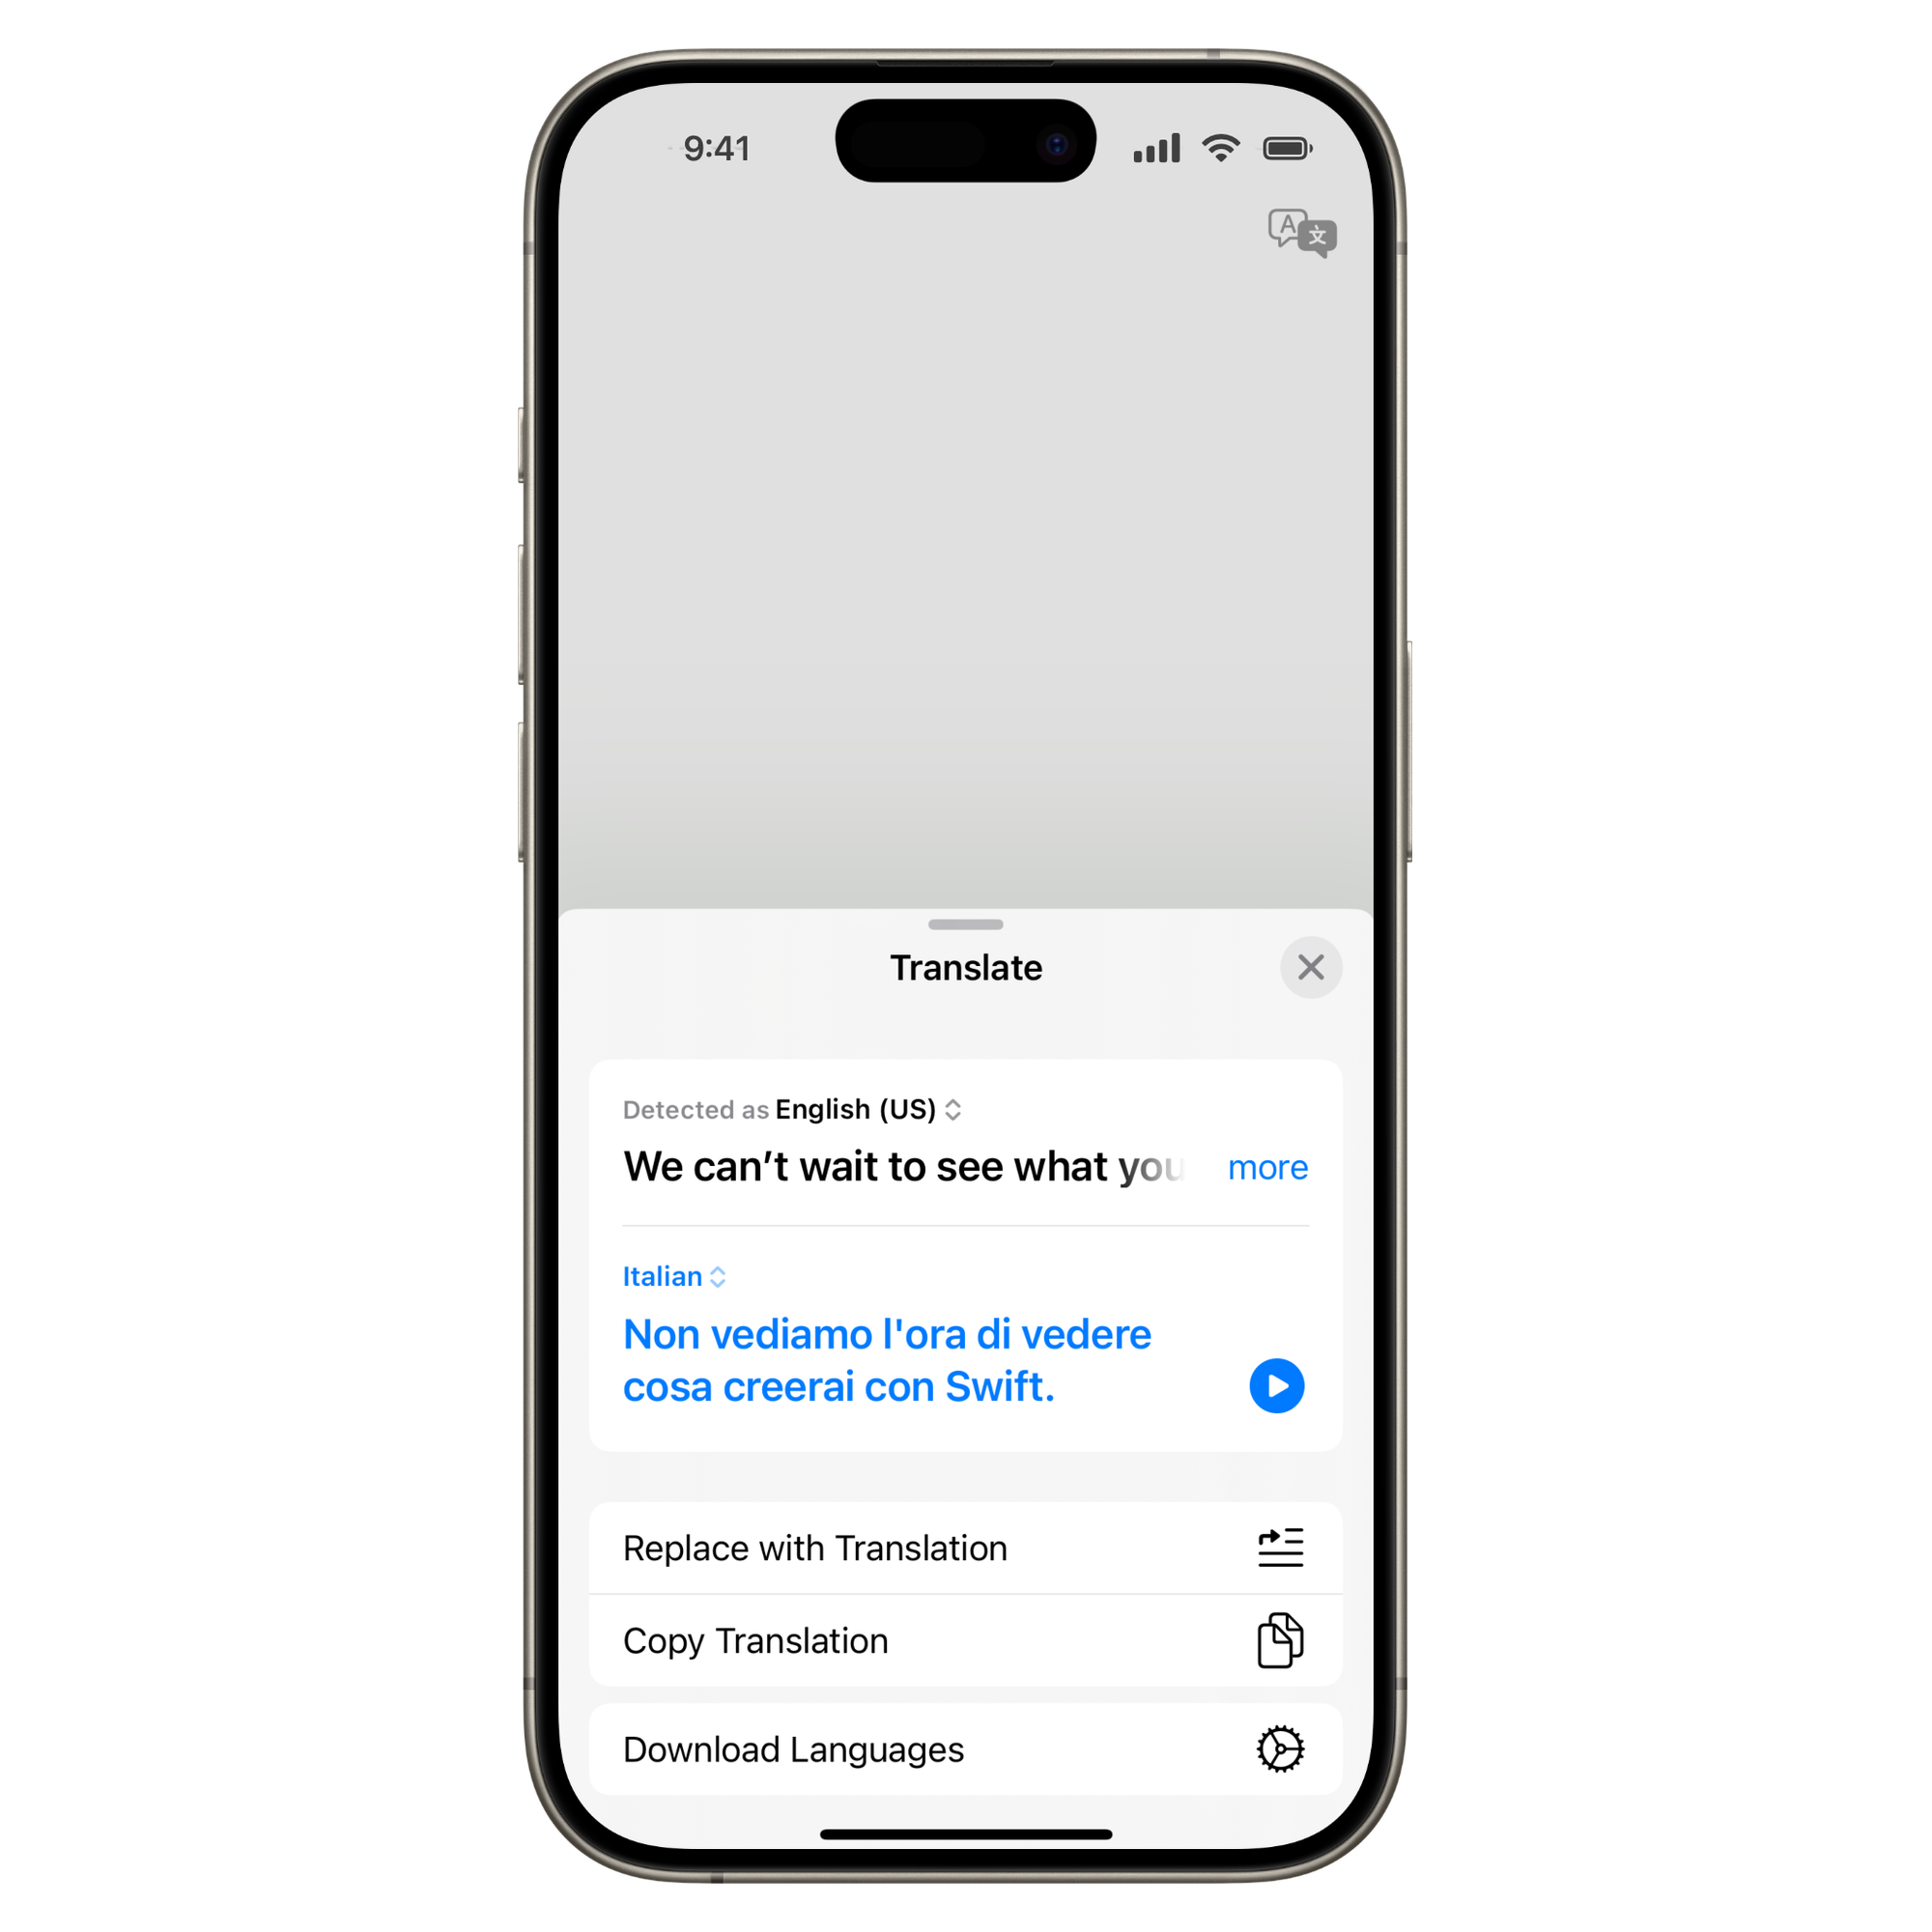
Another option available is the possibility of replacing the text within the View where the translation happens. The parameter replacementAction of the modifier provides you with the translated text so you can use it to update the user interface elements.
.translationPresentation(isPresented: $showTranslation, text: text) { translatedText in
    text = translatedText
}
In our example, the closure assigns the value of the translatedText to the previously declared text variable. If you provide a replacement action the translation sheet will provide an option to the user labeled as "Replace with Translation", which will call the closure and execute the text replacement as you wish.

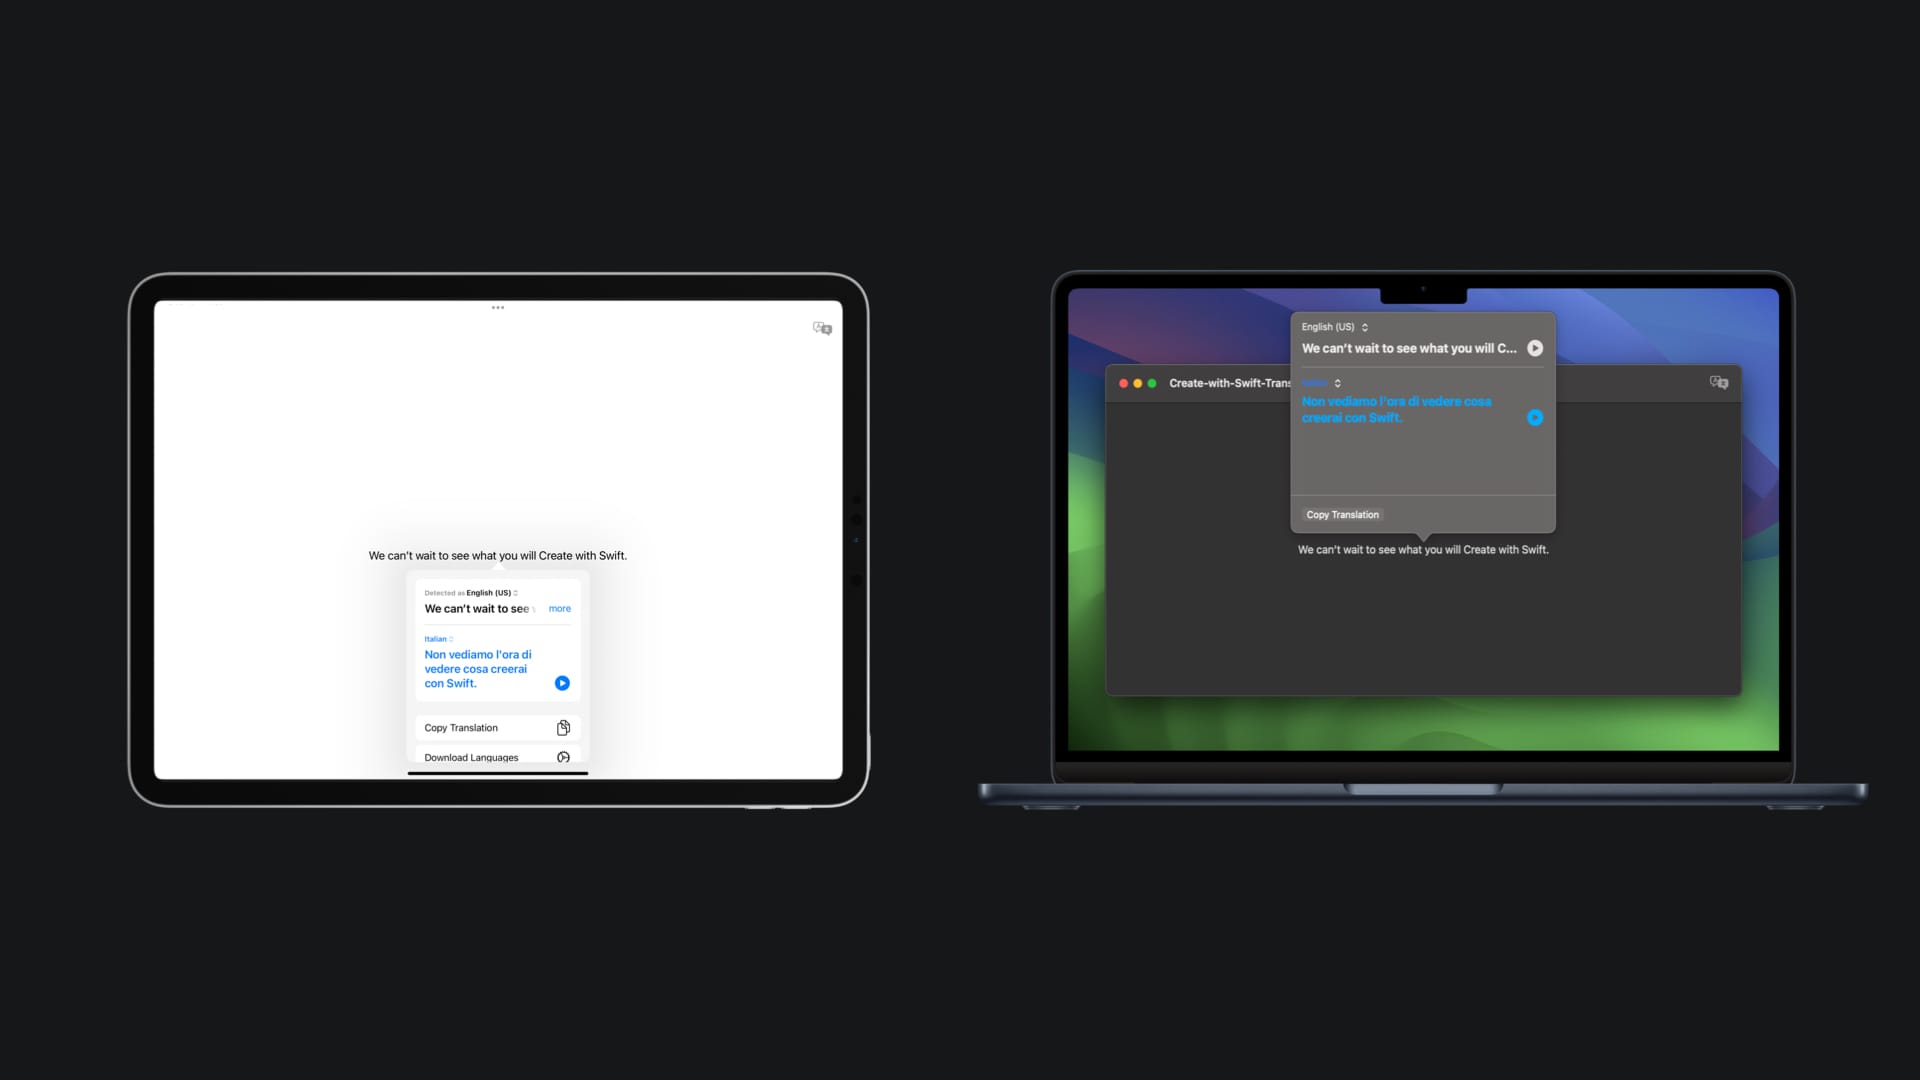
Make sure to attach the translation presentation modifier to the content that requires translation. On iPadOS and macOS, the translation overlay appears as a popover over the content to be translated, so associate the translation modifier with the interface element that will be translated.
Additionally, you can define the presentation of the popover by including the arrowEdge parameter in the translation presentation modifier.


