Passing Data between Views in SwiftUI using a property
By the end of this tutorial, you will be able to pass data using a property from a primary view to a modally presented secondary view in SwiftUI.

When you have multiple views in your SwiftUI App, you often need to share data from one view to the next one. If you've been programming for iOS/iPadOS for a while now, you know that this is something we use to do using a prepareForSegue. However, if you're a newbie, you won't have any problem following this tutorial. There is no need for any previous knowledge of UIKit to pass data between Views this using SwiftUI.
This tutorial is the first of a series that will explore 4 different solutions for passing data between views:
- Passing Data between Views using a property
- Passing Data between Views using @State and @Binding
- Passing data via the view’s environment
- Passing data via
@ObservedObjectand@StateObject
Passing Data between Views with a property
This is the simplest approach to sharing data between views. To demonstrate how it operates, we will consider an example where the secondary view that will receive the data is presented modally.

Consider this simple struct called Writer:
struct Writer {
	var name: String
	var surname: String
	var website: String
	var twitterNickname: String
}
In the example, we are going to pass a Writer instance from ContentView to SecondView.
1. Create a new SwiftUI View and name it SecondView.swift
2. Go to ContentView.swift and add a button. This button will take us to SecondView when tapped.
struct ContentView: View {
    var body: some View {
    	// 1. Add a button
        Button(action: {
           // Your action will come here later
        }, label: {
            Text("Button")
        })
    }
}
Adding a button to ContentView
3. Let's add a @State private boolean variable and a .sheet modifier for presenting the SecondView when the button is tapped.
struct ContentView: View {
	// 2. Add a var to define whether SecondView should be showing
    @State private var showSecondView = false
    var body: some View {
    	// 1. Add a button
        Button(action: {
            self.showSecondView.toggle()
        }, label: {
            Text("Button")
        })
        // 2. Add a sheet modifier to present SecondView modally
        .sheet(isPresented: $showSecondView){
            SecondView()
        }
    }
}
SecondView is presented over ContentView using the modifier .sheet
4. SecondView will be a simple view showing all the information of a Writer instance in a vertical stack. Since all Views in SwiftUI are struct, we can add a Writer property to SecondView without providing an initial value. You will use this property to receive the data from ContentView.
struct SecondView: View {
    var writer: Writer
    var body: some View {
        VStack {
            Text(writer.name)
            Text(writer.surname)
            Text(writer.website)
            Text(writer.twitterNickname)
        }
    }
}
SecondView struct
5. Immediately after step 4, you will get an error pointing to the preview of SecondView.swift and ContentView.swift. Don't panic! This has to do with adding a property in SecondView but didn't pass it on when we presented the view. Let's fix the preview first by creating a static var in the PreviewProvider. Be careful! This has nothing to do with passing data. This static var only serves to make the preview possible in the canvas.
struct SecondView_Previews: PreviewProvider {
    // 5. Creare a static instance of Writer for your preview
    static let writerPreview = Writer(
        name: "Tiago",
        surname: "Pereira",
        website: "createwithswift.com",
        twitterNickname: "@tiagogogo"
    )

    static var previews: some View {
        // 5. Use the right SecondView initializator
        SecondView(writer: writerPreview)
    }
}
fixing the error pointing to the PreviewProvider of SecondView.swift
More importantly, let's fix the error pointing to the ContentView. This is where the real passing of data happens. Since SecondView has a property writer with no initial value, we can then use the SecondView memberwise initializer to pass data into the View.
struct ContentView: View {
    // 2. Add a var to define whether SecondView should be showing
    @State private var showSecondView = false
    // 5. Create the instance of Writer you want to pass to SecondView
    var writerForSecondView = Writer(
            name: "Giovanni",
            surname: "Monaco",
            website: "createwithswift.com",
            twitterNickname: "@giovanni_jean"
        )

    var body: some View {
        // 1. Add a button
        Button(action: {
            self.showSecondView.toggle()
        }, label: {
            Text("Button")
        })
        // 2. Add a sheet modifier to present SecondView modally
        .sheet(isPresented: $showSecondView){
            // 5. Use the new SecondView initializer
            SecondView(writer: writerForSecondView)
        }
    }
}
fixing the error pointing to the ContentView
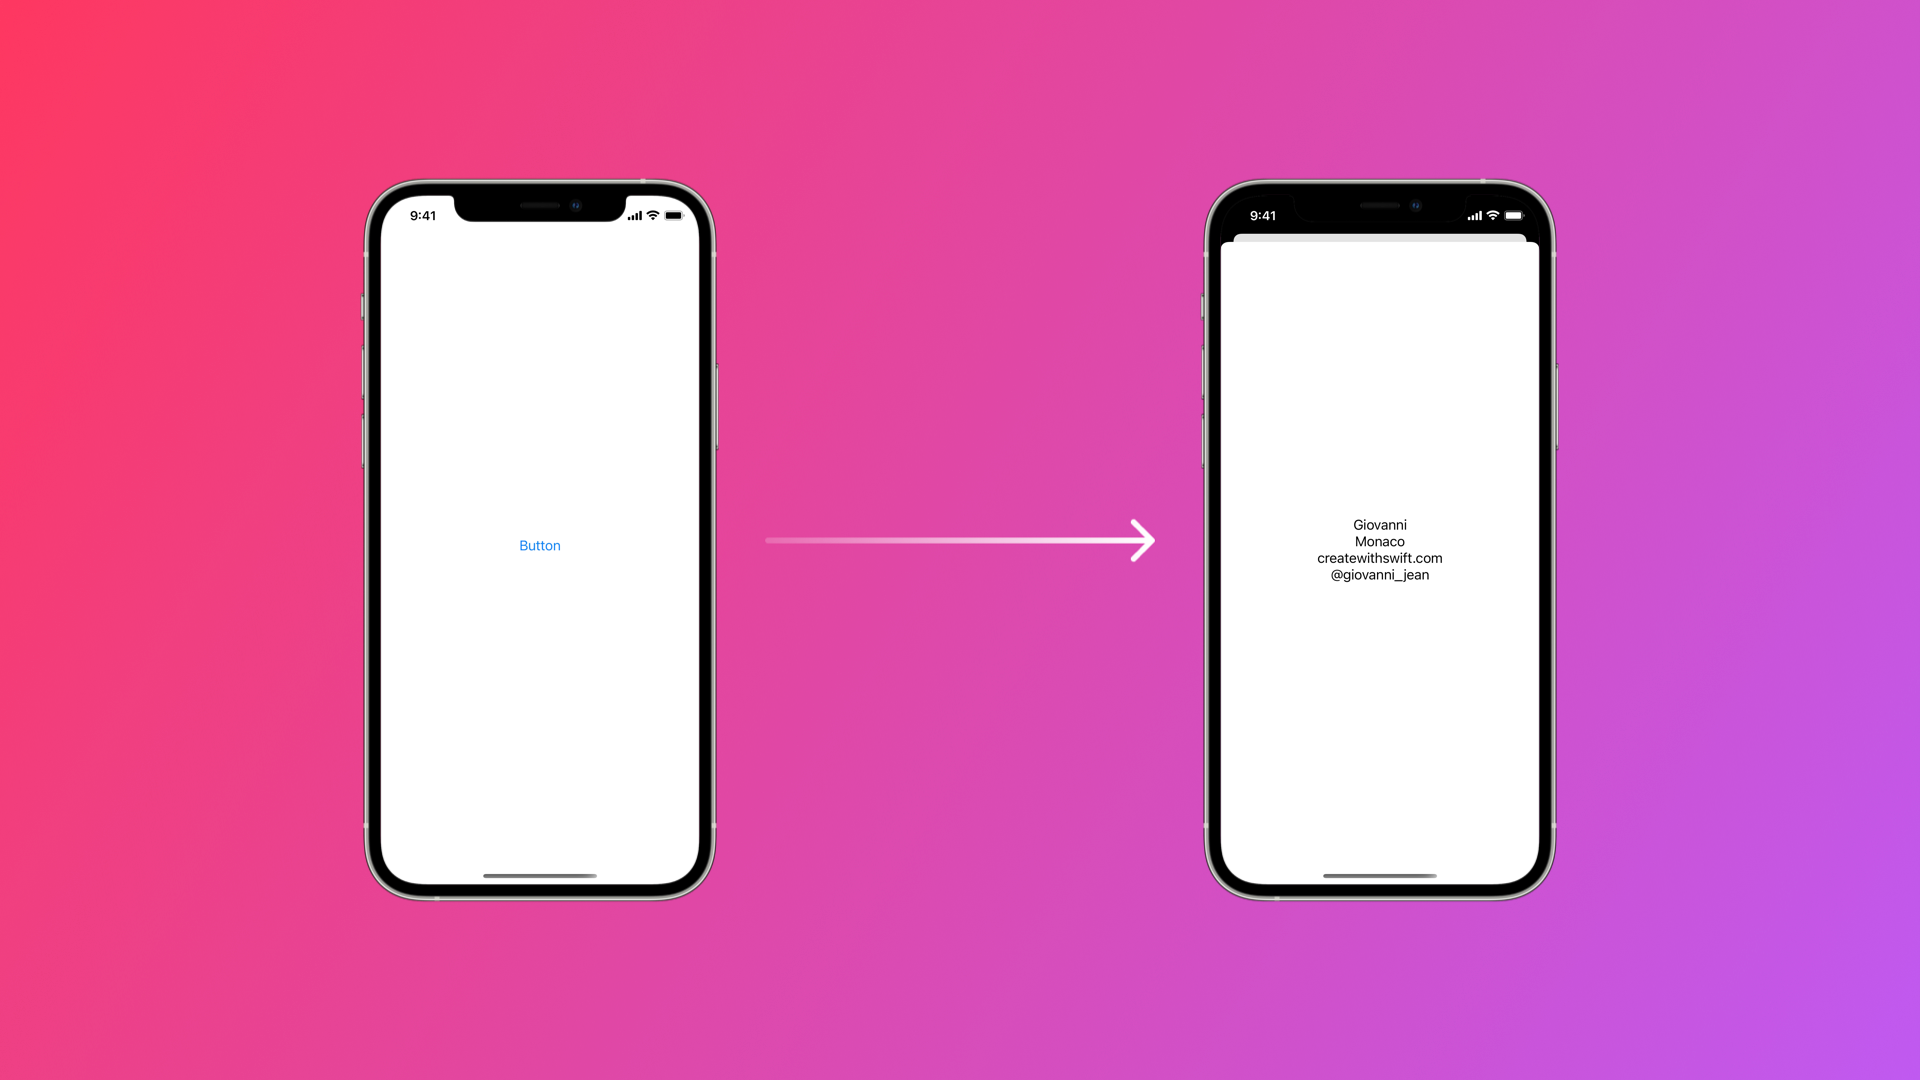
6. If you compile the code, you should see that the writerForSecondView properties are visible in SecondView as soon as it shows up.
Wrapping up
In 5 easy steps, we have built two views: a primary view, ContentView, which presents a secondary view modally, SecondView, and passes data using a property to it. For your convenience, below you find the complete code for both files.
You want to know more? There is more to see...
Here is the complete code for both files. Have fun!
// ContentView.swift

import SwiftUI

struct ContentView: View {
    // 2. Add a var to define whether SecondView should be showing
    @State private var showSecondView = false
    // 5. Create the instance of Writer you want to pass to SecondView
    var writerForSecondView = Writer(
        name: "Giovanni",
        surname: "Monaco",
        website: "createwithswift.com",
        twitterNickname: "@giovanni_jean"
    )

    var body: some View {
        // 1. Add a button
        Button(action: {
            self.showSecondView.toggle()
        }, label: {
            Text("Button")
        })
        // 2. Add a sheet modifier to present SecondView modally
        .sheet(isPresented: $showSecondView){
            // 5. Use the new SecondView initializer
            SecondView(writer: writerForSecondView)
        }
    }
}

struct ContentView_Previews: PreviewProvider {

    static var previews: some View {
        ContentView()
    }
}

// SecondView.swift

import SwiftUI

struct SecondView: View {
    var writer: Writer
    var body: some View {
        VStack {
            Text(writer.name)
            Text(writer.surname)
            Text(writer.website)
            Text(writer.twitterNickname)
        }
    }
}

struct SecondView_Previews: PreviewProvider {
    // 5. Creare a static instance of Writer for your preview
    static let writerPreview = Writer(
        name: "Tiago",
        surname: "Pereira",
        website: "createwithswift.com",
        twitterNickname: "@tiagogogo"
    )

    static var previews: some View {
        // 5. Use the right SecondView initializator
        SecondView(writer: writerPreview)
    }
}

// Writer.swift

import Foundation

struct Writer {
    var name: String
    var surname: String
    var website: String
    var twitterNickname: String
}
Complete code for ContentView.swift and SecondView.swift
This is not the only way to proceed, and we invite you to keep an eye on the site for the next tutorials in the series.
To be notified when new material is out, join our free mailing list.