Using materials with SwiftUI
Learn how to use materials in a SwiftUI app interface.


To improve the readability of our content we can create a visual separation between background and foreground using a Material, a translucent layer that serves to blur the background while maintaining the clarity of the foreground content.
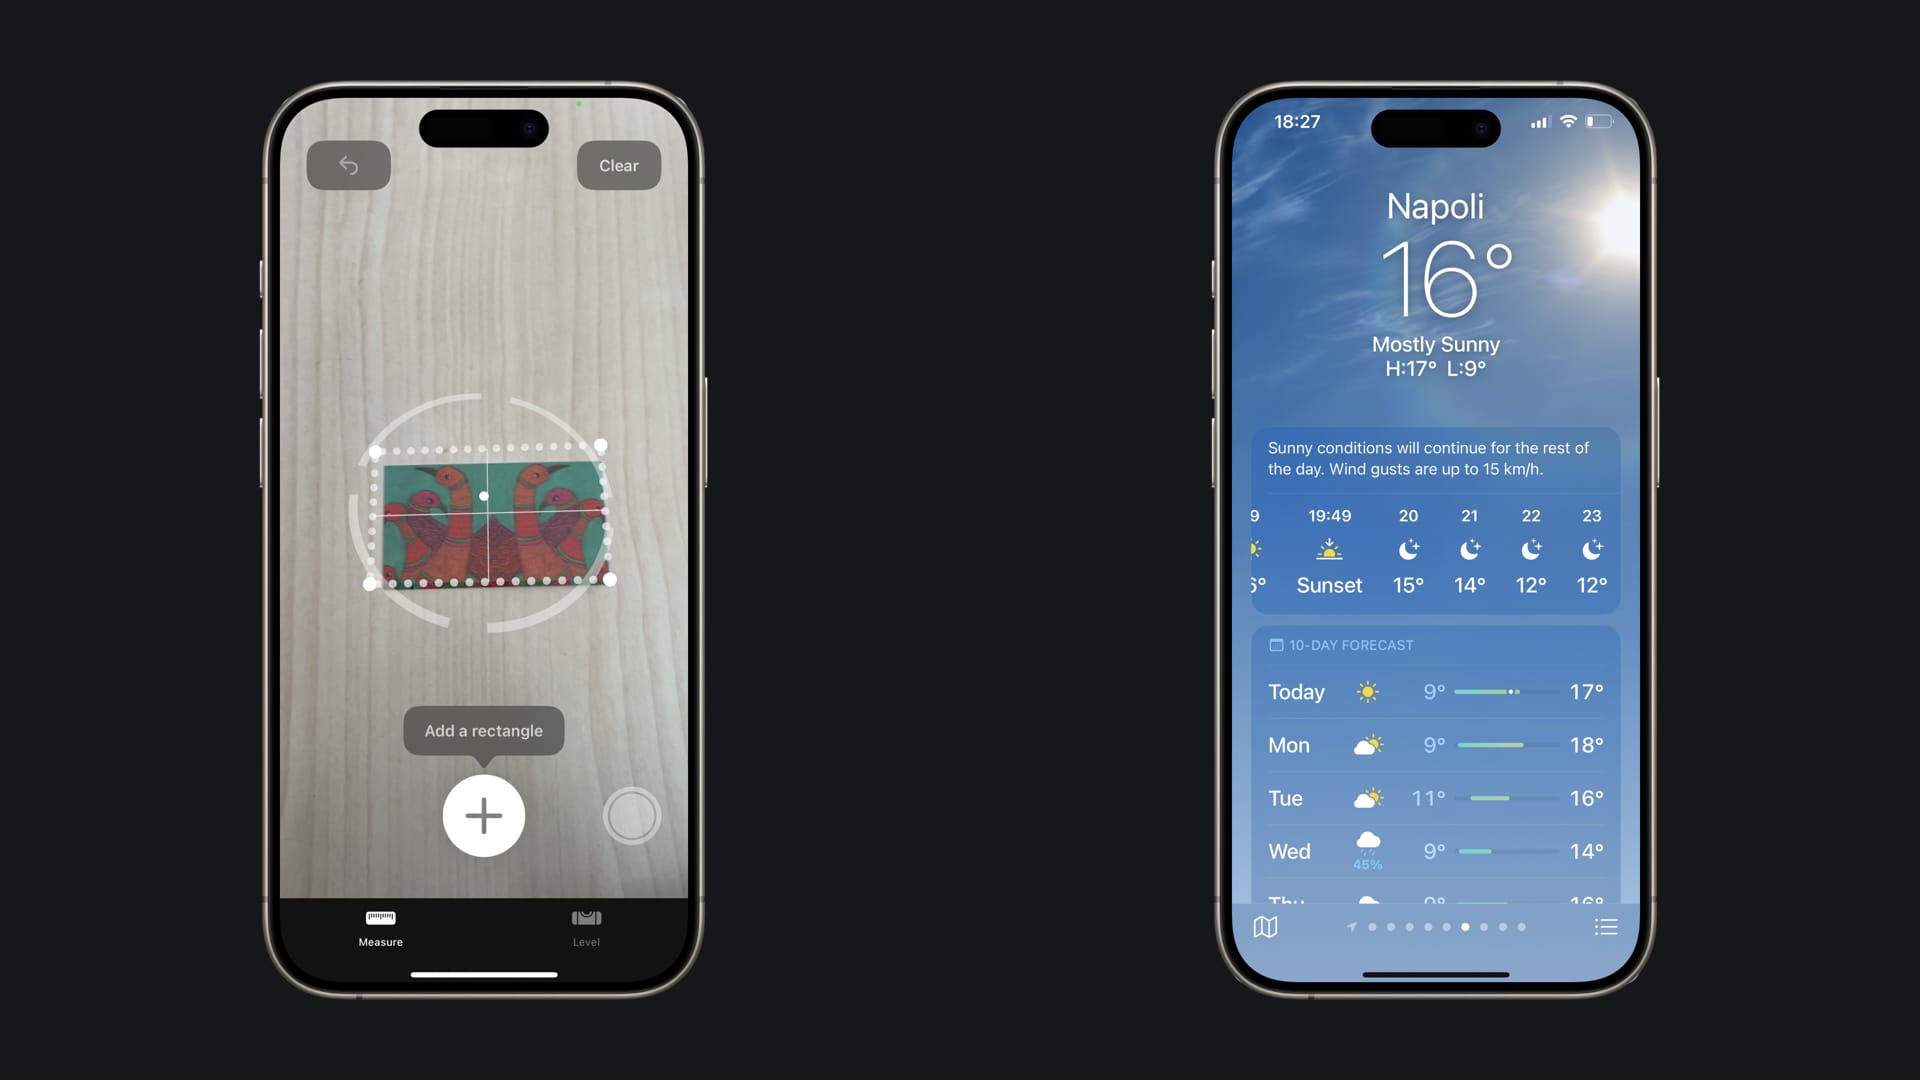
In augmented reality apps for example, by using materials we ensure that symbols and labels remain legible in every frame.
Materials are also fundamental when our app features an image as background, like the Weather app, where separating the content from the background is crucial to accessing the information effectively.
Let’s understand how to use materials in SwiftUI to enhance legibility and create a visual separation between content and background layers.
Materials
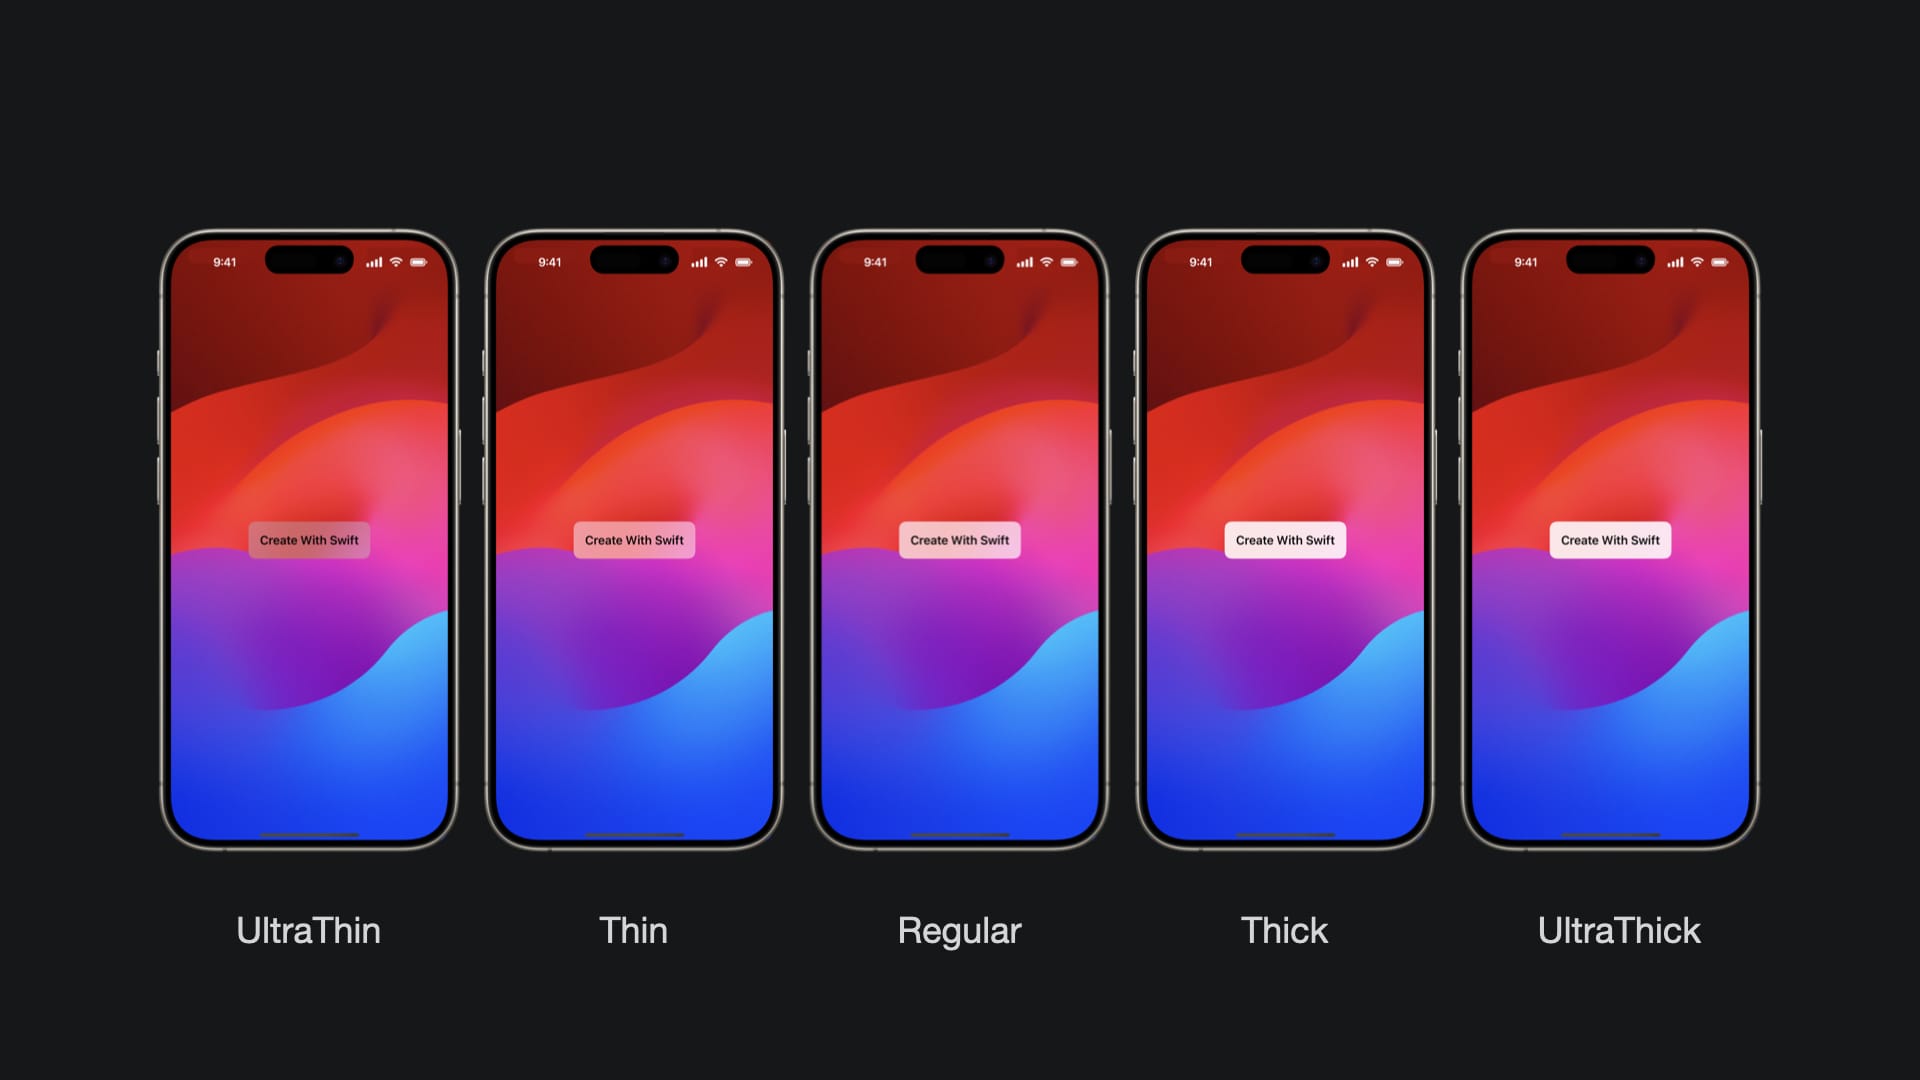
Apple provides a collection of five different materials, each with a different thickness level, ranging from mostly translucent, ultraThin, to mostly opaque, ultraThick.
Another plus is that by default all materials support dark mode and light mode, presenting a darker appearance or a lighter appearance matching the visuals of the system.
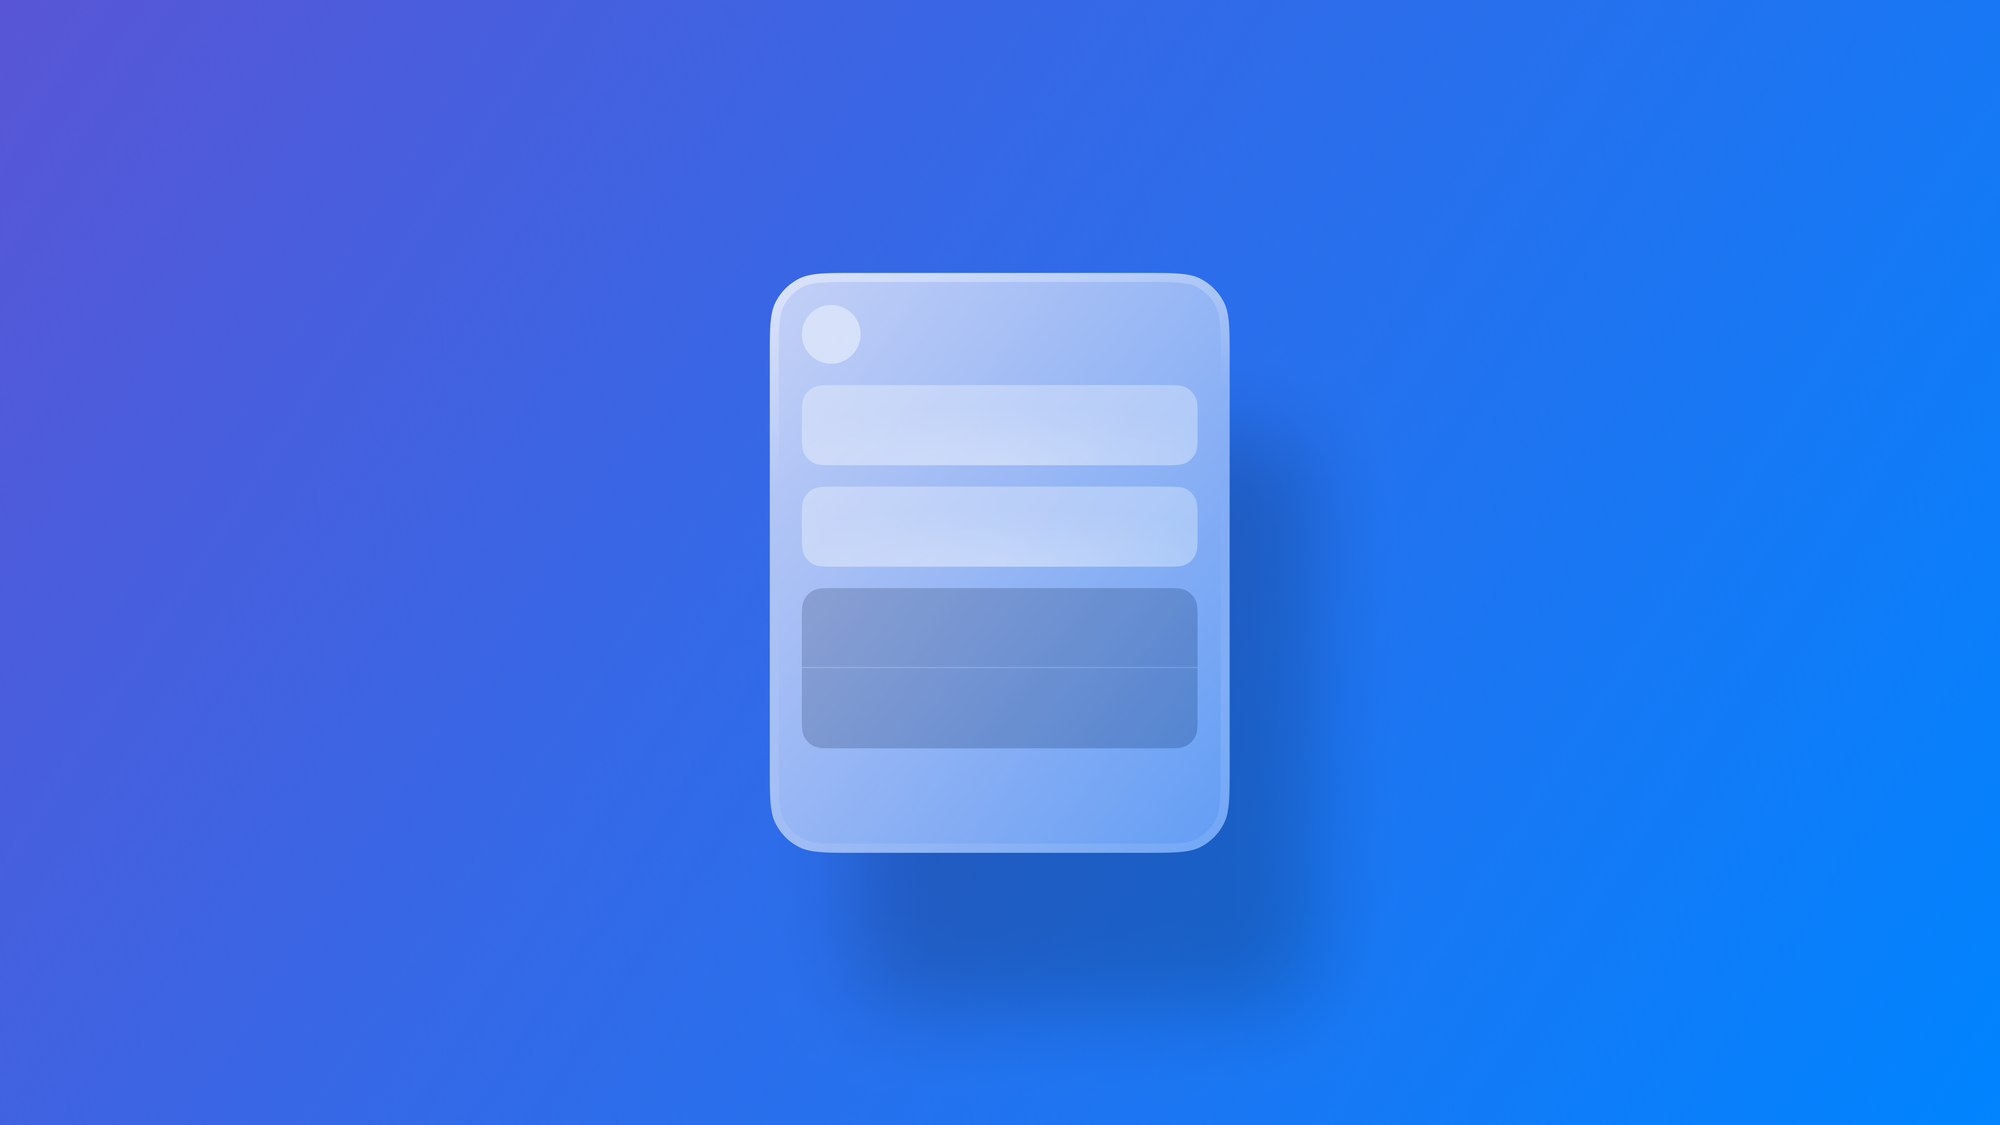
The material when applied works as a translucent intermediary layer between the view and its background. It is similar to frosted glass with different degrees of opacity.
You can see it applied on the user interface of visionOS and many macOS applications as well.
Using materials in SwiftUI
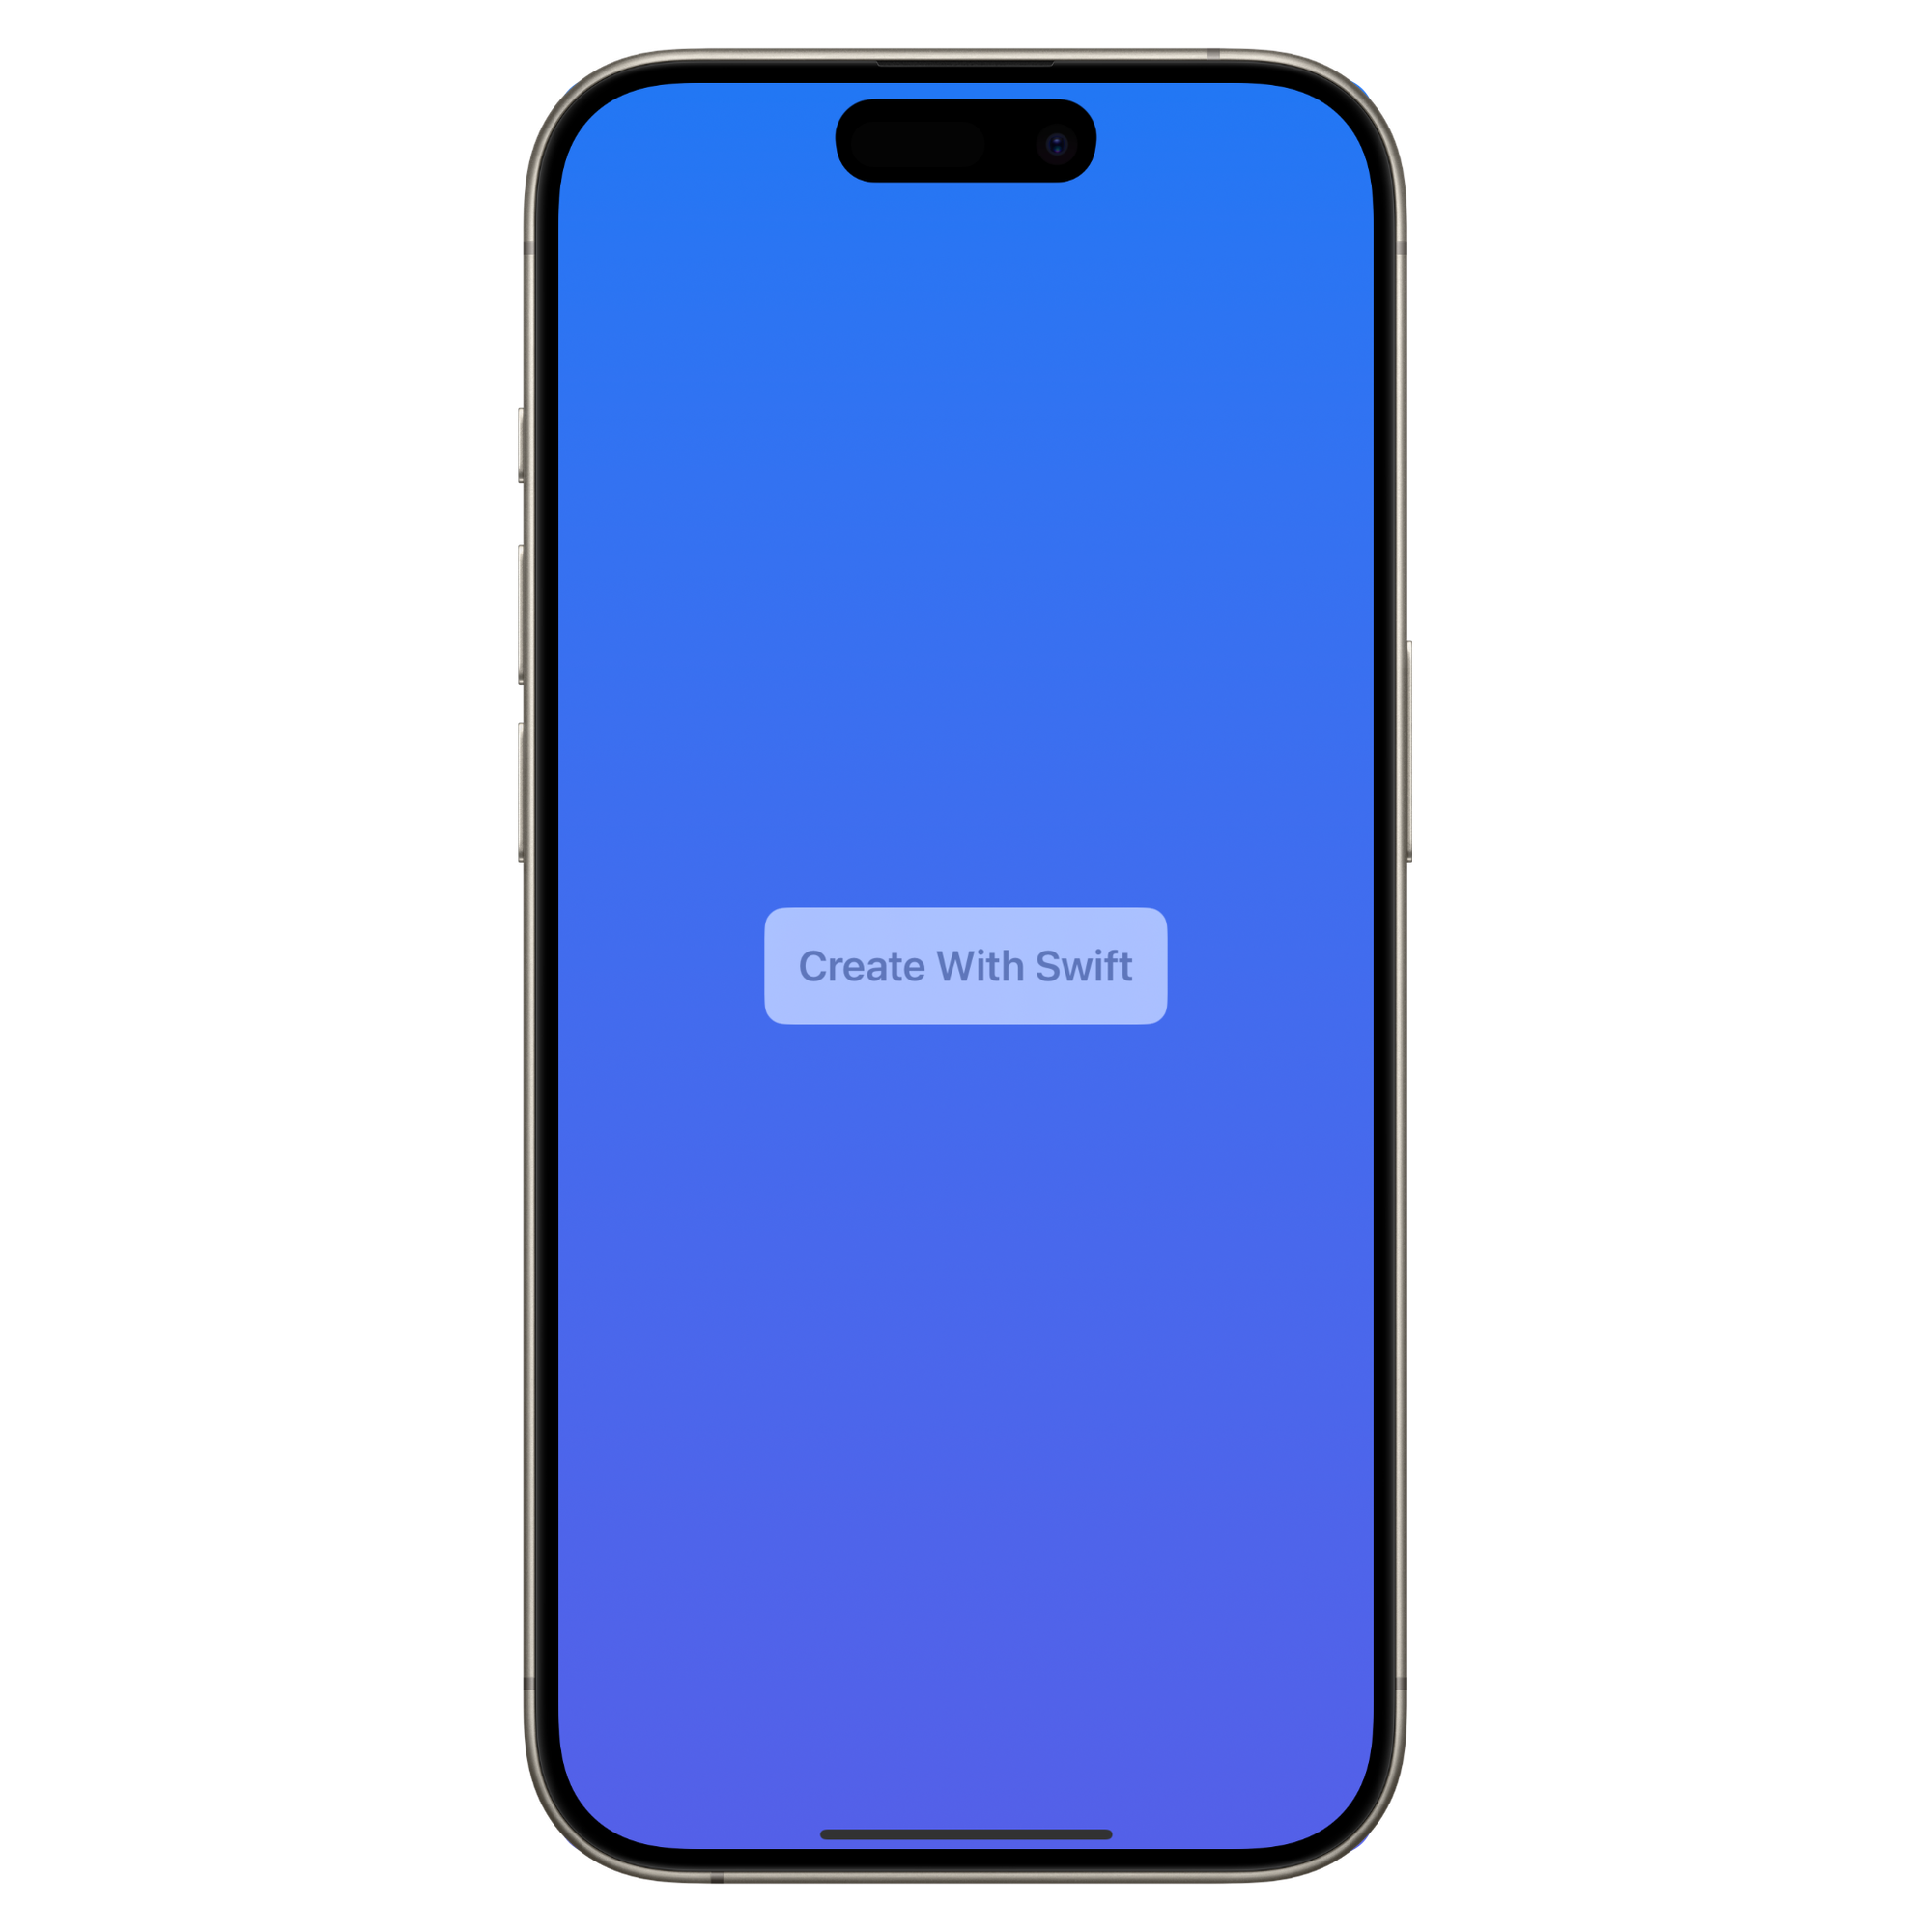
In SwiftUI we can apply a background material to a view using the background(_:ignoresSafeAreaEdges:) modifier passing the desired type of material as follows:
Text("Create With Swift")
    .bold()
    .padding()
    .background(.thinMaterial)
We can also apply background material with a specific shape by using the background(_:in:fillStyle:) modifier.
 Text("Create With Swift")
    .bold()
    .padding()
    .background(.thinMaterial, in: RoundedRectangle(cornerRadius: 10.0))
Vibrancy
Adding a material background layer allows us to consider applying a vibrancy effect to the foreground content. This effect enhances the sense of depth and contrast by pulling color from the background layer.
Vibrancy comes in different levels, ranging from highly vibrant, emphasizing more colors, to less vibrant, bringing through fewer colors. The options include primary, secondary, tertiary, and separator.
We can apply a specific level of vibrancy to our View using the foregroundStyle(_:) modifier:
 Text("Create With Swift")
    .bold()
    .padding()
    .background(.thinMaterial, in: RoundedRectangle(cornerRadius: 10.0))
    .foregroundStyle(.secondary)
Vibrancy helps ensure that the foreground content isn't too light, dark, or saturated compared with the material blur's translucency.