Using SpriteKit in a SwiftUI Project
This reference article covers how to use a SpriteKit scene in a SwiftUI view.
Even though the default Game Xcode Template creates the project based on a UIKit application, you can create a SwiftUI app and put your SpriteKit game inside it without any hustle thanks to the SpriteView view!

The documentation page for the SpriteView SwiftUI view.
In the following steps, let’s take a look at how you can set up a SwiftUI project as the baseline for our SpriteKit game.
Creating the Project
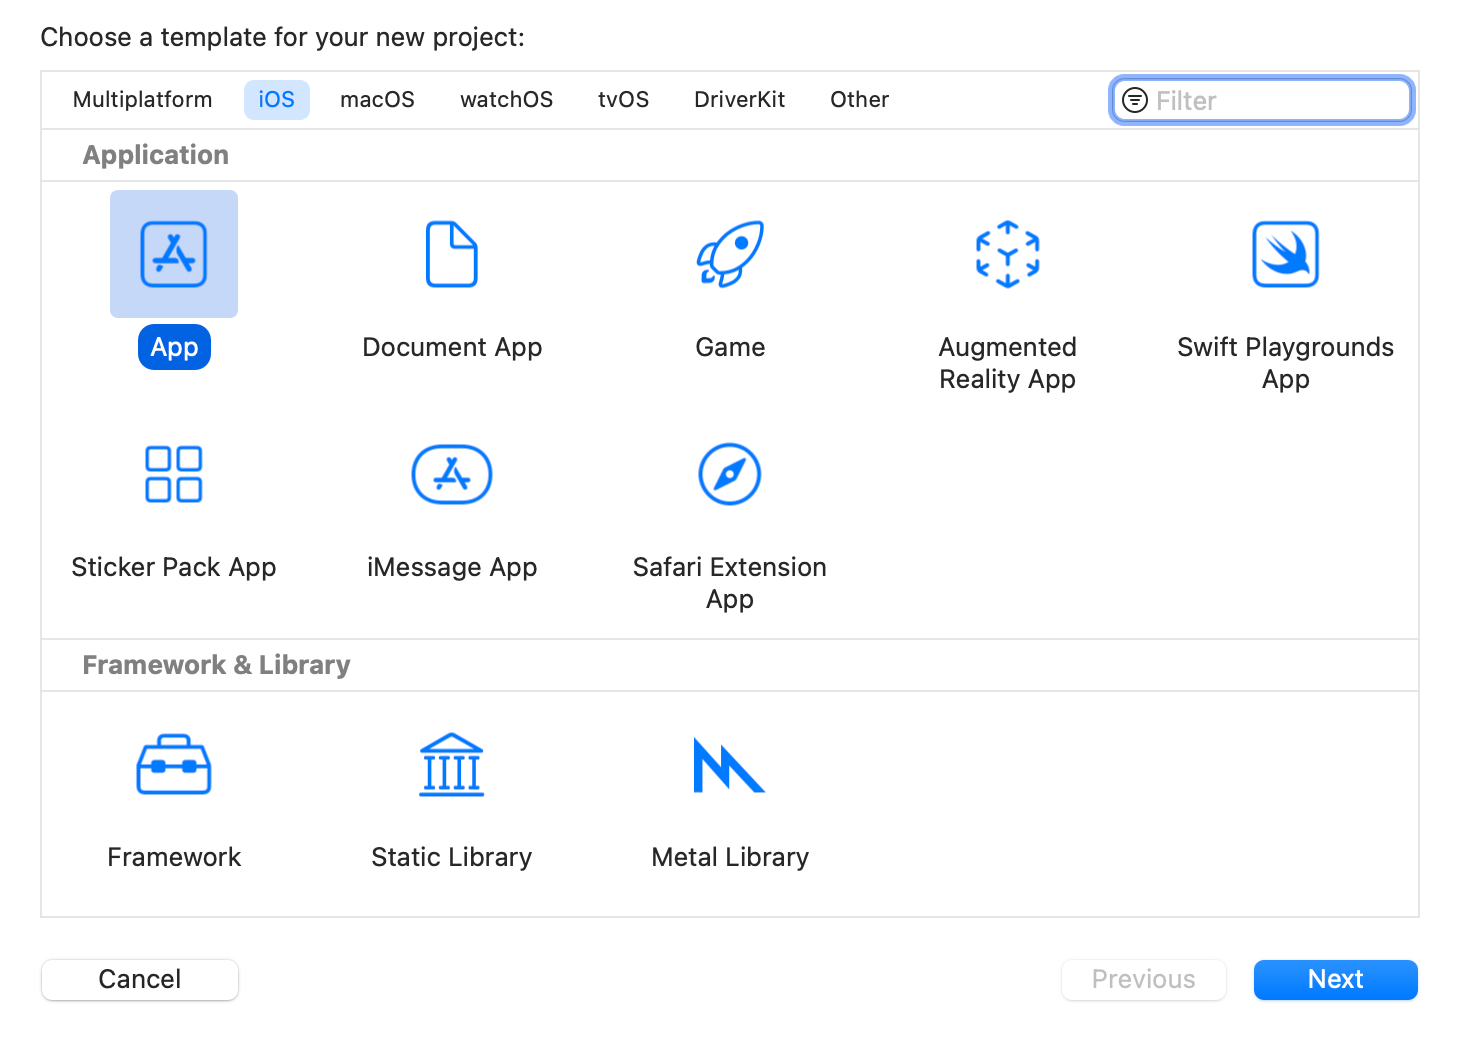
When creating a new project, select the App template and create a simple SwiftUI app.

Creating the Game Scene
Now, create a simple GameScene class, inheriting from SKScene, in a new Swift file.
// Remember to import the SpriteKit framework
import SpriteKit

class GameScene: SKScene {
    override func didMove(to view: SKView) {
        print("You are in the game scene!")
    }
}
Creating a GameScene class, a subclass of SKScene.
Since we are just setting up the project, we won’t do anything fancy in here right now, just leave a simple message mentioning that the game scene appeared on the screen.
Using the Game Scene inside a SwiftUI View
Now back to your ContentView.swift file you must:
- Import the
SpriteKitframework, so you have access to everything it has to offer. Without it you won’t be able to have access to theSKSceneclass, for example, and you wouldn’t be able to create yourGameSceneobject. - Create a variable to host your
GameSceneobject, which will be where your game is in the future. - Use the
SpriteView(scene:)view to host yourGameSceneobject and show it in your application.
import SwiftUI
// 1. Import the SpriteKit framework
import SpriteKit

struct ContentView: View {

	// 2. Create a variable that will initialize and host the Game Scene
    var scene: SKScene {
        let scene = GameScene()
        scene.size = CGSize(width: 216, height: 216)
        scene.scaleMode = .fill
        return scene
    }

    var body: some View {
		// 3. Using the SpriteView, show the game scene in your SwiftUI view
		//    You can even use modifiers!
        SpriteView(scene: self.scene)
            .frame(width: 256, height: 256)
            .ignoresSafeArea()
    }
}
And that’s it! Your SwiftUI based project is ready to host your SpriteKit game 🎉!
If you run your project on the simulator you will see the message that is being printed on the GameScene object.
Wrapping up
If you want to add a bit of interaction to your demo, check this quick example by Paul Hudson in the following article in Hacking with Swift, where he takes a step further and adds a little intractable demo in the GameScene as well.

Now it’s up to you to start creating your game using SpriteKit. In future articles we are going to cover more in-depth how SpriteKit and SwiftUI communicate with each other, so we can create the user interface of our game taking advantage of everything SwiftUI has to offer.


