Using the zoom navigation transition in SwiftUI
Learn how to use the zoom navigation transition from iOS 18 in a SwiftUI app.
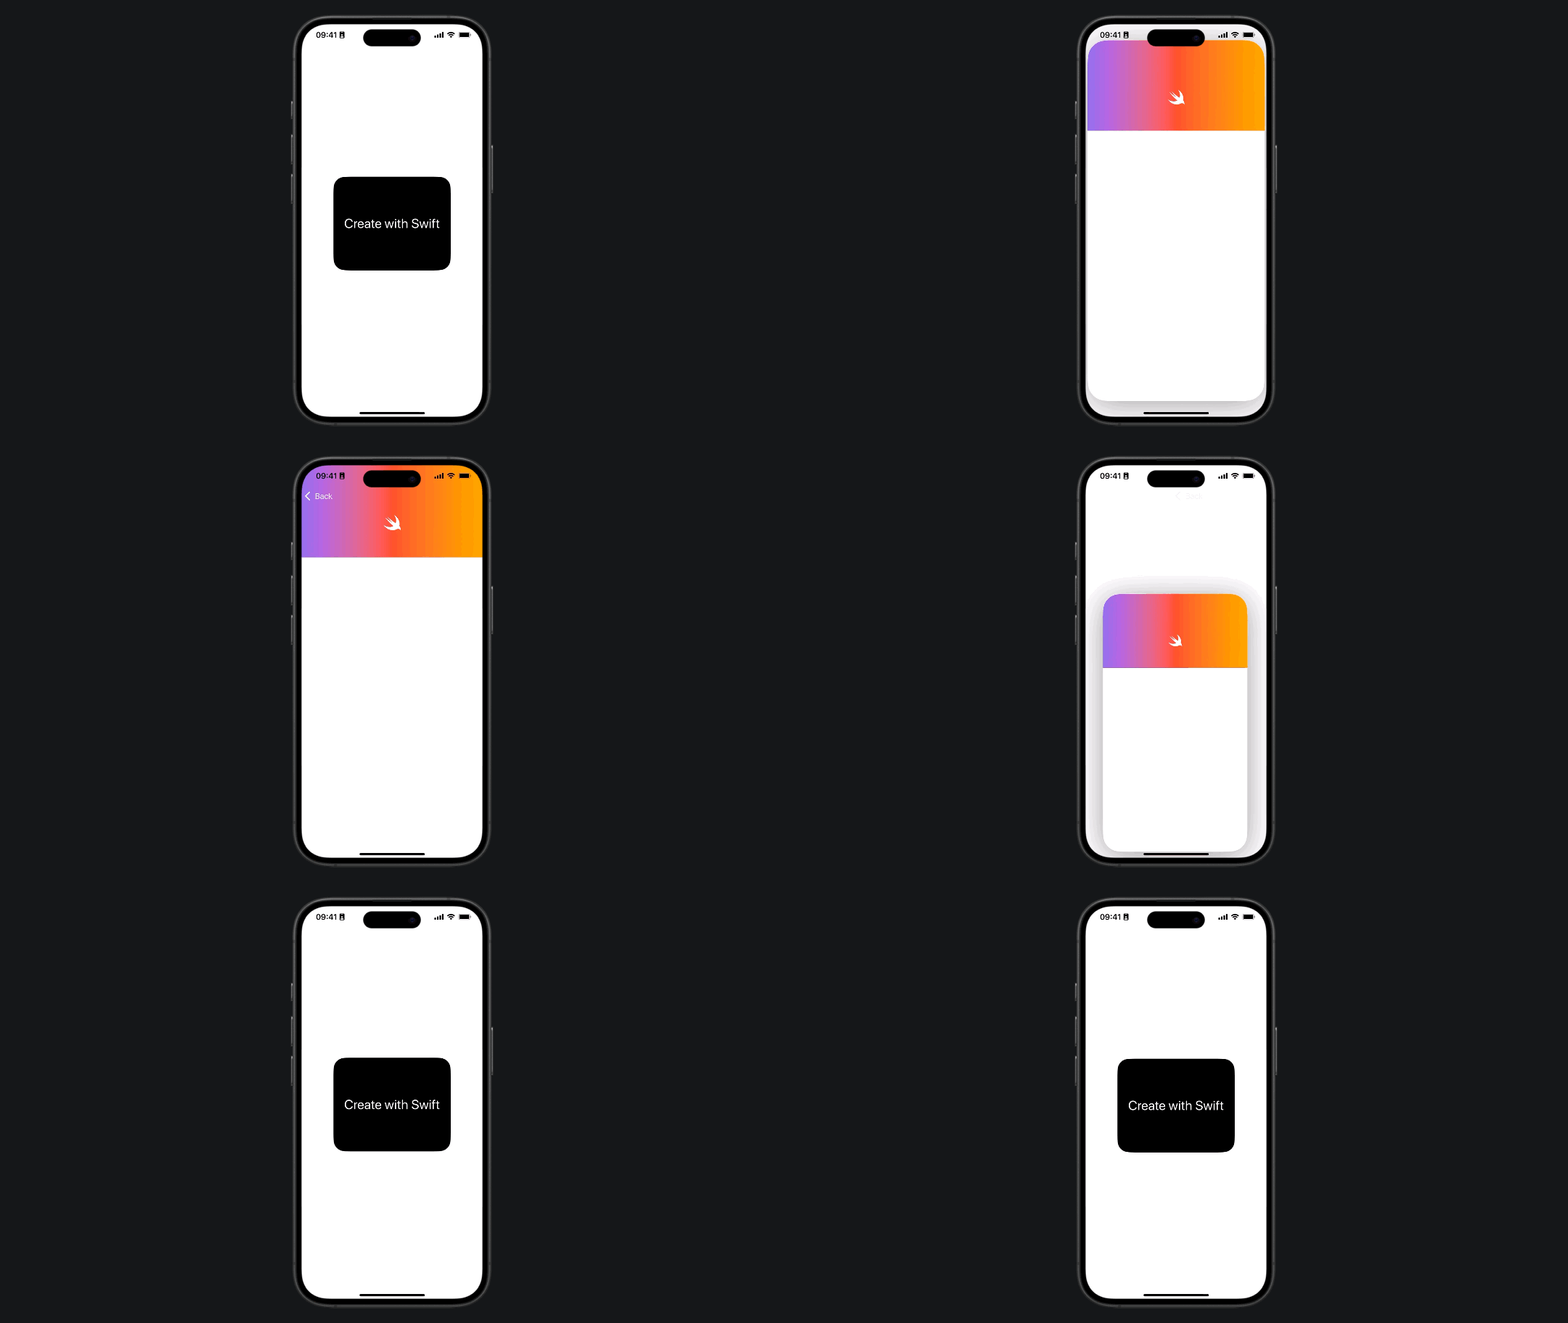
The NavigationTransition protocol allows developers to customize transitions between Views using the .navigationTransition(_:) modifier. Beyond the typical left-to-right movement, a new zoom transition effect has been introduced that can be particularly useful for presenting UI items on a full screen.
In this reference, we will integrate the new Zoom transition to push a View within a NavigationStack.
Implementing a zoom transition in a NavigationStack
To create the zoom transition in our SwiftUI view, we need to establish a connection between the source and destination views. This is achieved by defining a namespace property, which links the two views.
import SwiftUI

struct ContentView: View {

    @Namespace private var namespace

    var body: some View {
        ...
    }

}
On the destination view, attach the navigationTransition(_:) modifier passing the zoom(sourceID:in:) method providing a unique identifier and the namespace property declared before.
import SwiftUI

struct ContentView: View {
    @Namespace private var namespace

    var body: some View {
        NavigationStack {
            NavigationLink {
                DetailView()
                    .navigationTransition(.zoom(sourceID: "zoom", in: namespace))
            } label: {
                Text("Source view here soon ")
            }
        }
    }
}

struct DetailView: View {

    @State var gradientStyle = Gradient(colors: [
        .blue, .purple, .red, .orange, .yellow
    ])

    var body: some View {

        VStack {
            Image(systemName: "swift")
                .font(.largeTitle)
                .foregroundStyle(.white)

                .background {
                    Rectangle()
                        .fill(
                            LinearGradient(
                                gradient: gradientStyle,
                                startPoint: .leading,
                                endPoint: .trailing
                            )
                        )
                        .frame(width: 600, height: 200)
                        .ignoresSafeArea()
                }

            Spacer()
        }
    }
}
The source view will serve as the label for our NavigationLink, to which we will attach the matchedTransitionSource(id:,in:) modifier, ensuring that the same identifier used previously is passed.
import SwiftUI

struct ContentView: View {
    @Namespace private var namespace

    var body: some View {
        NavigationStack {
            NavigationLink {
                DetailView()
                    .navigationTransition(.zoom(sourceID: "zoom", in: namespace))
            } label: {
                SourceView()
                    .matchedTransitionSource(id: "zoom", in: namespace)
            }
        }
    }
}

struct DetailView: View {
    ...
}

struct SourceView: View {

    var body: some View {
        RoundedRectangle(cornerRadius: 25)
            .fill(Color.black)
            .frame(width: 250, height: 200)

            .overlay {
                Text("Create with Swift")
                    .font(.title)
                    .fontDesign(.rounded)
                    .foregroundStyle(.white)
            }
    }

}
The zoom transition allows for a smooth zooming effect during view navigation, enhancing visual flow.
Unlike the matched geometry effect, which customizes transitions by animating shared elements between views, navigation transition using the zoom style provides a predefined effect animation for a continuous navigation experience.

Both create smooth animations the difference is that using matched geometry offers more flexibility for element-specific transitions, while the zoom navigation transition style is simpler for zoom-based navigation effects.

